


Applies to
Summary
This article describes available administrative SQL auditing and reporting options
Description
The ApexSQL Audit application offers a set of options that can enhance the general usability of SQL auditing features and configure the visual experience of the main application GUI. What features and how can they be configured for a specific use will be explained in this article.
Accessing options is done with the Options button in the Home tab of the main ribbon menu:
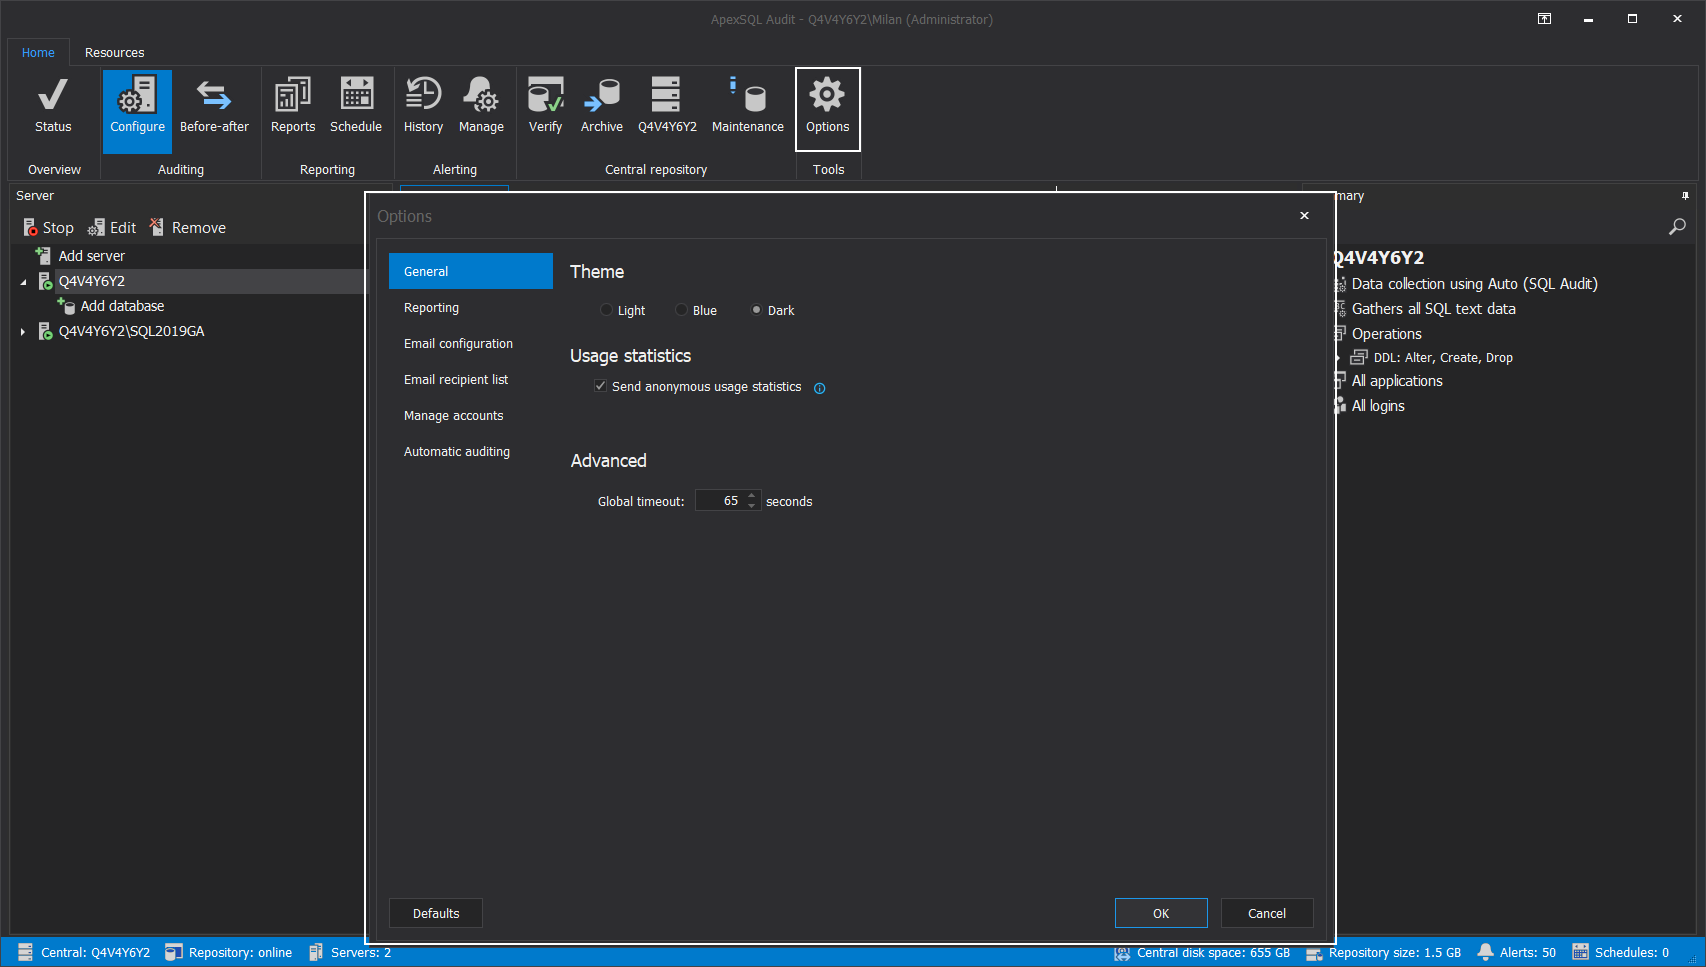
And the settings will be grouped by their respective tabs.
General settings
These are the settings that determine general experience with the application GUI. Configurable options are separated into sections:
- Themes – Configure visual styles of the application GUI (explained in the article Visual themes in ApexSQL tools)
- Usage statistics – Anonymous data collection on application usage to determine the best value for users (details about what and how data is collected are explained in the article: Telemetry in ApexSQL products)
- Advanced – Setting the allowed timeout for which the application GUI will try to access and read the central repository database. The timeout can be useful in low-performance environments when GUI can struggle to access the SQL Server hosting the repository database
Reporting
In the Reporting tab, the options to manage the sourcing scope and the representation of reporting SQL auditing data are available:
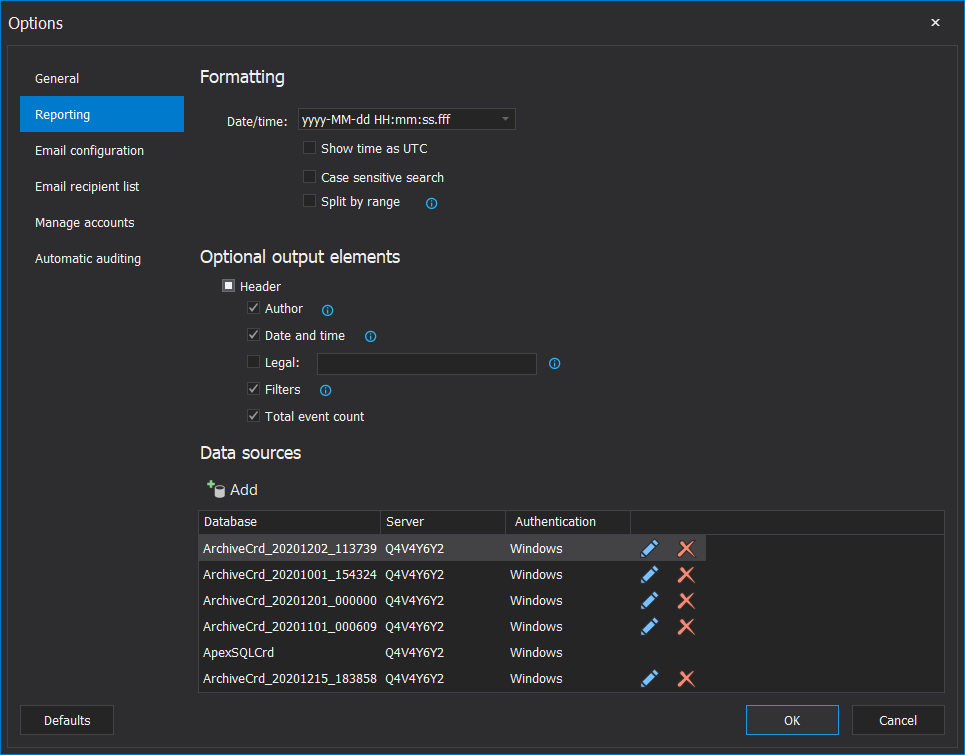
From top to bottom sections are:
-
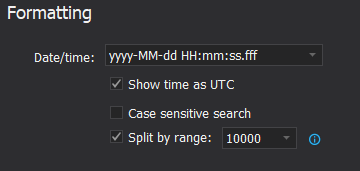
Formatting – the options provided in this section affect the visual aspect of reports. It is possible to choose the date and time format for the audited event timestamp that, to adapt it to personal preference. Also, the time can be converted to UTC for easier international interpretation of reports. Reports can be searched, and this is where search case sensitivity can be turned on. Also, format report exports can be split into multiple files based on a fixed number of events to reduce the file size per report and easier review (a subfolder is created in the export location to group exported report pieces):
-
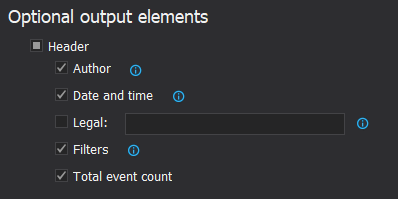
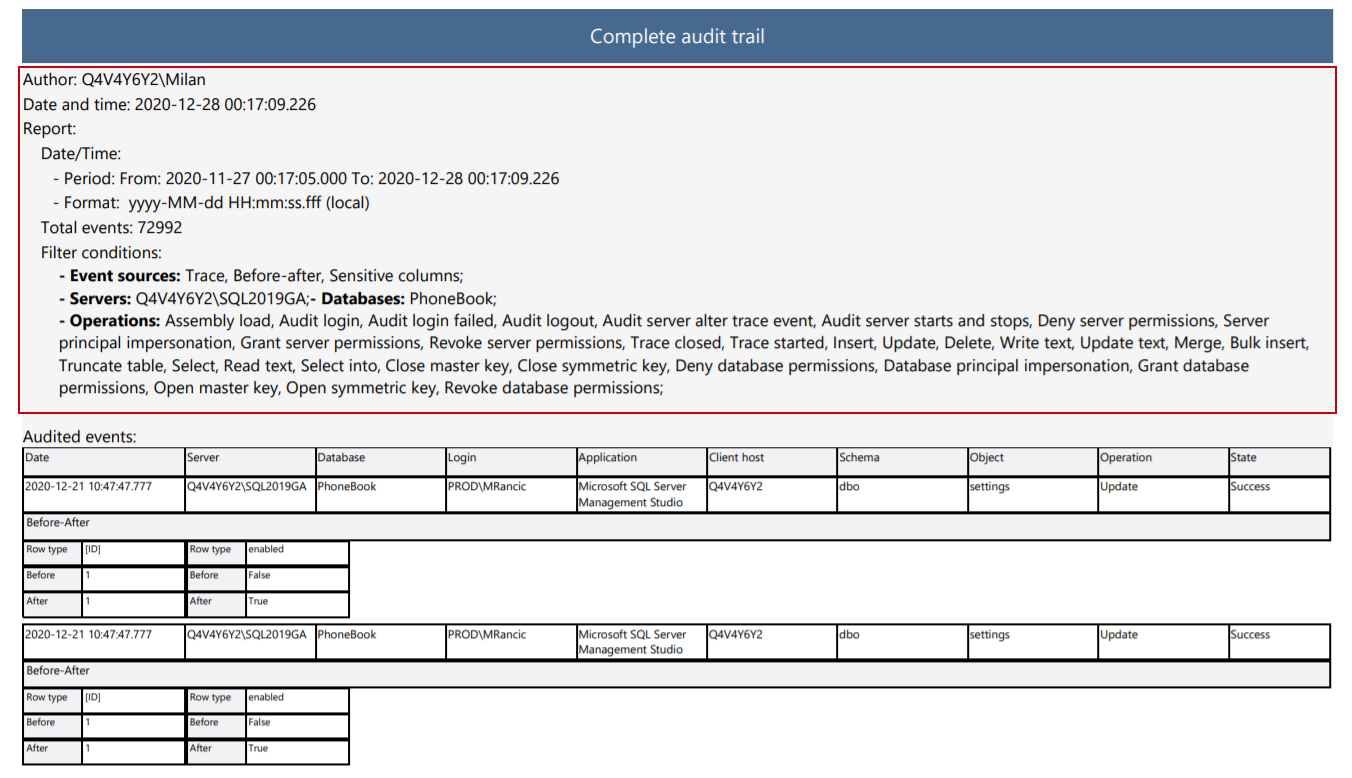
Optional output elements – In this section the options to configure the header for exported SQL auditing report documents. The header can contain details about the report settings so it will be easy to immediately recognize what type of report was generated and what scope of data was enveloped by filters for its content. In case the Split by range option was used, the header will be included for every report piece:
-
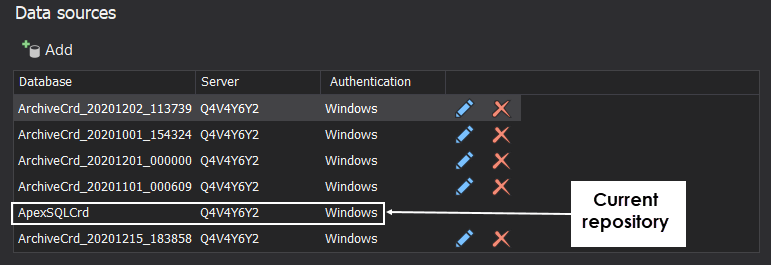
Data sources – The section is dedicated to reporting data sources management. The SQL auditing data is saved in a central repository database named “ApexSQLCrd” which is always attached and available. As a part of the maintenance procedure, the repository can be archived, when it will change its name, and a blank repository will be initialized. The archive will contain all events from the moment of repository initialization to the moment of archiving. That means, if an event from that period needs to be included in a report, the archive will have to be attached as the data source and, if needed, removed after that (upon creation, the archive will be automatically attached, so the archived data will be available by default):
Email configuration
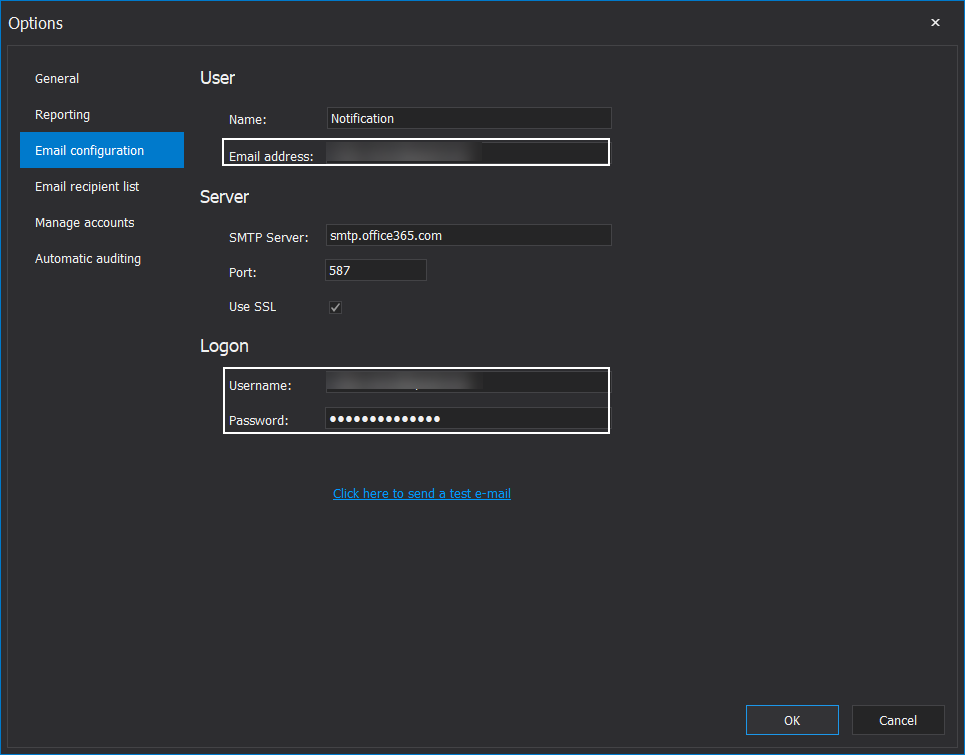
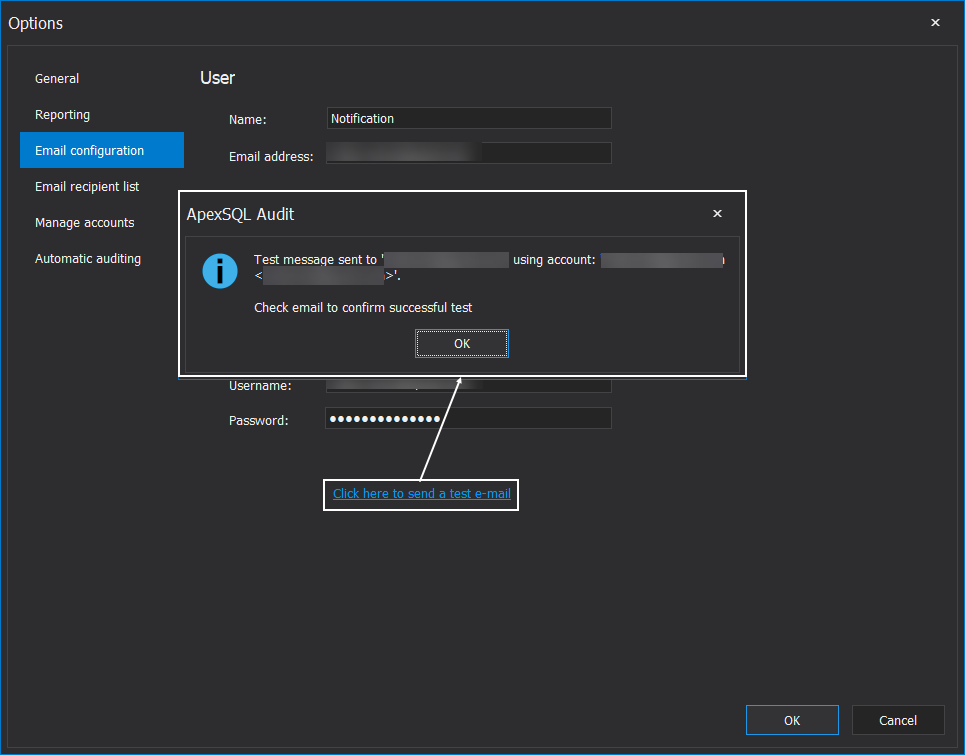
To enable sending reports and alert notifications via email the application will require the SMTP connection to a mail server of choice. Any active email account can be used as mail sender, and account login parameters should be provided for SMTP connection, same as with any other email client:
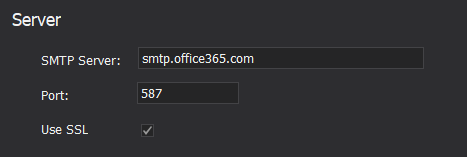
The SMTP connection parameters for the chosen mail server should be provided in the Server section:
If some of popular services provider is used for email hosting (e.g. Gmail), these parameters can be obtained usually from support portals, otherwise, the email administrator should provide them. To test if the parameters are correctly populated use the link below them and the account that was used will receive a test mail as confirmation that the test was successful and the popup confirming the result will appear:
In case there was an error in parameters, a different popup will appear:
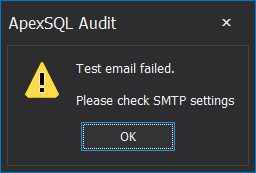
Make sure that using an external email client/device is enabled as the server will register the application as such. If this is not enabled the test will fail with the same message.
In case the email server is configured with spam detection, it may recognize the application as spam and during the test, the following popup will be shown:
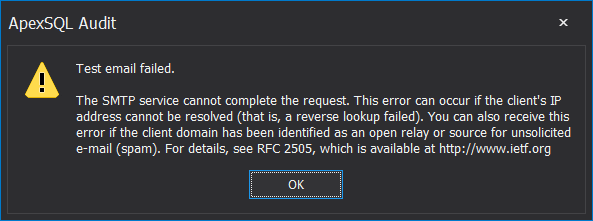
If that occurs, consult the email server administrator to resolve this by whitelisting the application.
Email recipient list
The email recipients for scheduled reports and alert notifications will have to be predefined as a recipient contact list before using it for reports and alerts configuration. Email addresses for those contacts can be managed and distributed among profiles and can be used later in report/alert configuration as needed. For example, one report can go to one set of recipients and another report to a different set (multiple recipient list profiles can be used per report/alert configuration).
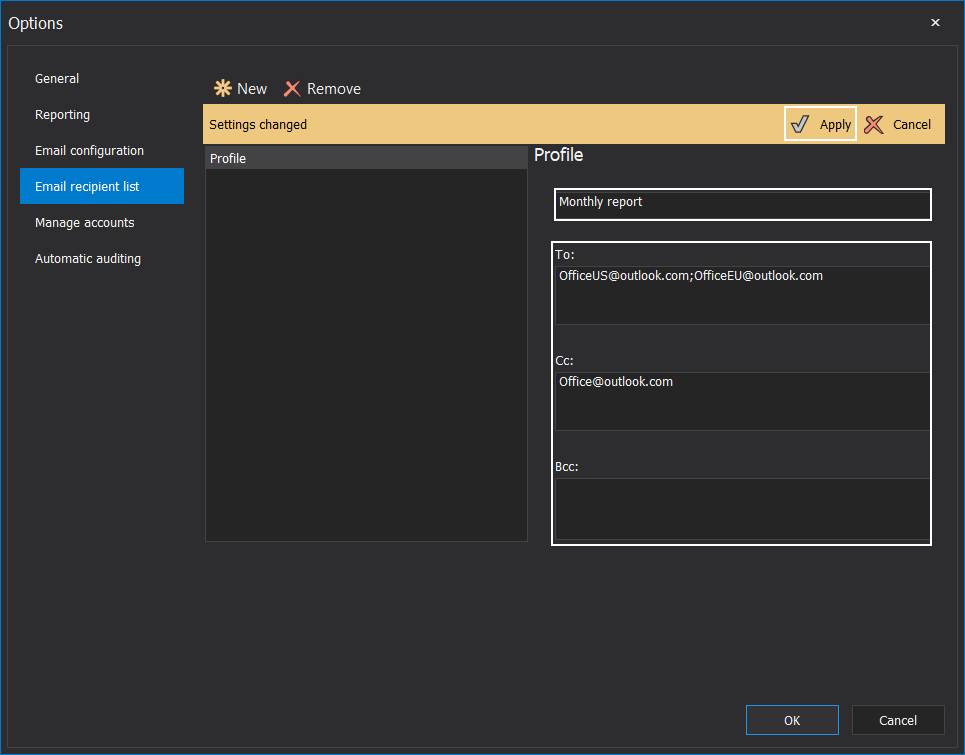
To create a profile, from the Email recipient list tab, click the New button:
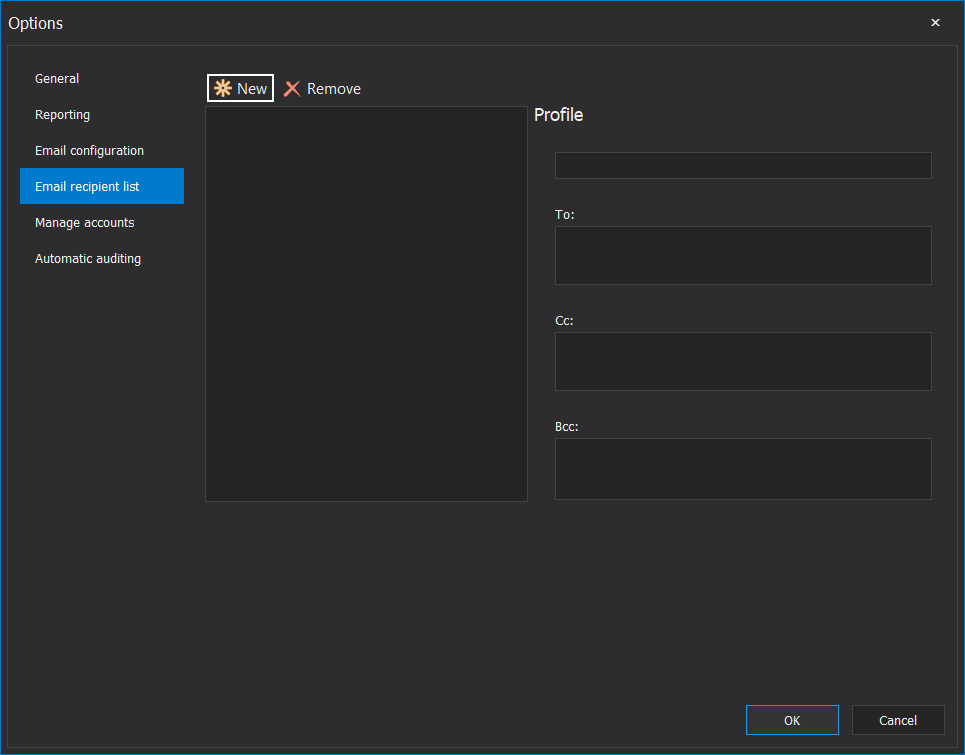
After that, enter the appropriate profile name for easy recognition in the report/alert configuration (only profile name will be available for choosing) and To, Cc and Bcc with email addresses (delimited with a semicolon) of desired recipients. Click the Apply to confirm and save:
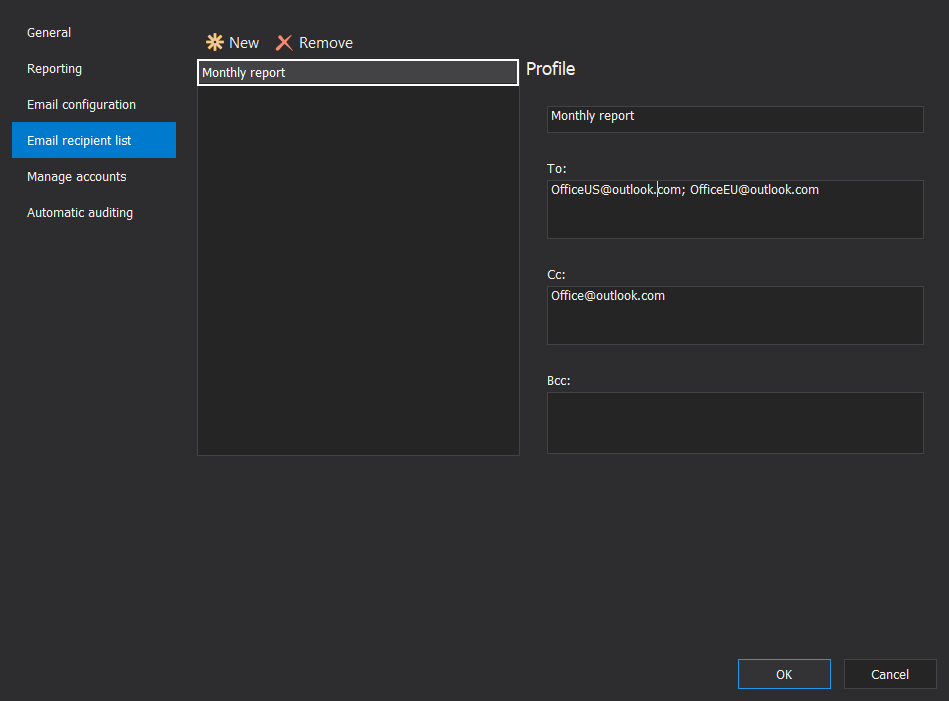
The profile will be saved by its name in the profile list and can be read, updated, or removed from there:
More information on how to use email profiles with scheduled reports can be found in the article How to create a scheduled audit report with an e-mail notification, and for the alert notification see How to create a custom alert with an email notification
Manage accounts
Since application GUI can be used both, on-premise and remotely, relative to the central repository database, it is necessary to delegate users and their roles for access and SQL auditing and reporting operations. This can be configured for any local or Active Directory user account, including groups. Managing the access is done here, from the Options menu in the Manage accounts tab:
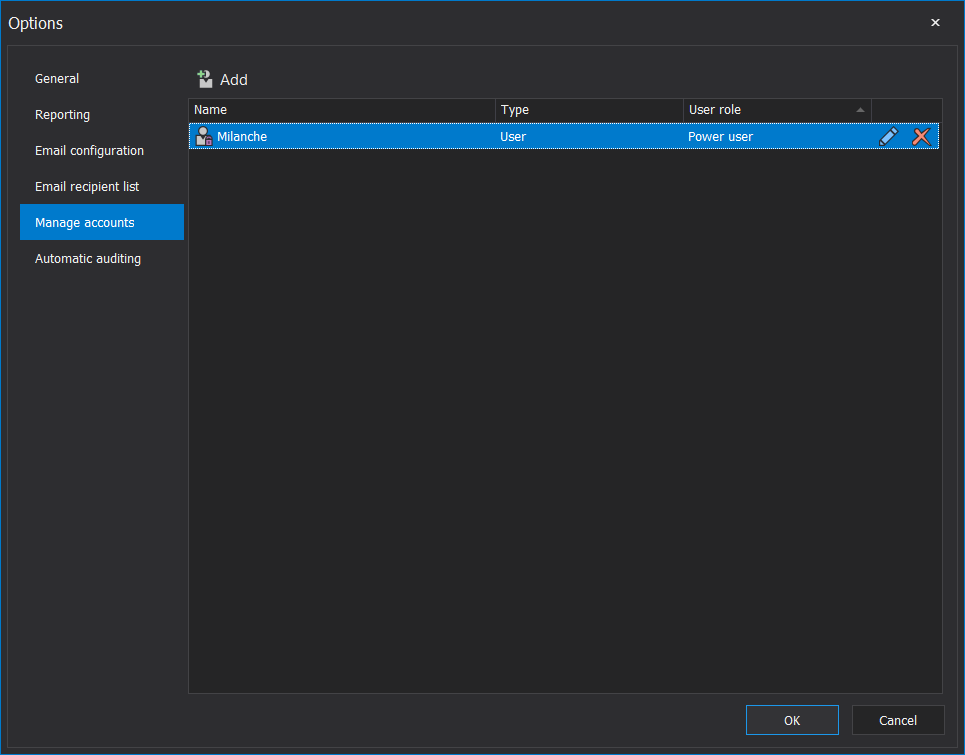
The configuration steps for this feature are explained in the article: How to allow or deny certain user access to the ApexSQL Audit GUI
Automatic auditing
Automatic SQL auditing is a feature that allows detection of newly created databases and assigning them automatically for auditing and applying a filter on operations that need to be audited. The template that will be applied for operations filtering can be customized in the Automatic auditing tab. The operations list and its customization are identical to the one that is used with manual configuration. When customization is finished, click OK to save it and close the Options window:
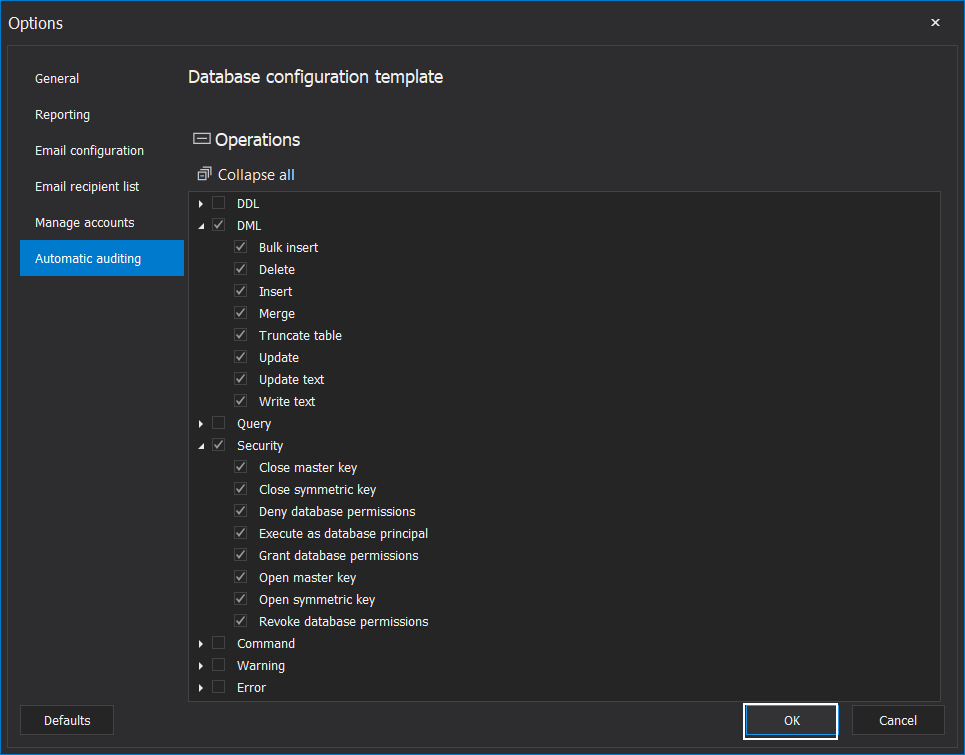
Saving this template will not enable automatic auditing. Enabling this feature is done differently and on-demand, which is described in the article: Setting up automatic database auditing
In summary, the Options window in ApexSQL Audit offers centralized management for extended possibilities of SQL auditing and reporting features.


