


Applies to
ApexSQL Audit
Summary
This article describes how to set an email notification for a default and custom alerts
Description
ApexSQL Audit comes with a several built-in alerts templates. To set up an email alert for existing alerts, navigate under the Alerting tab, Manage option, after selecting the alert to configure, click Edit.
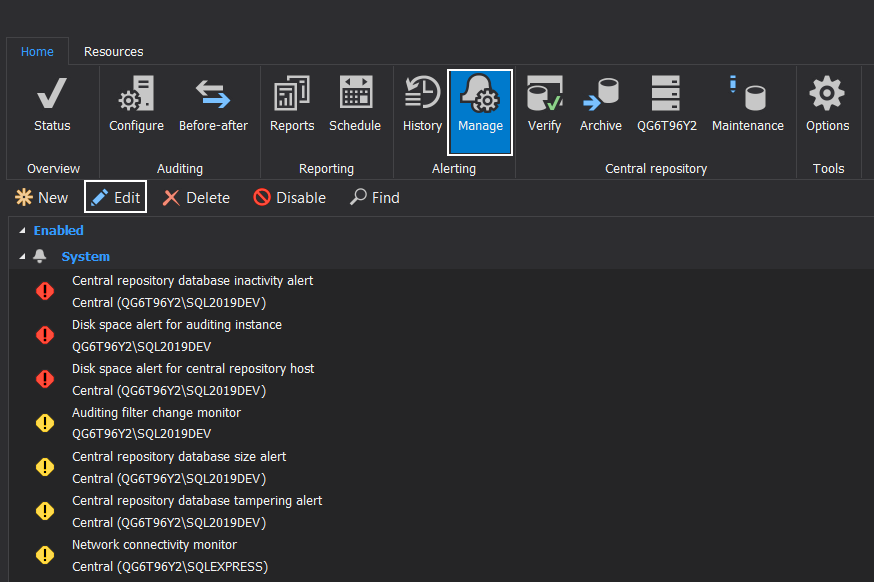
In the Alert Wizard dialog change the severity, title, subject, and a body of the alert or just click the Next button:
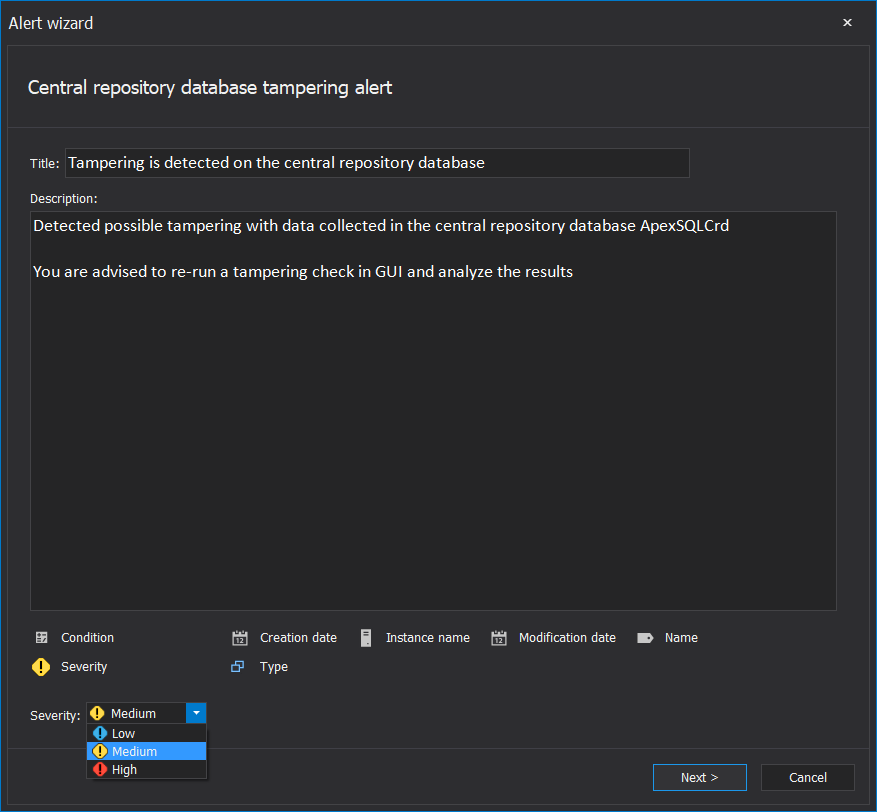
In the next window of the Edit alert dialog set the interval to check the metric you want to track and click Next:
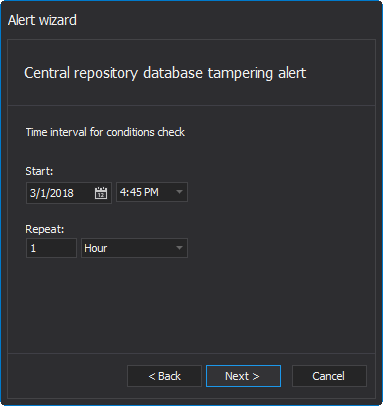
In the next window set up an email alert:
-
Select the Send this alert report via email check box. Under Account click on the Click here to configure an account for sending e-mail link:
-
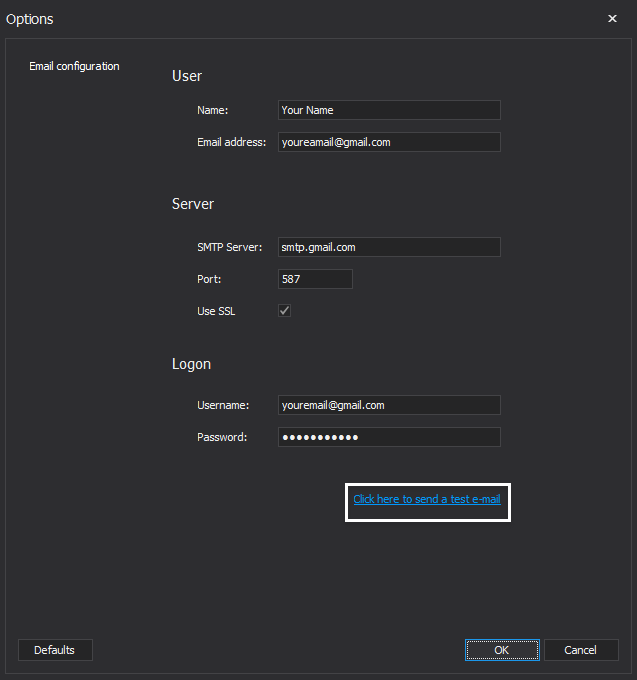
In the Email configuration dialog enter smtp settings, email, and port, and to check if an account set up is set properly click on the Click here to send a test e-mail option and after verification click OK:/p>
-
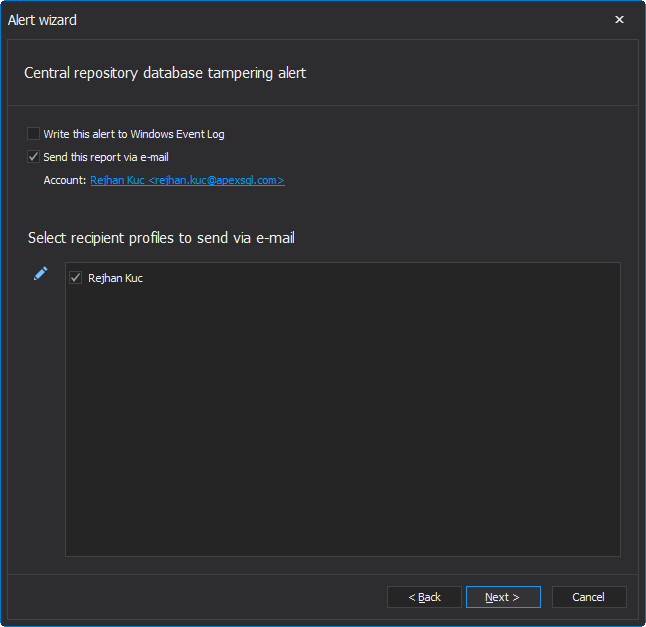
Once you have your email configured, please check the recipient profile for sending alert to, and click Next:
-
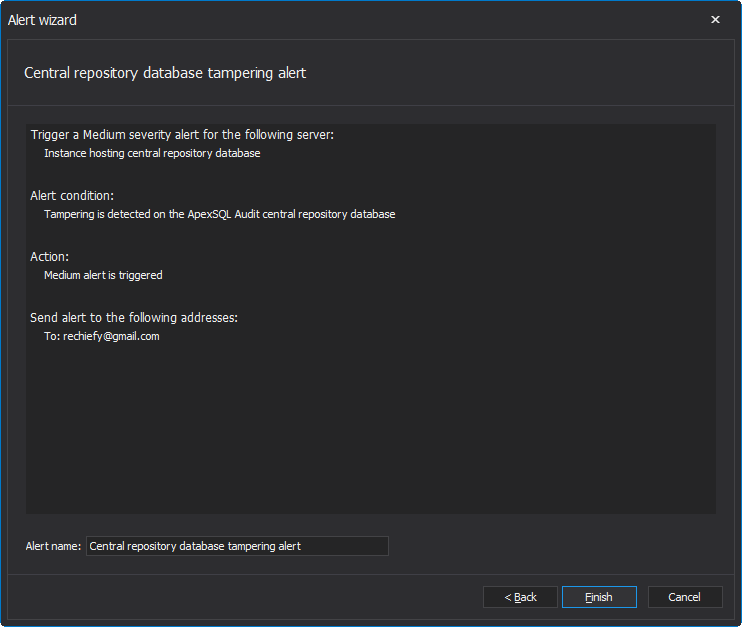
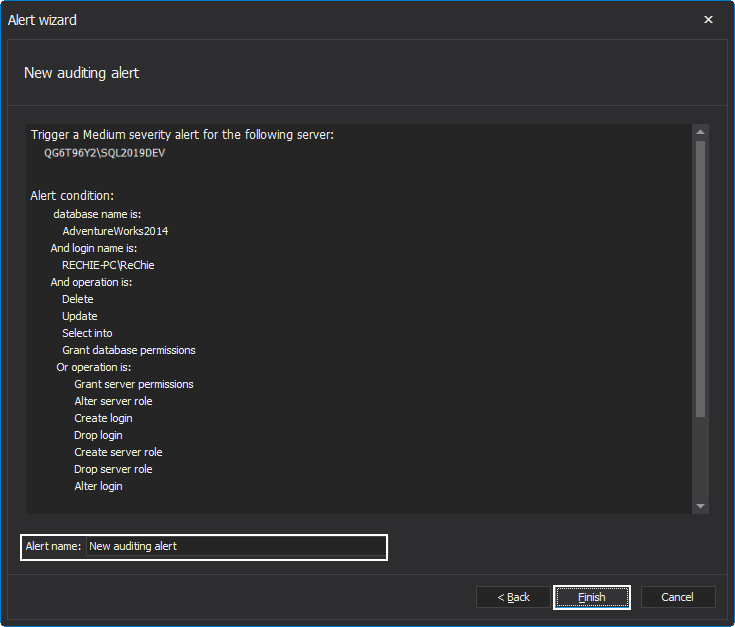
As the next and finish step, in the last window of the Alert Wizard, you will be able to preview all the information related to the alert and name it by your desires, by clicking Finish the process is complete.
Creating custom alerts
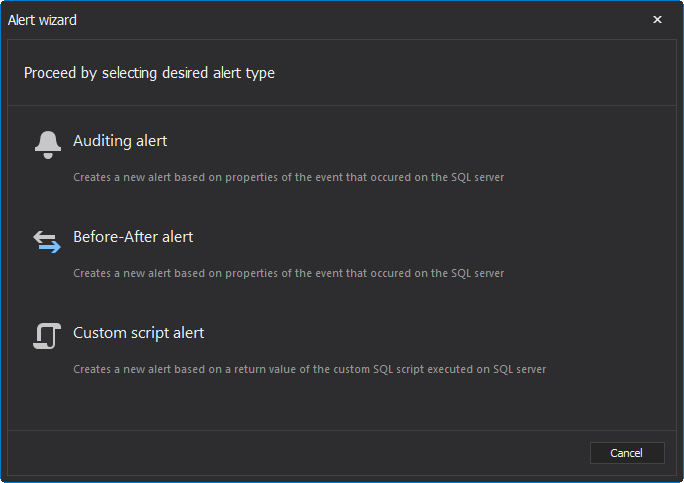
To create a custom alert click the New button. In the new Alert wizard are listed three different alert types to choose from. For the reference we will use the Auditing alert, note that the process is straight-forward for any type and very similar to one we are about to explain
Custom auditing alert
-
Choose the auditing alert in the list:
-
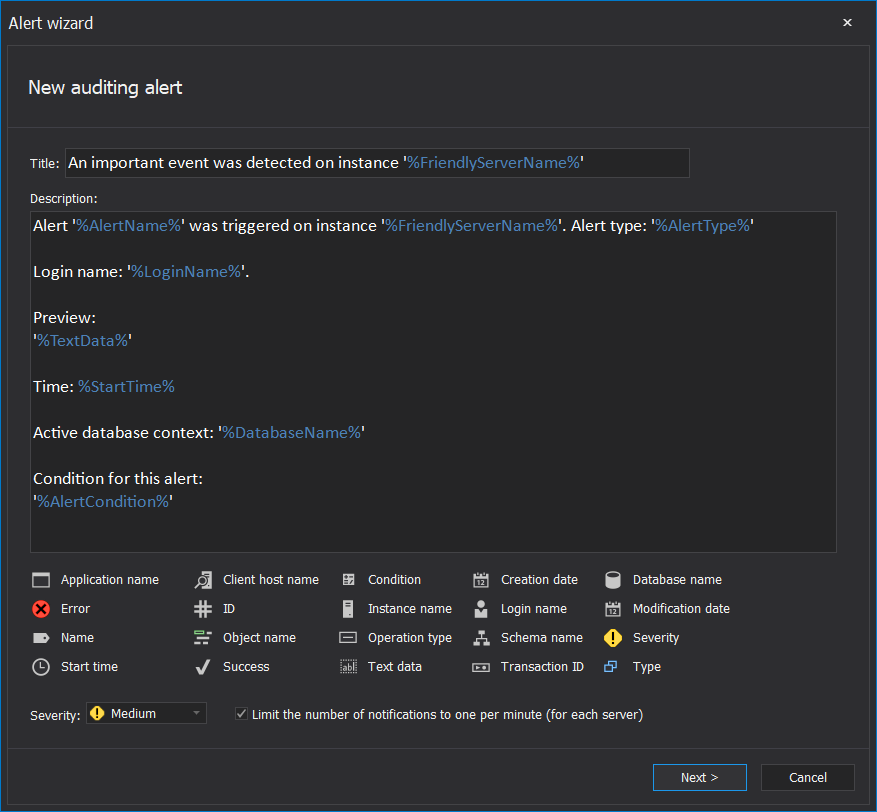
In the next window of Alert Wizard you can configure the alert information depending on the events you choose, there are many event types to be chosen from the list, as well as the classification of the alert severity.
-
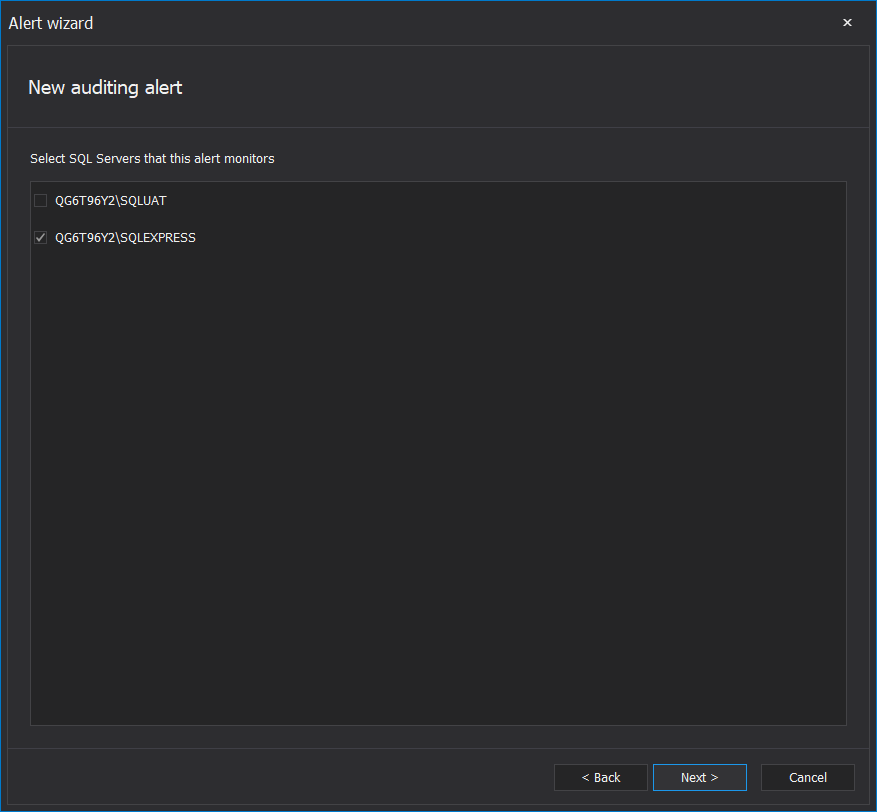
The next step includes choosing the server instances to monitor
-
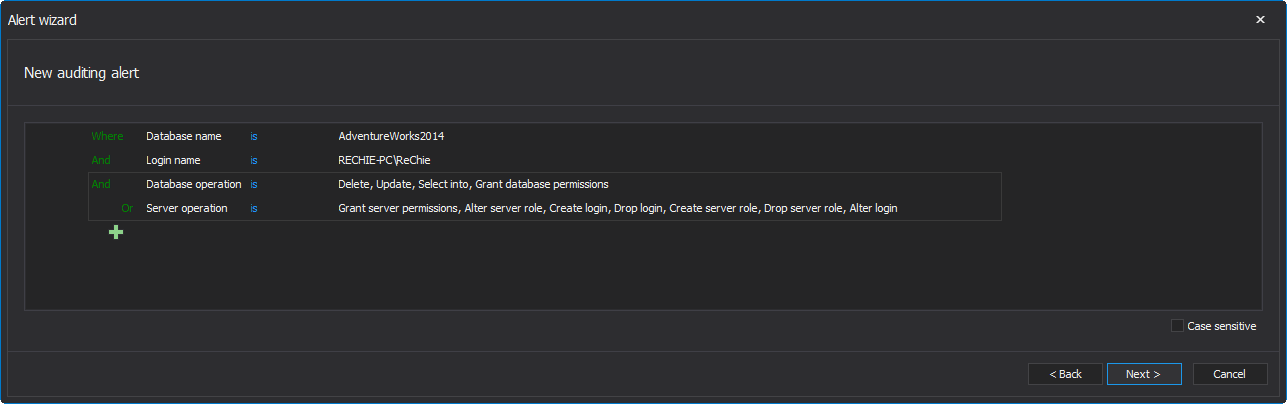
Set alert conditions by filtering captured data for desired events by using the advanced filter and click Next:
-
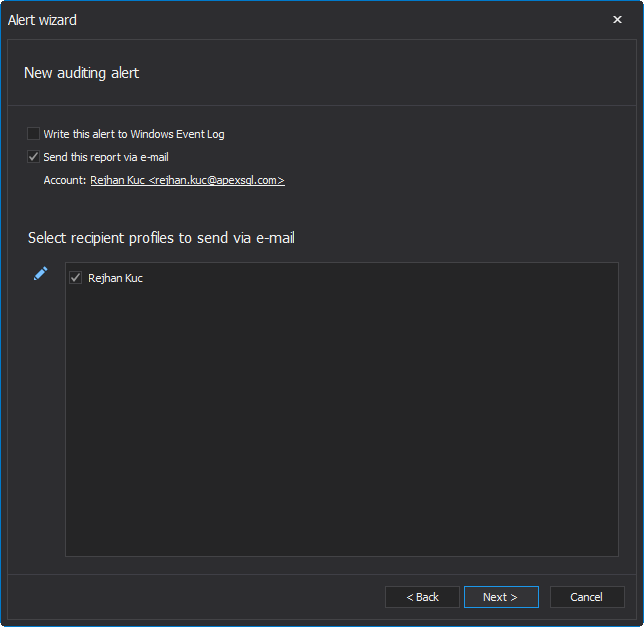
Choose the profiles you are sending an email alert notification and/or write the alert to Windows Event Log
-
In the next and final step, you will receive all the information of this configuration, set the name for the alert and click Finish
Note: When an email account is set once the application will use the configured account always.


