


In this article we will explain how to install ApexSQL add-ins and integrate them into SQL Server Management Studio and Visual Studio.
Installation of ApexSQL add-ins can be done in two ways:
- Via the GUI:
- Using the Single installer which contains installers for all ApexSQL tools (ApexSQLInstaller.exe)
- Using the individual Installer (e.g. ApexSQLSourceControl.exe, ApexSQLUnitTest.exe…)
- Via the Command prompt
Installing add-ins via GUI
Installing add-ins using the Single installer
The Single installer allows users to install more than one ApexSQL tool at the same time.
The first step is downloading it from the ApexSQL Downloads page:

|
Quick tip: Before starting the installation process, all running instances of SQL Server Management and Visual Studio must be closed |
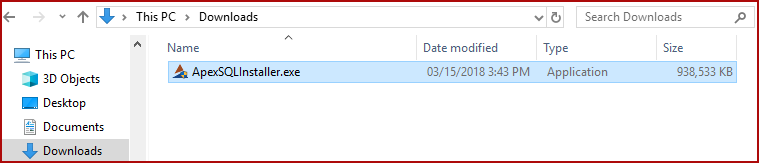
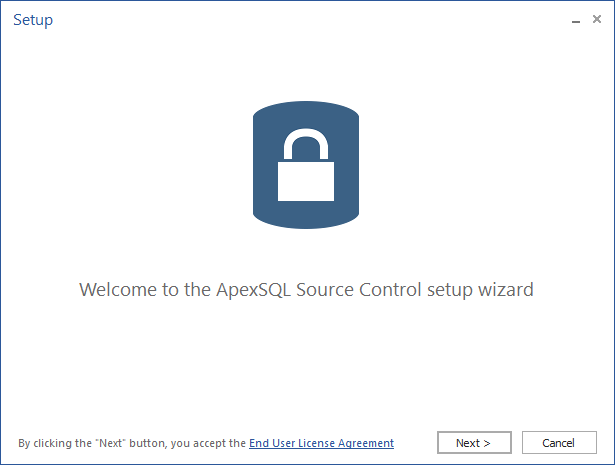
Once the Single installer is downloaded, double click on the downloaded ApexSQLInstaller.exe file to start ApexSQL software setup:
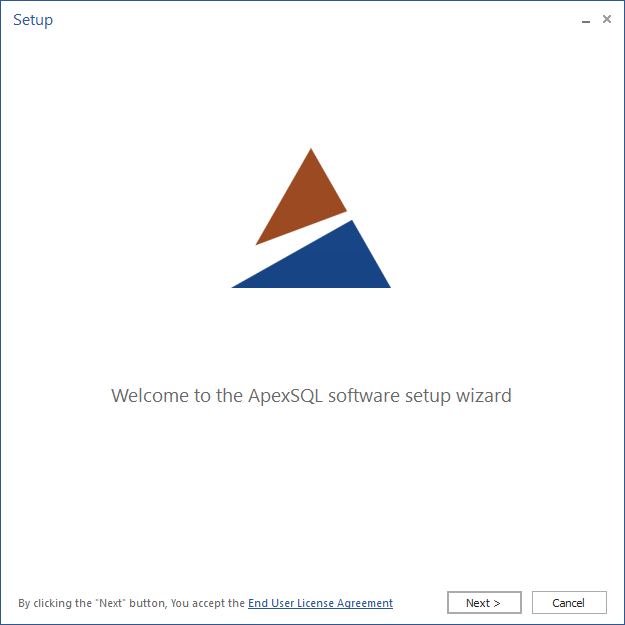
To check the ApexSQL End User License Agreement (EULA), click on the link on the bottom of the ApexSQL software setup window:
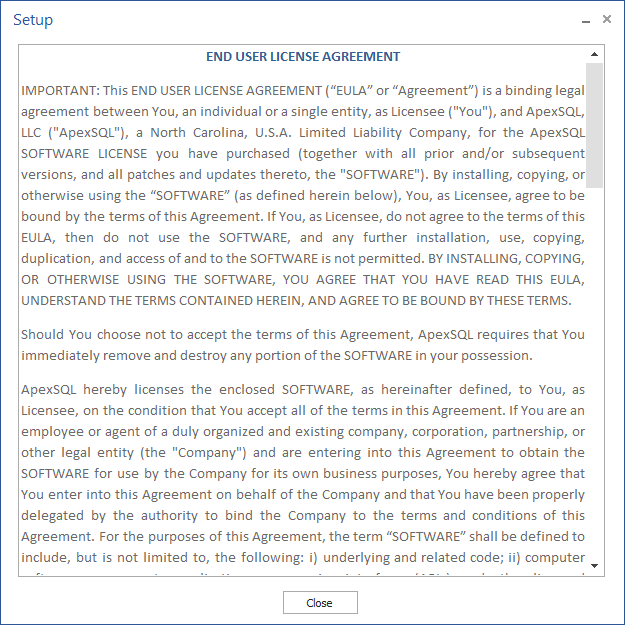
If you agree with the terms, click the Close button and press the Next button to continue with the installation process.
The next ApexSQL software setup window contains information about the installation folder path. The default installation folder path is <drive_letter>:\Program Files\ApexSQL, but it can be changed by clicking the Browse for folder button:
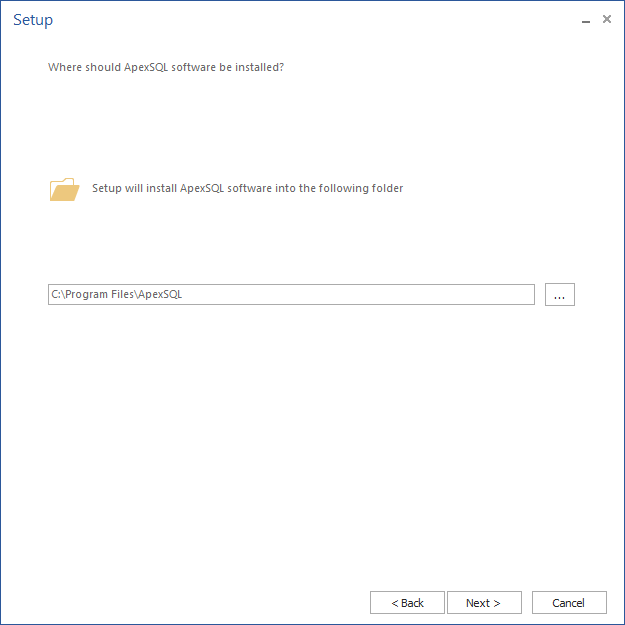
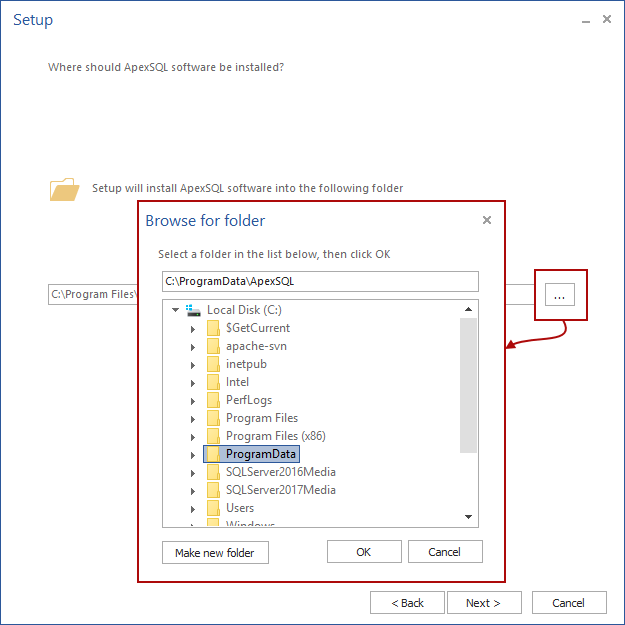
When the installation folder path is set, click the OK button and then the Next button to continue with the installation process. In the next ApexSQL software setup window you will be shown all ApexSQL tools, divided as the standalone applications and the add-ins:
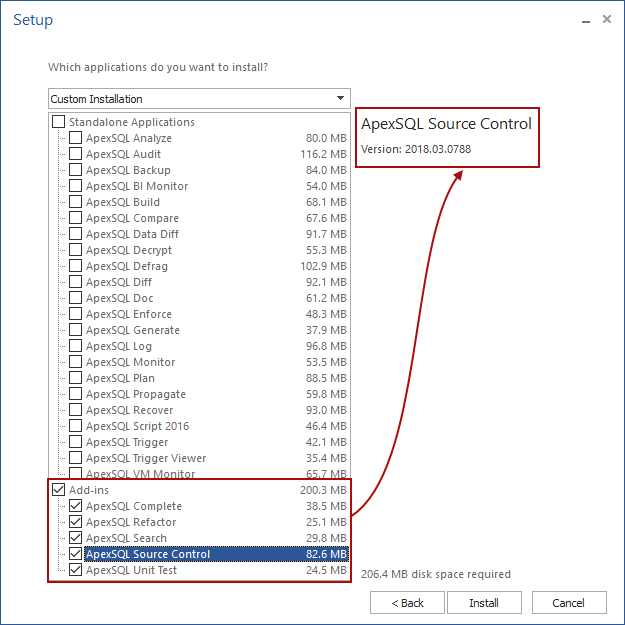
More than one add-in can be chosen for installation at the same time by checking it on the list. After choosing the add-in or add-ins to be installed, click the Install button.
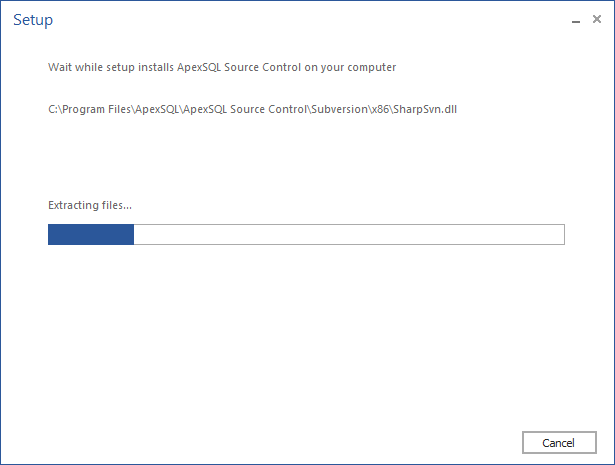
The last dialog that appears in the installation steps is the dialog which shows that the installation process is successfully finished:
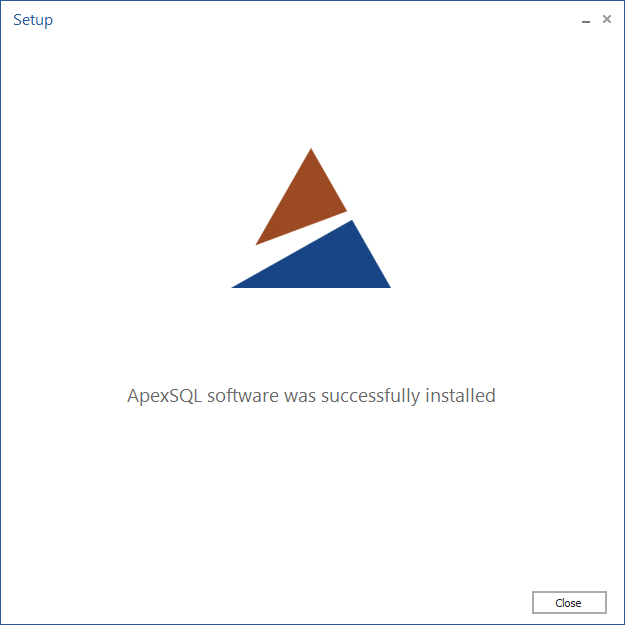
Click the Close button to close the ApexSQL installation wizard.
Most of the add-ins support Visual Studio integration as well as SSMS integration, (e.g. ApexSQL Refactor, ApexSQL Complete). When installing these add-ins via the Single installer they will be integrating into all installed and supported SSMS and VS instances found on that machine. To check which add-ins support both integrations, go to the ApexSQL Supported software page:
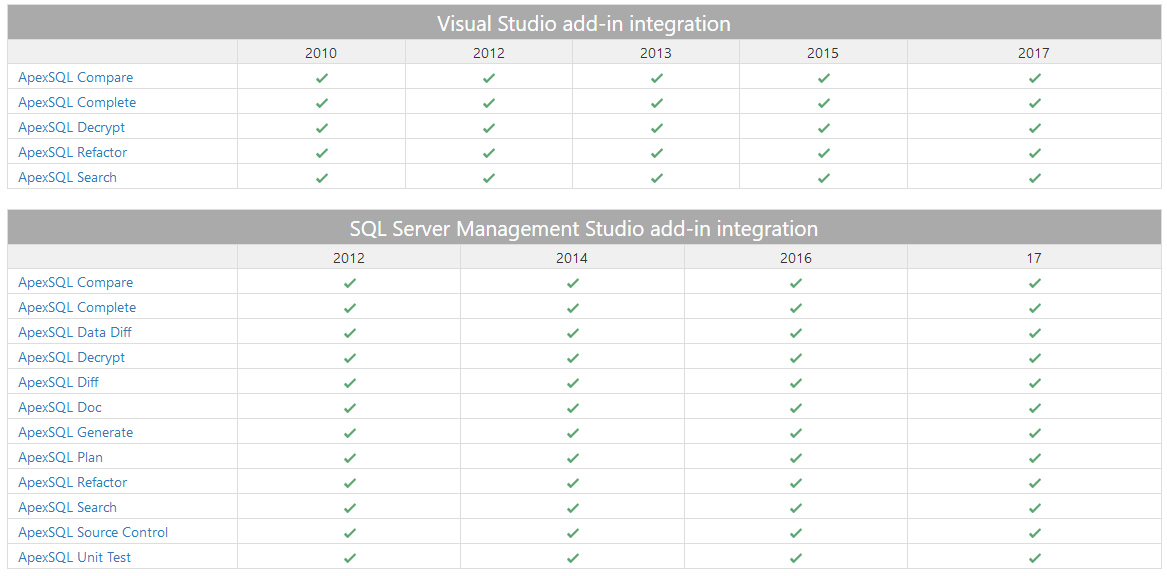
Some of the ApexSQL standalone applications (e.g. ApexSQL Diff) support SSMS and VS integration as well. But, by default, using the Single installer will not integrate them into SSMS or VS.
If the machine hosts more than one SSMS/VS instance, by using the Single installer you cannot choose into which host instance(s) the add-in will be integrated.
To remove ApexSQL tools from SSMS and leave them in VS without uninstalling them, read the How to remove ApexSQL tools from SQL Server Management Studio article.
Integrating the standalone application into SSMS or VS instances can be done only by using the Individual installer.
After all that being said, if you require more control when installing the add-ins, the best practice is to use the Individual installer.
Installing add-ins using the Individual installer
We will show how the Individual installer for SSMS add-ins works by installing ApexSQL Source Control and for SSMS/VS add-ins we will be using ApexSQL Refactor.
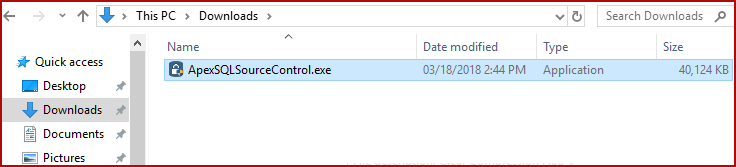
To download the individual installer, go to the ApexSQL Downloads page, navigate to the add-in and click the Free trial button:

When the download is done, double clicking on the Individual installer will start the ApexSQL Source Control setup:
The first two steps are the same in the Single and the Individual installer, so we will not explain them again.
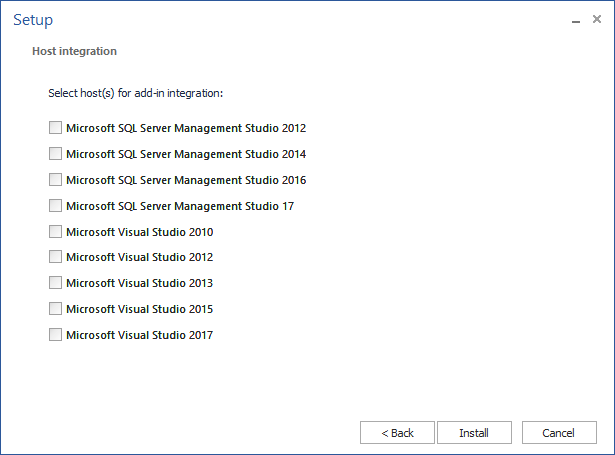
When using Individual installer, the third step will be Host integration step.
For the SQL Server Management Studio (SSMS) add-ins in the Host integration step will be listed all supported SSMS instances (example of the Host integration step only for the SSMS add-ins (ApexSQL Source Control)):

For the SSMS/VS add-ins will be listed all SSMS and all VS supported instances (example of the Host integration step for the SSMS and VS add-ins (ApexSQL Refactor)):

By default, all installed and supported SSMS and VS instances on a machine will be checked. To integrate the add-in only in specific SSMS/VS instances, check only them and uncheck the other listed instances and click the Install button:
If the installation process goes well, the following window will appear:
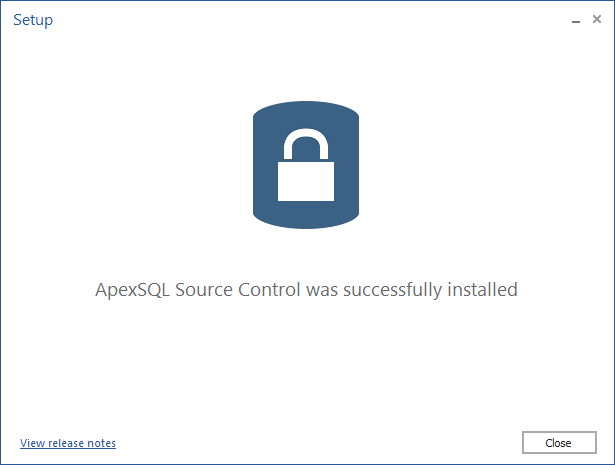
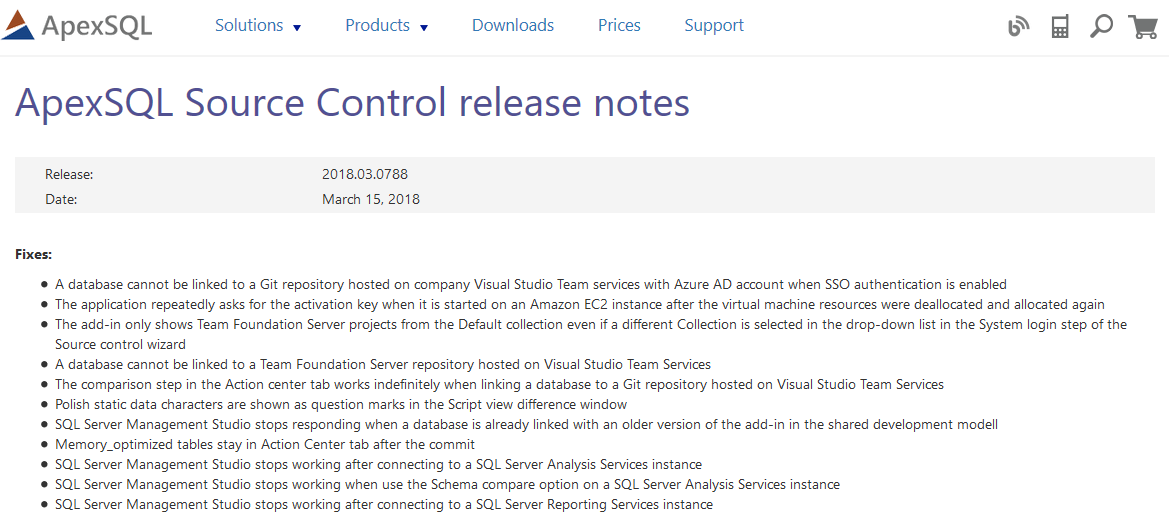
Clicking on the View release notes link, located on the bottom of this Setup window, will open the Release notes page of the add-in (e.g. ApexSQL Source Control)
To finish the installation process, click the Close button.
Installing tools using the Individual installer
The integration process is the same as it is mentioned in the Installing add-ins using Individual installer section.
The only difference between the installation process of the add-in and the standalone application, which can be integrated in SSMS and VS as well, is in the Host integration step. By default, in the Host step of the standalone installation all installed and supported SSMS and VS instances, by default, will be unchecked:
If you do not want to integrate the application in any of the listed instances leave all of them unchecked.
Installing add-ins using Command Prompt (CLI)
Installation any of the add-ins can be done through CLI as well.
Start Command Prompt as administrator and navigate to the folder that contains the add-in installation file (e.g. ApexSQLSourceControl.exe). Type the name of the installation file, ApexSQLSourceControl.exe and add any switch to define type of the installation process. Depending on the added switches installation can be silent (/SILENT), very silent (/VERYSILENT) or without any messages (/SUPPRESSMSGBOXES).

This command will install ApexSQL Refactor in all SSMS and Visual Studio versions that are available on the machine on which the installation process is performed.
Additional information about this type of installation can be found in the Silent installation and un-installation of ApexSQL tools article.
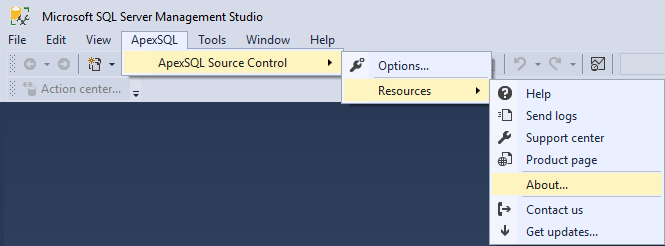
When the installation process, regardless of which one explained above is chosen, is done, the add-in will be integrated into the selected SSMS/VS instance. The ApexSQL main menu will be created in SSMS/VS, containing the add-in sub menu.
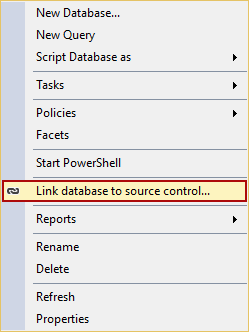
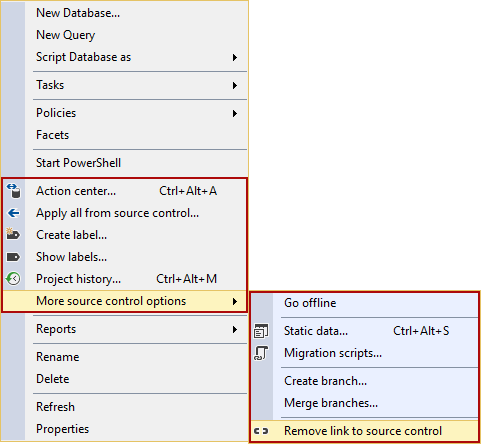
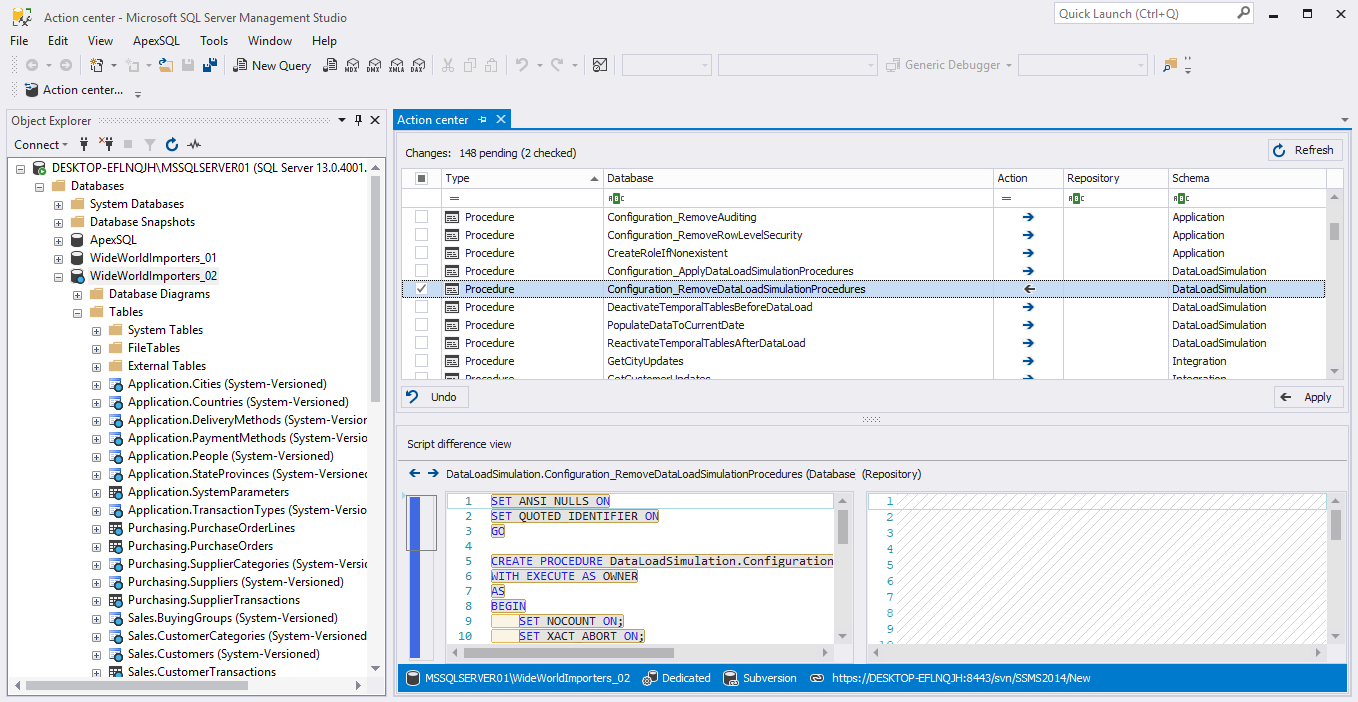
Example for ApexSQL Source Control in SSMS:
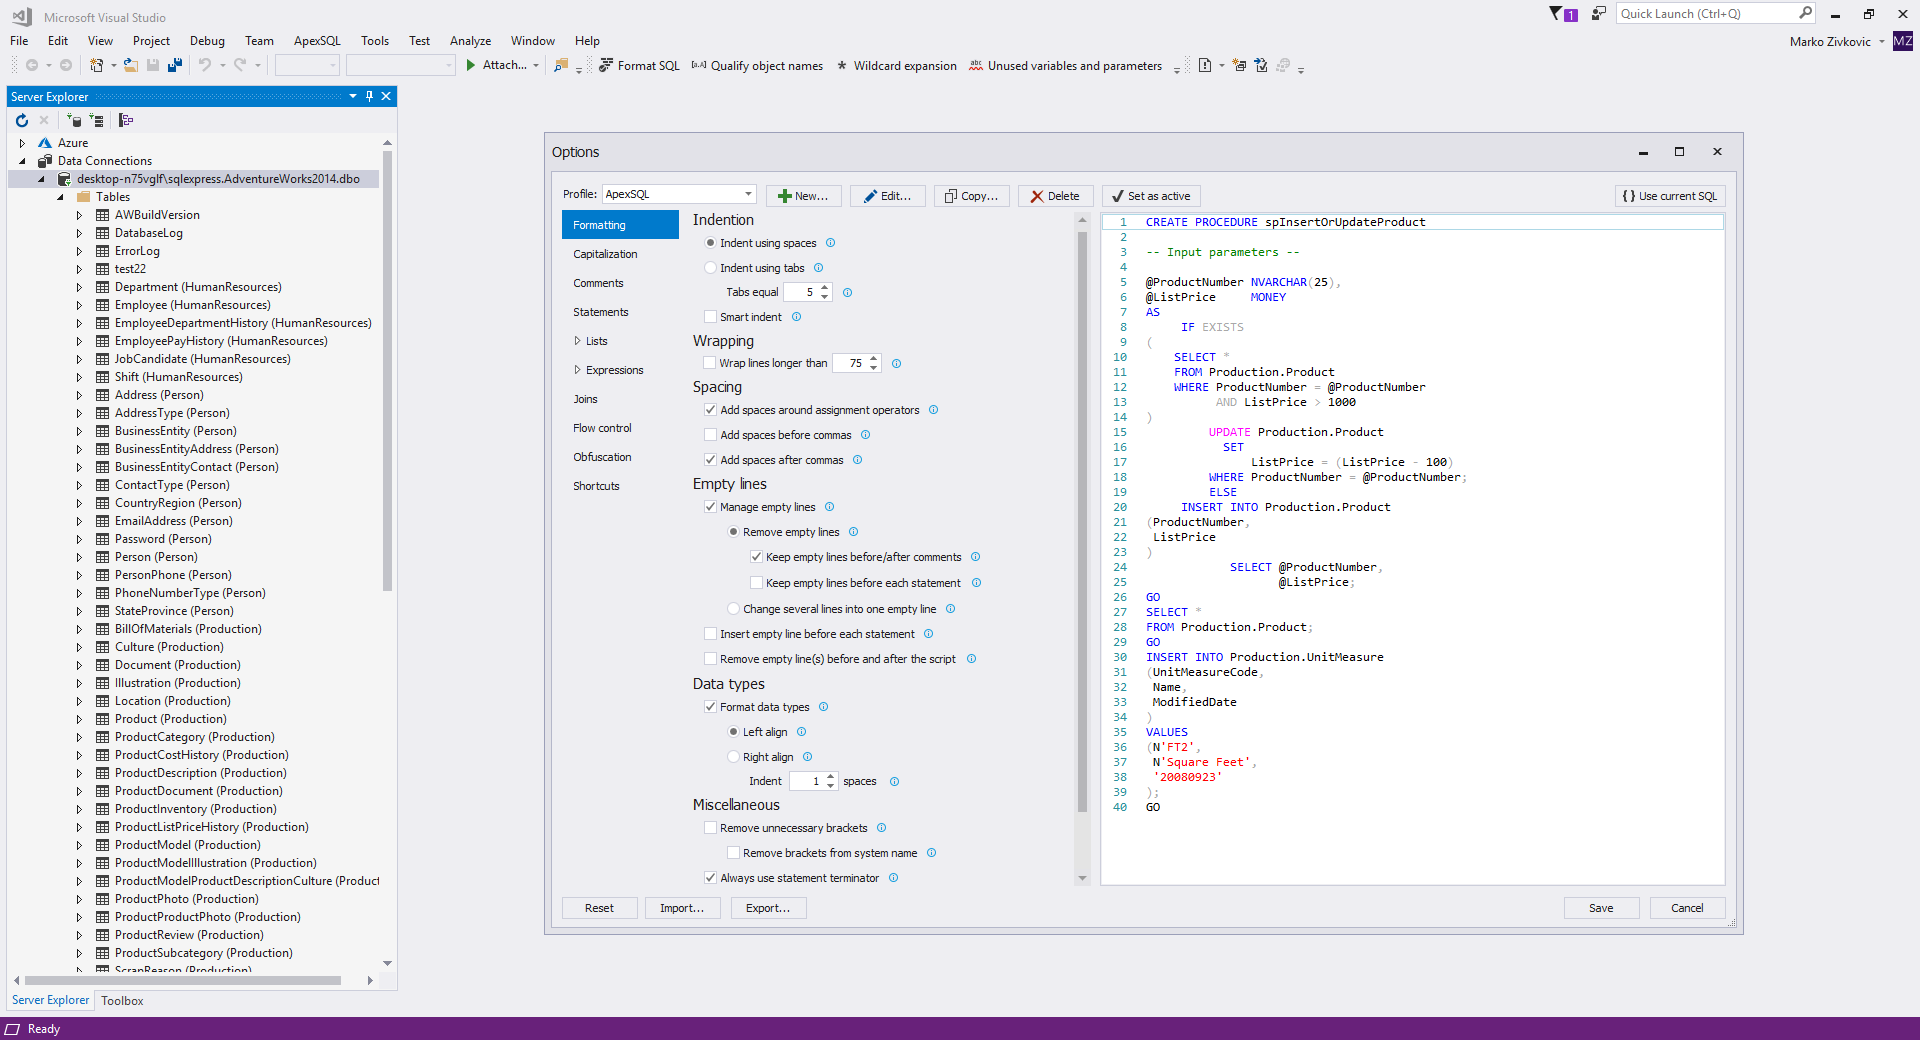
Example for ApexSQL Refactor in VS:
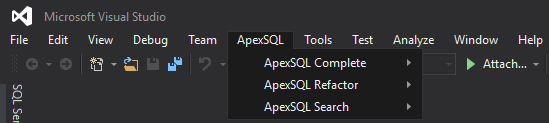
Additionally, in the context menu in the Object Explorer pane, the add-in commands will be added:
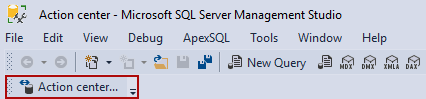
And the toolbar will be added as well:

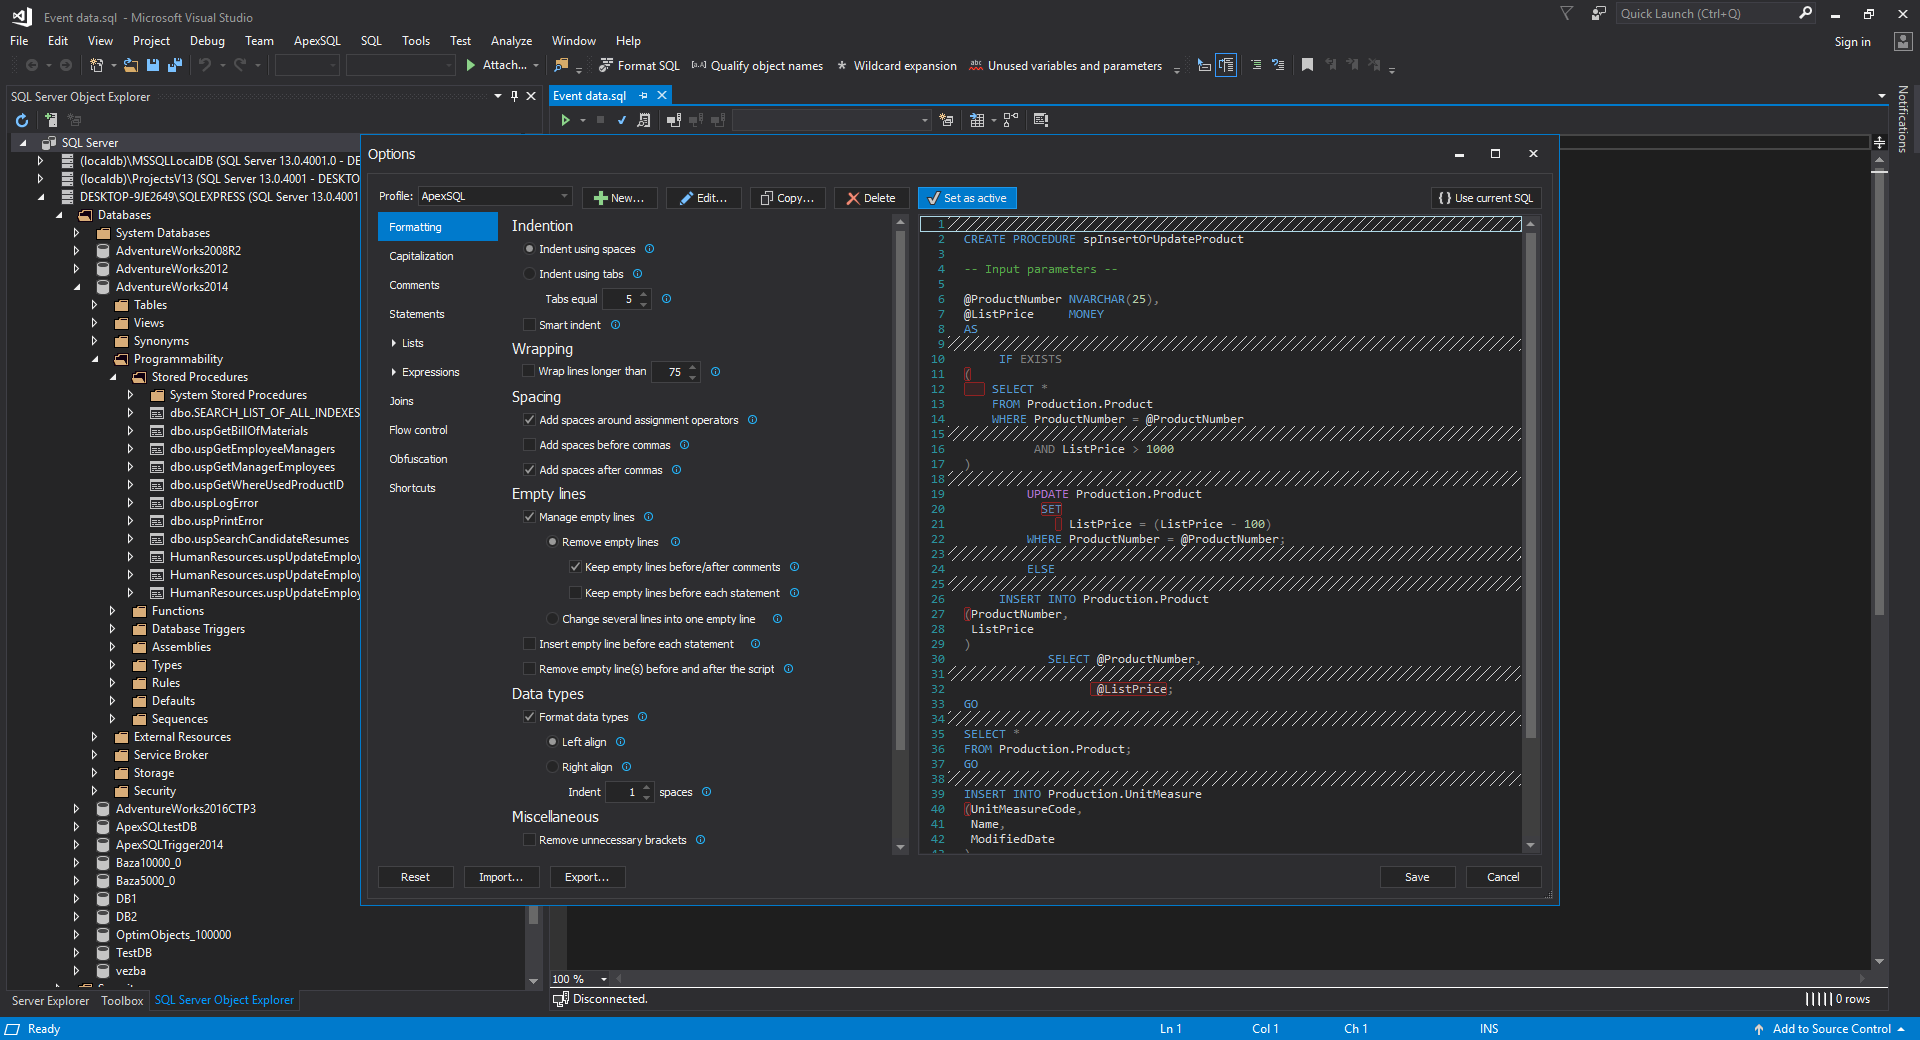
All ApexSQL 2018 add-in versions automatically adapt to the host theme settings. More can be found on the Host aware theming in ApexSQL add-ins page.
Light
ApexSQL Source Control in SSMS
ApexSQL Refactor in VS
Blue
ApexSQL Source Control in SSMS

ApexSQL Refactor in VS

Dark
ApexSQL Source Control in SSMS

ApexSQL Refactor in VS
See also:
How to remove ApexSQL tools from SQL Server Management Studio
How to remove add-ins just from Visual Studio while retaining them in SQL Server Management Studio
Silent installation and un-installation of ApexSQL tools
How to manually uninstall ApexSQL add-ins


