Applies to
ApexSQL Complete, ApexSQL Refactor, ApexSQL Search
Summary
This article will show how to manually uninstall an ApexSQL add-in. This uninstall method is used when automatic uninstall process fails to remove an ApexSQL add-in from the machine.
|
Quick tip: Before the manual uninstallation, all running instances of SQL Server Management Studio and Visual Studio must be closed |
For the purpose of the article, the ApexSQL Search add-in will be used as an example but the manual uninstall process is the same for all ApexSQL add-ins.
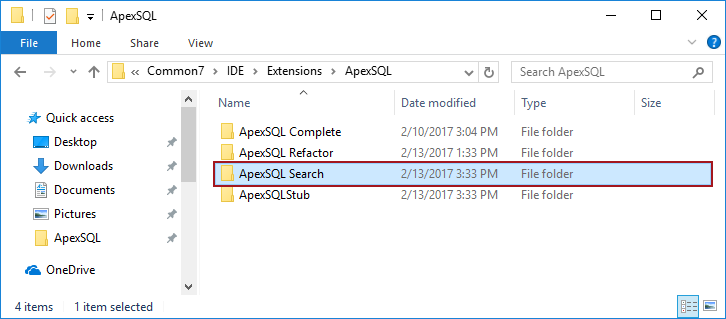
First thing that needs to be done is to delete the ApexSQL Search folder from the location where it is installed, by default this folder is placed in Program Files under the ApexSQL folder:

|
Quick tip: If ApexSQL Search is the only ApexSQL add-in installed on machine then the ApexSQLStub folder need to be deleted from all location that appears in the article too, otherwise the ApexSQLStub must remain intact |
After deleting the ApexSQL Search folder from Program Files, go to this location: C:\Users\<User_Name>\AppData\Local\ApexSQL and if exist delete ApexSQL Search folder:
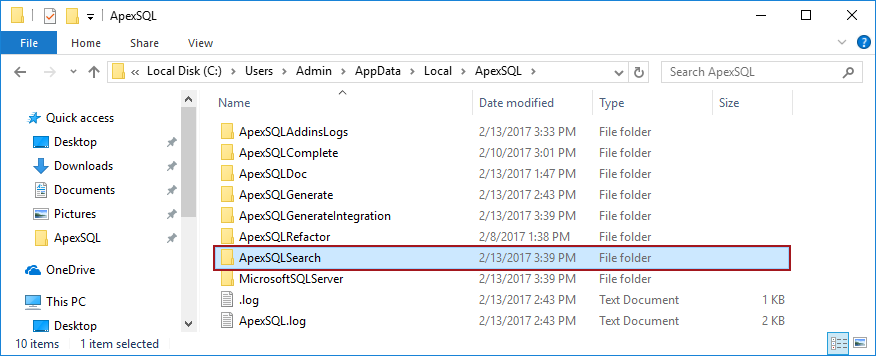
Note: To access the AppData folder, you’ll have to enable the “Show hidden files, folders, and drives” option.
To do so, please go to Control panel -> Folder options -> Click on the View tab -> check Show hidden files, folders, and drives -> click OK
SQL Server Management Studio 2012/2014
Deleting the ApexSQL Search folder from Program Files and AppData, manual uninstall process of ApexSQL Search add-in is finished for those users that have SSMS 2012/2014.
SQL Server Management Studio 2016
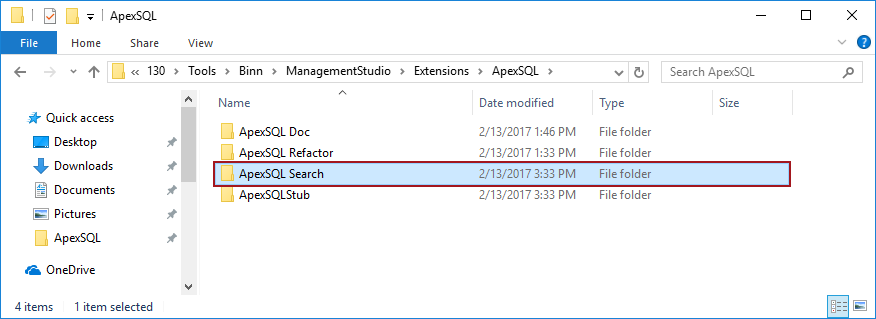
Besides deleting the ApexSQL Search folder from Program Files and AppData, additional step needs to be done before completely removing the ApexSQL Search add-in from SSMS 2016.
Go to this location: C:\Program Files (x86)\Microsoft SQL Server\130\Tools\Binn\ManagementStudio\Extensions\ApexSQL and delete the ApexSQL Search folder:
Visual Studio 2010
Go to this location: C:\Program Files (x86)\Microsoft Visual Studio 10.0\Common7\IDE\Extensions\ApexSQL and delete the ApexSQL Search folder:

Open the cmd window as administrator:
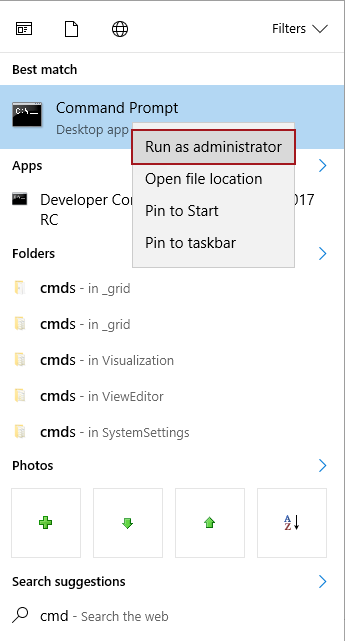
Paste the following code: “C:\Program Files (x86)\Microsoft Visual Studio 10.0\Common7\IDE\devenv.exe” /setup and press the Enter key

|
Quick tip: The number in the name of the folder Microsoft Visual Studio depends on the version of the Visual Studio. So, if Visual Studio 2015 is installed, the name of the folder will be “Microsoft Visual Studio 14.0” |
Visual Studio 2012 and later versions
In the example, Visual Studio 2013 is used.
Go to this location: C:\Program Files (x86)\Microsoft Visual Studio 12.0\Common7\IDE\Extensions\ApexSQL and delete the ApexSQL Search folder
After deleting the ApexSQL Search folder from the above mentioned location, the Visual Studio settings needs to be updated.
Open the cmd window as an administrator and paste the following: “C:\Program Files (x86)\Microsoft Visual Studio 12.0\Common7\IDE\devenv.exe” /updateconfiguration, then press the Enter key:

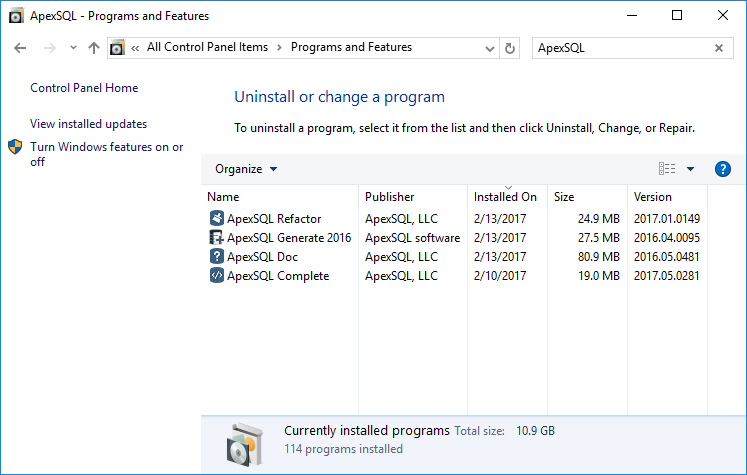
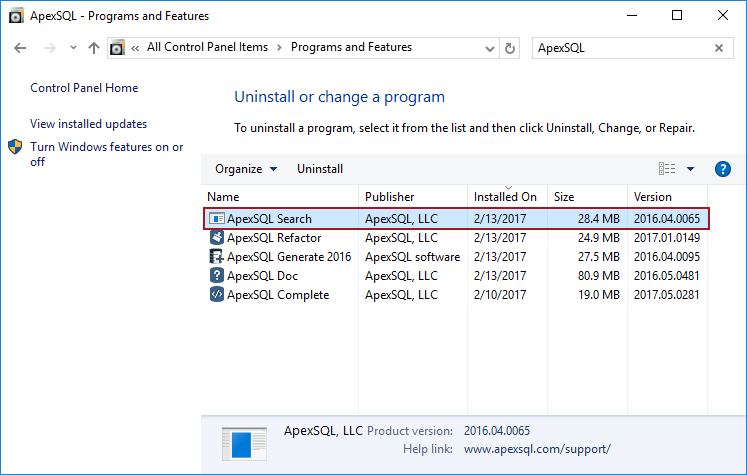
In some cases, the manually uninstalled add-in may stay in the Programs and Features list as it shown in the image below:
In that case all that need to be done is to select the add-in, press the Uninstall button on the top of the Program and Features list and from the warning dialog box press the Yes button:
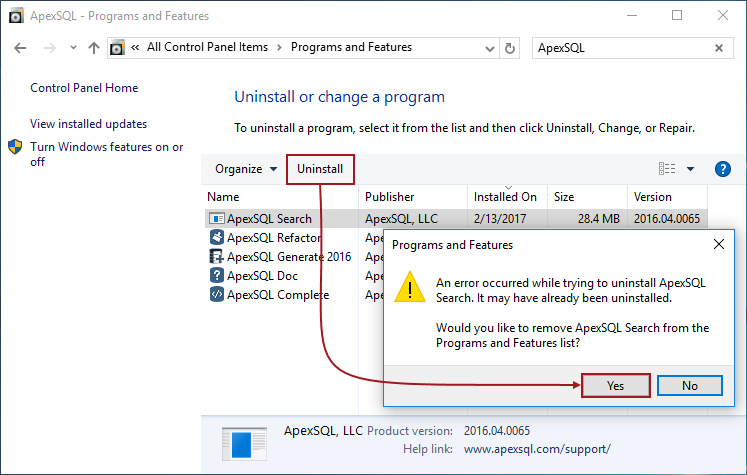
The manually uninstalled add-in will be removed from the list: