


Applies to
ApexSQL Complete, ApexSQL Refactor, ApexSQL Search, ApexSQL Compare
Summary
This article describes how to uninstall (manually remove) one or more ApexSQL add-ins from Visual Studio, without affecting the functionality in SQL Server Management Studio.
In this article, the example covers removing ApexSQL Complete, but the manual remove process works the same way for all ApexSQL add-ins that support integration into Visual Studio.
|
Quick tip: Before the manual uninstallation, exit all running instances of SQL Server Management Studio and Visual Studio |
Visual Studio 2010 up to 2015
In this example, Visual Studio 2010 is used, but the process is the same up to 2015 version.
Go to this location:
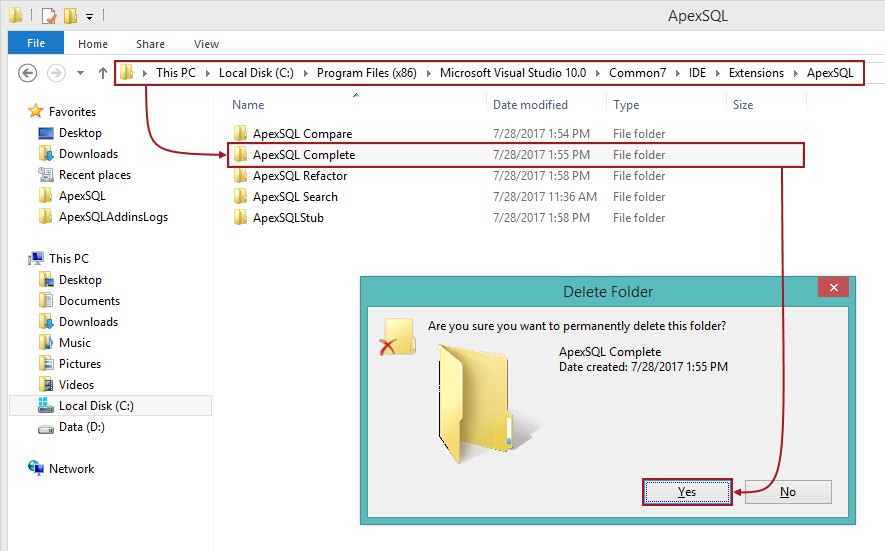
C:\Program Files (x86)\Microsoft Visual Studio 10.0\Common7\IDE\Extensions\ApexSQL
Depending on the version of Visual Studio, the version number in the default installation location will be different. For the list of products and its version number check the list below:
| Product name | Version number |
| Visual Studio 2010 | Microsoft Visual Studio 10.0 |
| Visual Studio 2012 | Microsoft Visual Studio 11.0 |
| Visual Studio 2013 | Microsoft Visual Studio 12.0 |
| Visual Studio 2015 | Microsoft Visual Studio 14.0 |
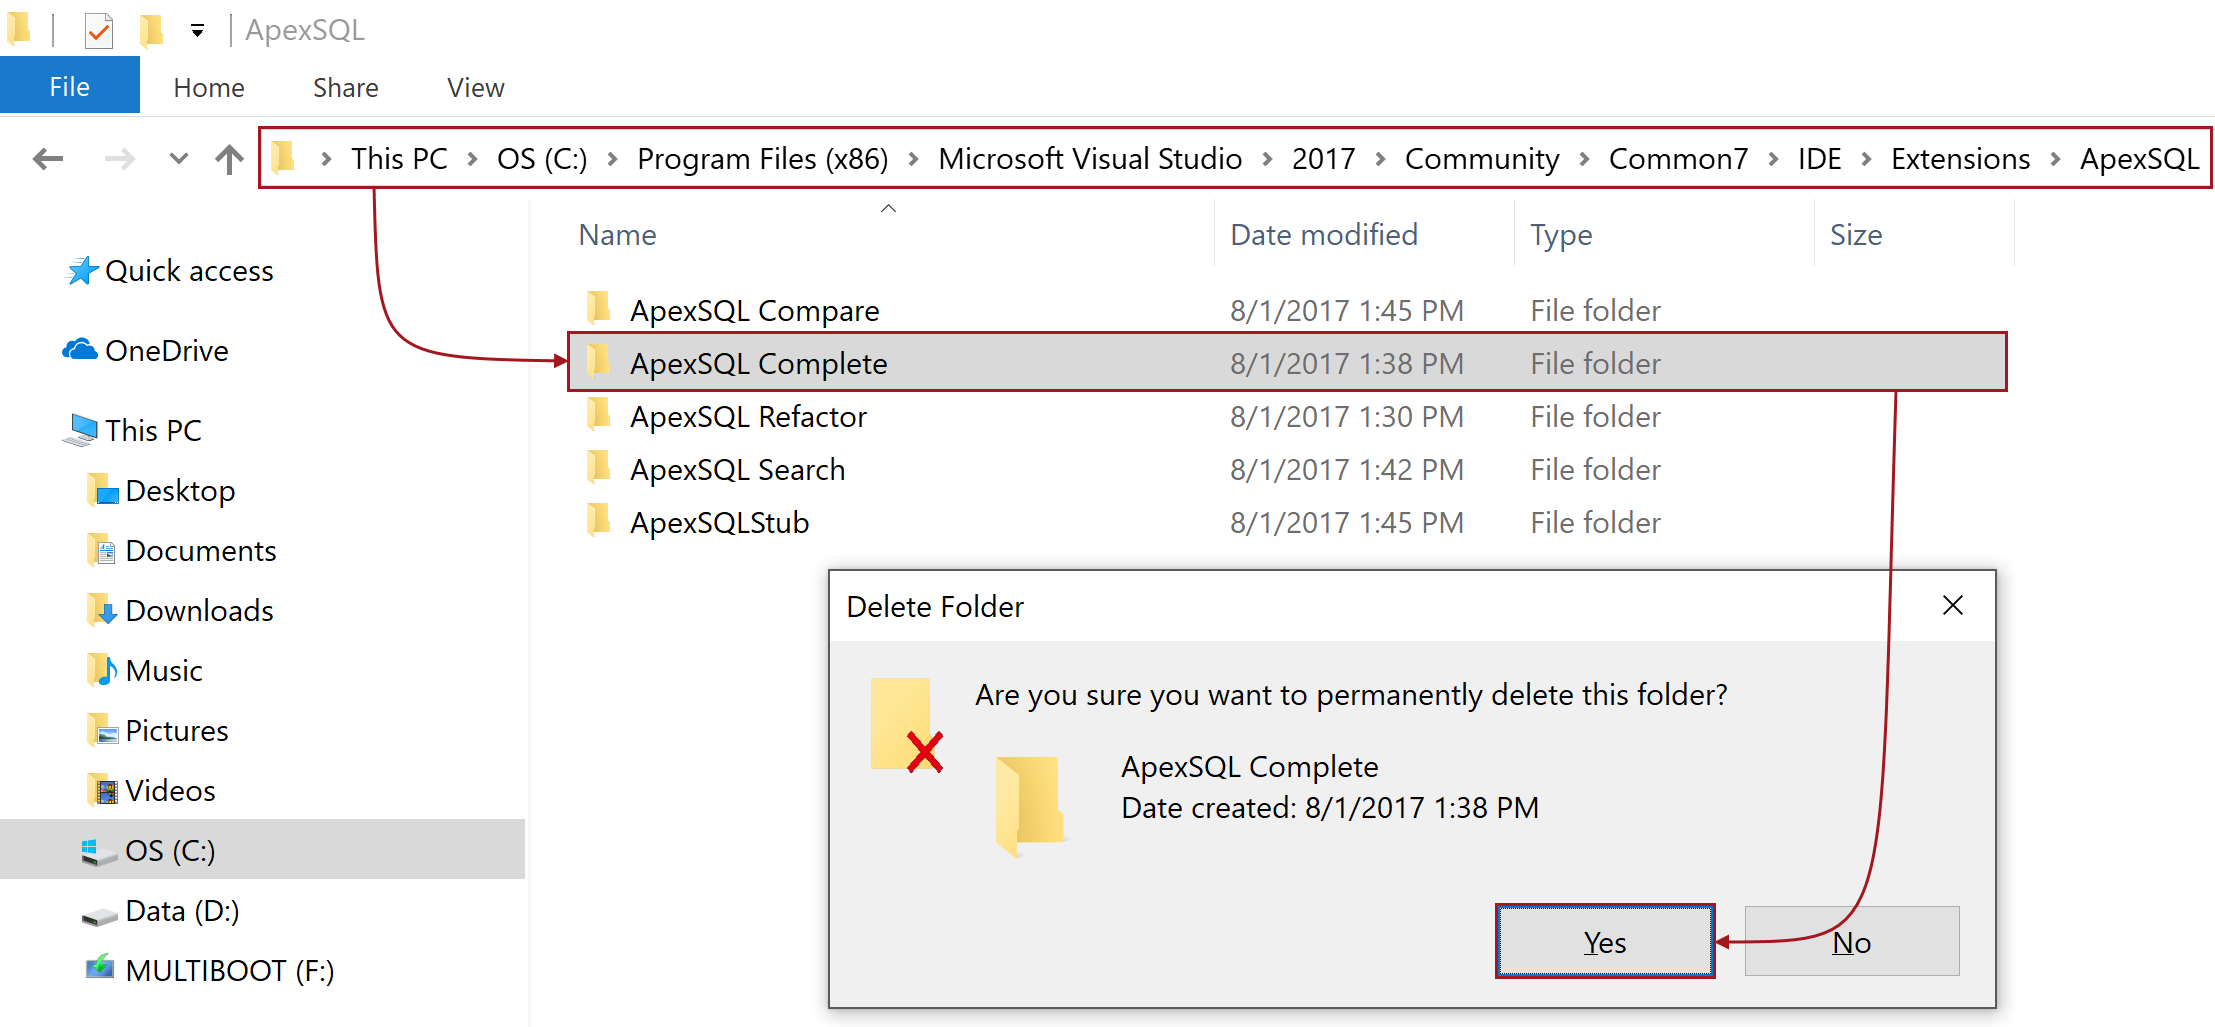
Select and delete the ApexSQL Complete folder and its contents. If you want to remove more than one add-in, simply select multiple folders and delete them:
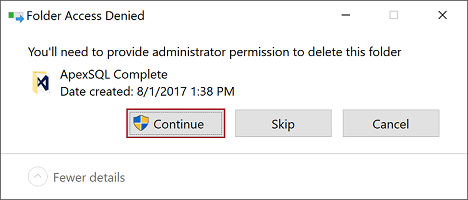
If Windows prompts a pop-up dialog asking for administrator permissions, just click the Continue button:

This step might may be different in some cases depending on your User Account Control (UAC) settings.
|
Quick tip: If ApexSQL Complete is the only ApexSQL add-in installed on machine then the ApexSQLStub folder needs to be deleted, otherwise the ApexSQLStub must remain intact |
After deleting the ApexSQL Complete folder, it’s essential to merge the resource metadata that describes menus, toolbars, etc. from all available VSPackages, so you don’t encounter any errors on Visual Studio start up.
To do this, you must open Command Prompt as an administrator:
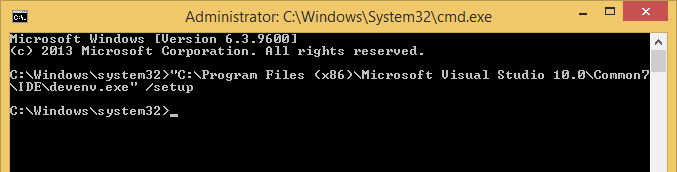
Paste and run the following command:
“C:\Program Files (x86)\Microsoft Visual Studio 10.0\Common7\IDE\devenv.exe” /setup
Please note the command is different for Visual Studio 2012, 2013, and 2015.
Visual Studio 2012
“C:\Program Files (x86)\Microsoft Visual Studio 11.0\Common7\IDE\devenv.exe” /updateconfiguration
Visual Studio 2013
“C:\Program Files (x86)\Microsoft Visual Studio 12.0\Common7\IDE\devenv.exe” /updateconfiguration
Visual Studio 2015
“C:\Program Files (x86)\Microsoft Visual Studio 14.0\Common7\IDE\devenv.exe” /updateconfiguration
You will not see any confirmation on success, but, barring any errors, the command will be executed successfully and you are ready to go.
Bear in mind, if you copy the code from above directly from ApexSQL website, you might get the message that indicates the following:
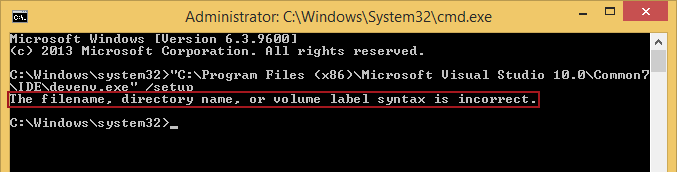
This is due to Unicode characters and quotation mark incompatibility when the code is copied to the clipboard.
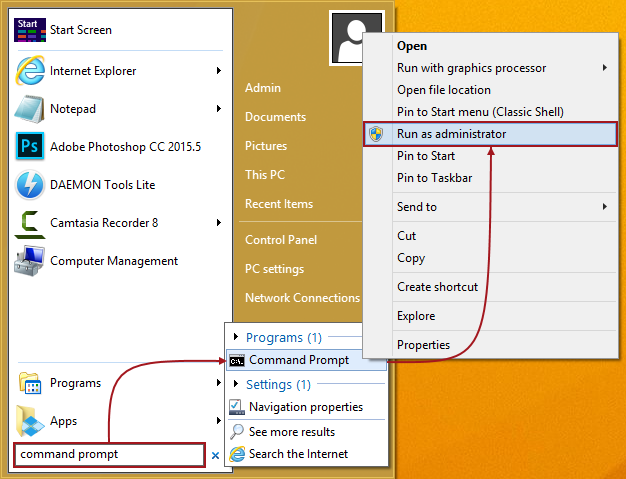
The best practice is to copy – paste the location within the Windows environment. Locate the Visual Studio instance on Desktop or in Programs, right click it and select Properties. Then, select the path in the Target box, copy it and then paste it into Command Prompt:
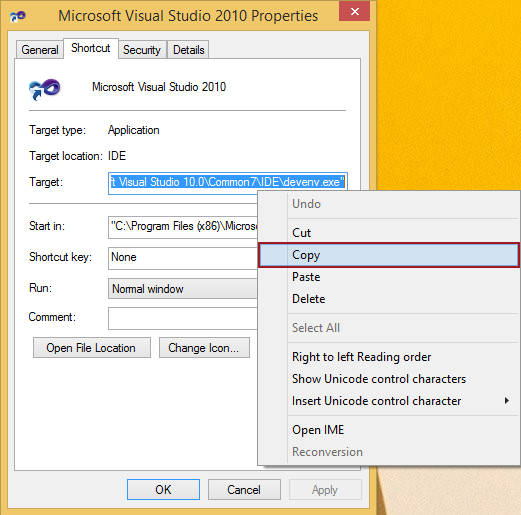
|
Quick tip: This is also useful if you changed the default installation location during the installation process of Visual Studio, as the above examples will not work in that case |
Visual Studio 2017
In the latest version of Visual Studio, Microsoft changed the installation path. Depending on the IDEs that you have installed, the default location will differ after the 2017 folder to Community, Enterprise, or Professional. However, the process is the same. Locate and delete the ApexSQL Complete folder.
Depending on the IDE go to appropriate location for:
Visual Studio 2017 Community
C:\Program Files (x86)\Microsoft Visual Studio\2017\Community \Common7\IDE\Extensions\ApexSQL
Visual Studio 2017 Enterprise
C:\Program Files (x86)\Microsoft Visual Studio\2017\Enterprise \Common7\IDE\Extensions\ApexSQL
Visual Studio 2017 Professional
C:\Program Files (x86)\Microsoft Visual Studio\2017\Professional \Common7\IDE\Extensions\ApexSQL
As before, if Windows prompts a pop-up dialog asking for administrator permissions, just click the Continue button:
After deleting the ApexSQL Complete folder, it’s necessary to merge the Visual Studio packages on the system.
Open the Command Prompt as administrator, paste the following and press the Enter key:
“C:\Program Files (x86)\Microsoft Visual Studio\2017\Community\Common7\IDE\devenv.exe” /updateconfiguration

|
Quick tip: If you have more than one IDE installed, and you want to remove the add-in from multiple instances of Visual Studio 2017, repeat the same steps, and make sure to change the folder path in both steps |


