


Applies to
Summary
This article provides an insight into the process of performing quick actions for all core features of the SQL manage instance application.
Description
The quick actions feature provides fast scanning of the network in search of the SQL Server instances and accessing them so they can be further analyzed in search of the issues, documented at the server level, and compared to other instances or snapshots.
This may prove to be a better and more productive solution when compared to the option of always tweaking the same set of settings throughout the application’s main GUI, which may be a tiresome task for some DBAs.
Additionally, it will certainly save some considerable amount of time and boost one’s performance and productivity.
The main purpose of this feature is to make interaction with the tool as simple as possible by allowing to tweak the defaults and create custom configuration settings for all core features and execute them easily from one centralized location.
Quick actions can be configured for the following features:
- Search and discovery of new SQL Server instances across the network
- High-level analysis of SQL Server instances
- Comparison between the SQL Server instances and its snapshots
- SQL Server instance and snapshot documentation
- SQL Server instance creation
Quick actions configuration setup
To configure quick actions, head over to the Configuration tab and click the Quick settings button. This action will initiate the Quick action settings:

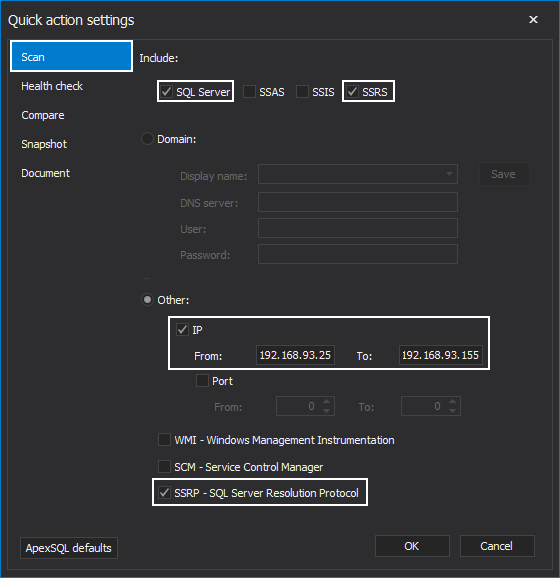
In the Scan tab, set the new default settings for the scan feature. A more in-depth look into this subject and its configuration can be found in the following article: How to discover SQL Server instances, SSRS, SSAS and SSIS services across the network
For this guide, let’s choose to scan for SQL Server instances and its SSRS services by using an IP port range and SQL Server Resolution Protocol (SSRP) as a search method:
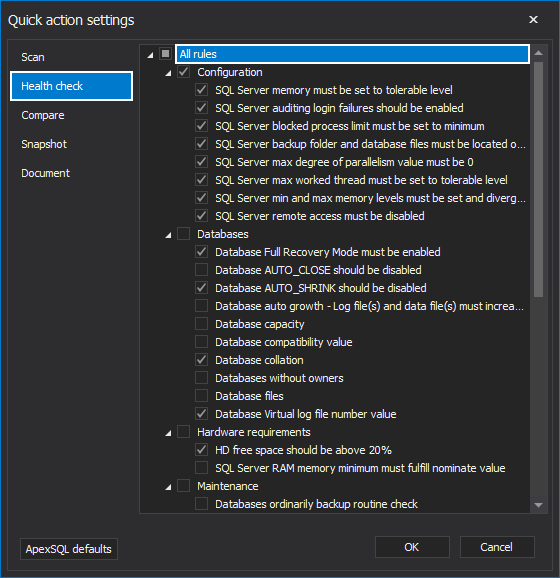
Under the Health check tab of the SQL manage instance application, choose the preferred set of rules grouped into categories to later execute on demand against the desired SQL Server instance:
More information about the high-level analysis can be found in the article How to perform health checks on SQL Server instances in SQL manage instance software.
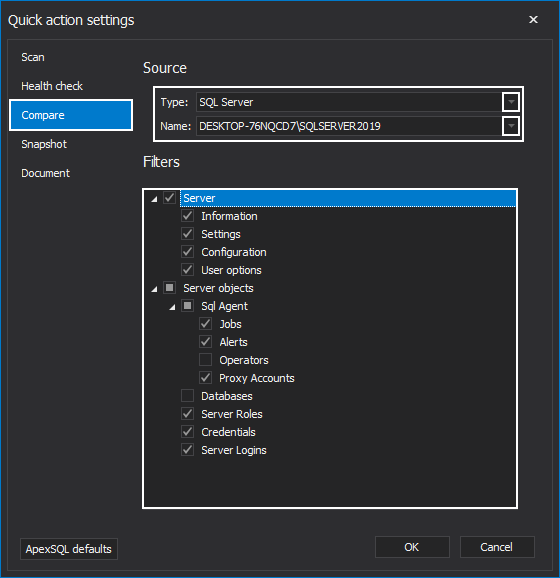
Let’s now move on to the Compare tab and configure the source for the quick action comparison. Choose between SQL Server or SQL Server snapshot and provide its name. Both selections can be made by clicking the matching drop-down buttons. Choose a set of filters to be the main focus of a quick comparison:
To learn more about the mentioned topic, check the article How to make a comparison between SQL Server instances and snapshots.
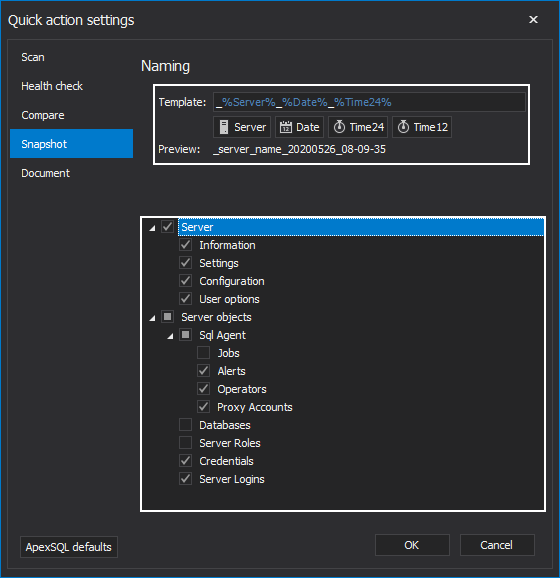
The Snapshot tab allows the configuration of settings related to the creation of SQL Server snapshots. Define a template for the snapshot name and SQL Server properties to “capture” when creating snapshots:
To get familiar with this matter, see the article Create SQL Server snapshots in ApexSQL Manage.
To configure the quick action settings related to the SQL Server documentation in the SQL manage instance tool, move to the Documentation tab. Here, a desired file format from the drop-down list and the destination folder should be chosen to store the documents.
Further, define the template for the file name and desired properties from the Filters area:
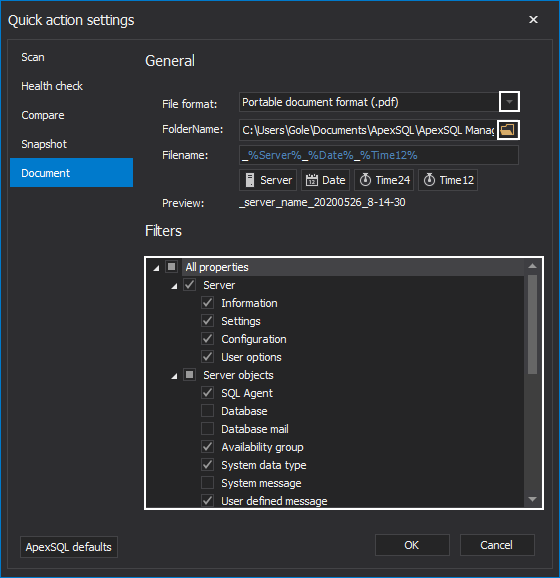
More on documentation can be found in the article How to create detailed documentation for SQL Server instances and snapshots.
|
Quick tip:
All settings can be easily reversed to its default state with a click on the ApexSQL defaults button in the left bottom corner of the Quick action settings window
|

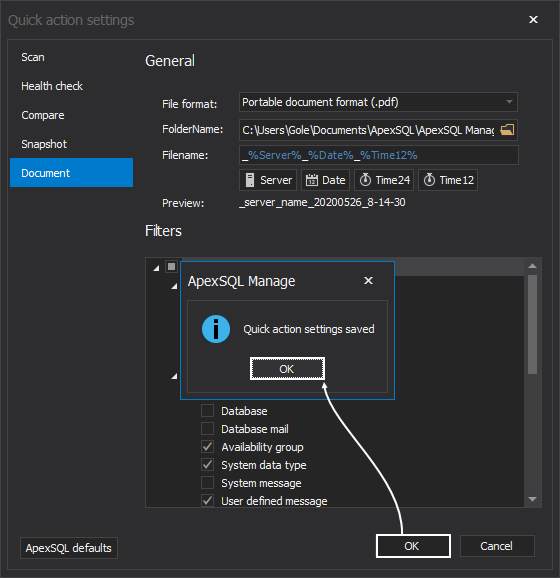
Click OK at the bottom right corner to save the settings for all quick actions previously configured. Once the settings are saved, click the OK button to exit the setup:
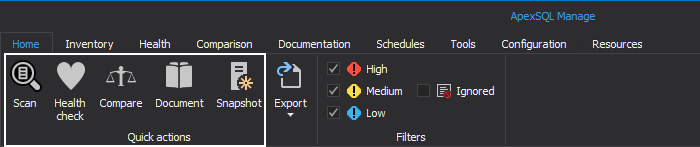
Execute quick actions from the centralized location
After the quick action settings are configured, its time to move to the Home tab of the SQL manage instance software and execute them fast and in a timely manner:
Quick scan
Let’s first perform a quick scan across the network using the settings that were explained in the previous section. To do so, click the Scan button from the Quick actions category. Once the scan is completed, the search results are displayed in the Register window. Here, check the SQL Server instances from the list to make a connection with and click OK:

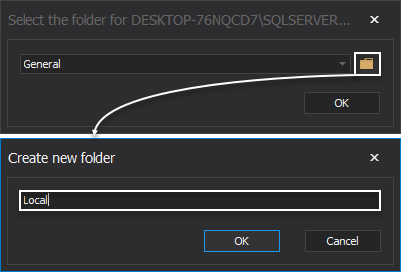
In the next step, choose one of the available or create a custom folder for the SQL Server tree to allocate SQL Server instances:
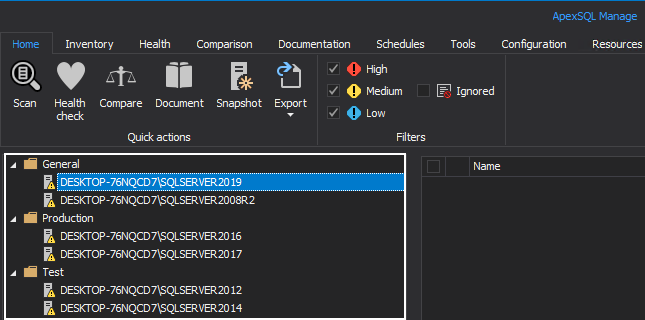
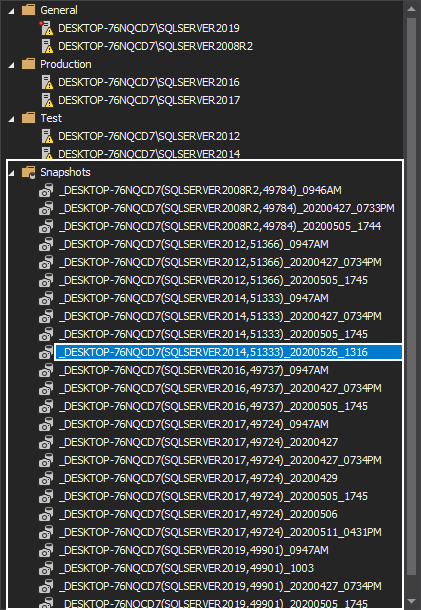
All SQL Server instances are now organized by the assigned folders in the server panel of the SQL manage instance application:
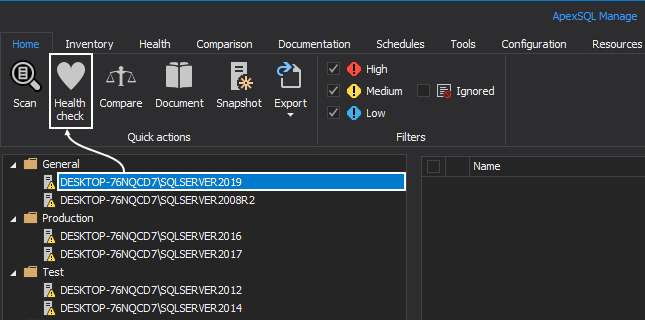
Quick health check
Once the SQL Server instances are added to the server panel, in order to execute high-level analysis against any of them, select one from the panel and click the Health check button:
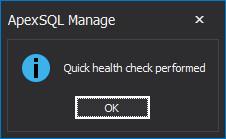
After the quick health check is performed, the information box will appear. Click OK to continue:
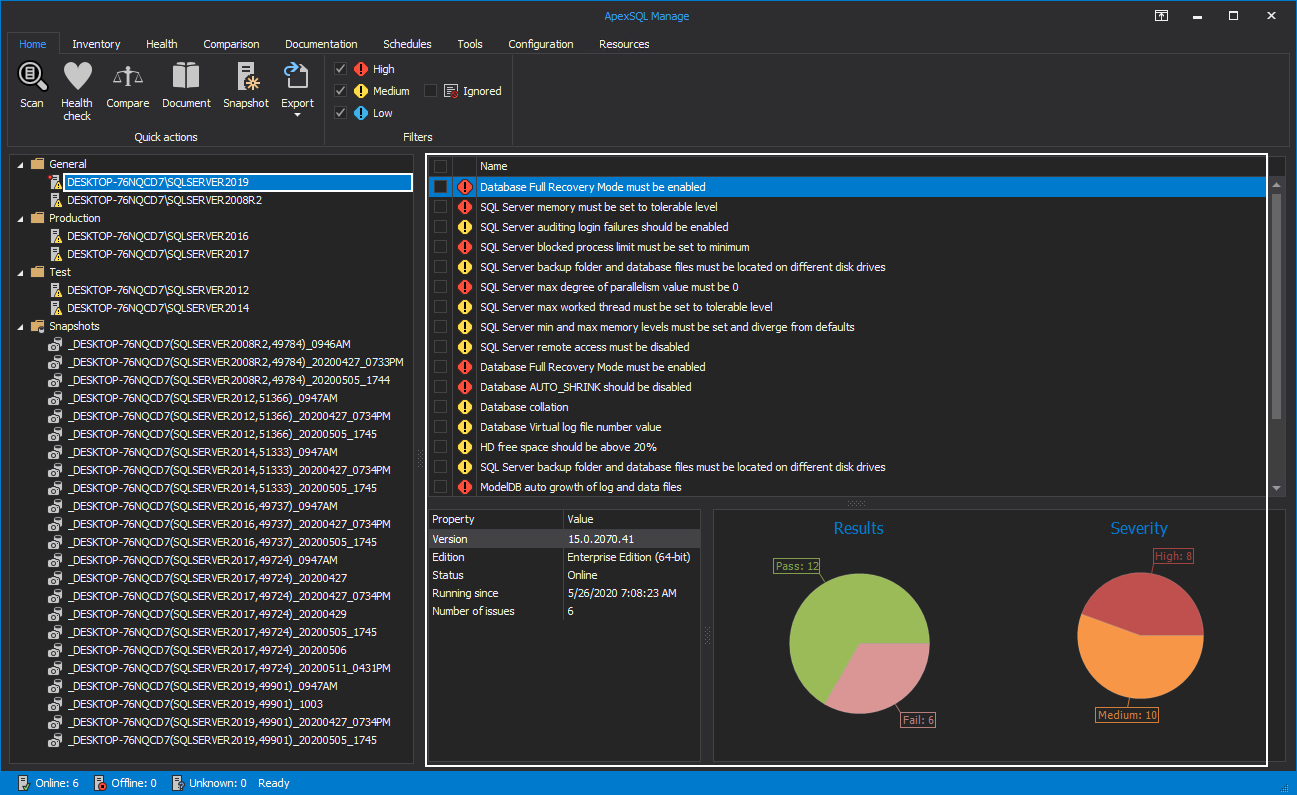
The results summary of this analysis will be displayed in the main grid in the form of a list of executed rules along with the statistics shown as a pie chart graphic:
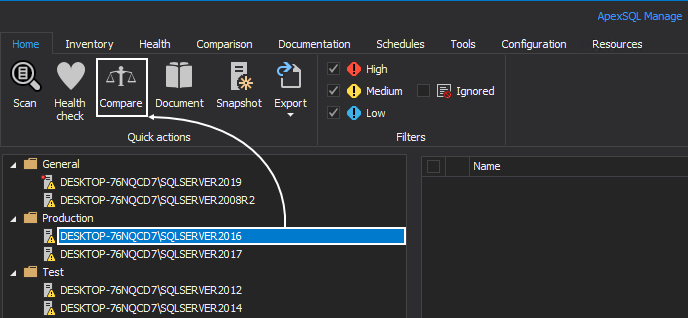
Quick comparison
To perform a quick comparison, choose a SQL Server instance from the server panel. This instance, as the target, will be compared with the source of the comparison previously set in the Quick action settings:
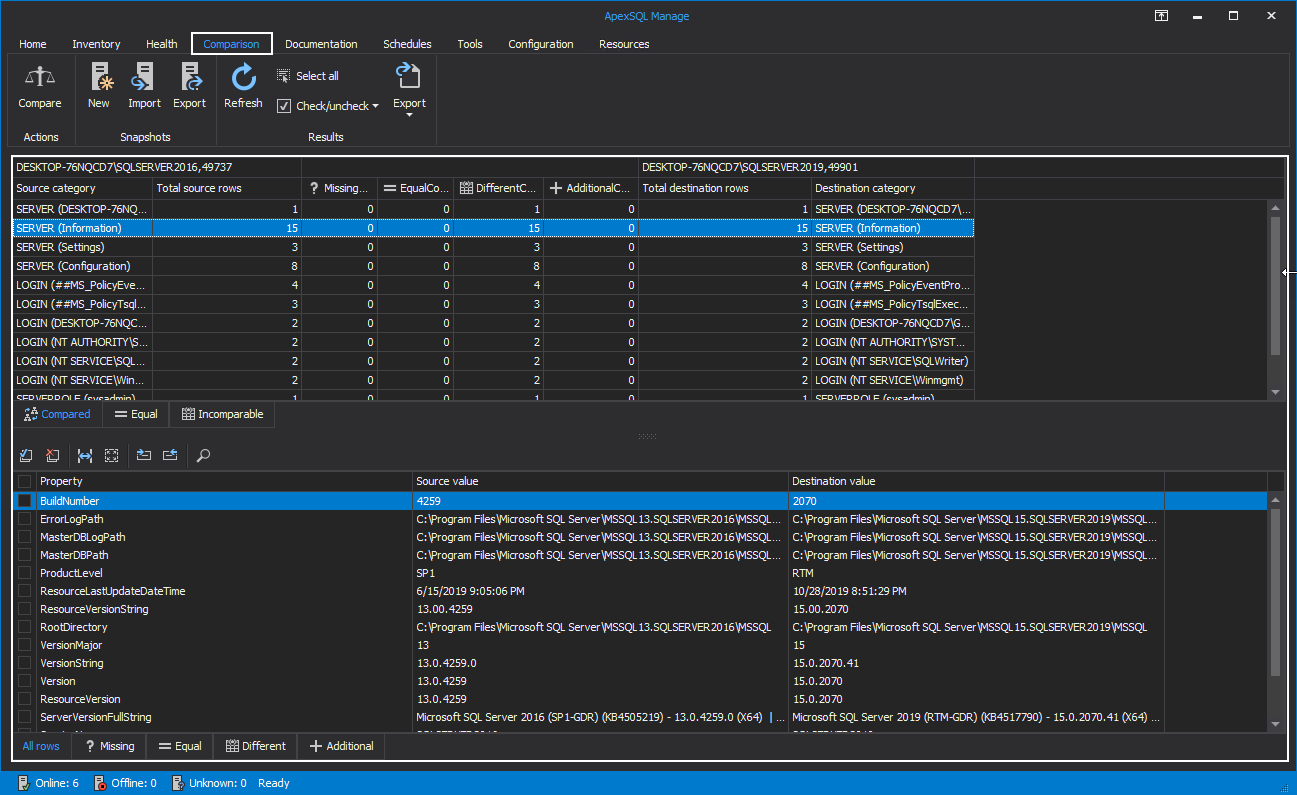
Immediately after the quick comparison is finished, the Comparison tab will be opened, displaying the comparison results summary:
Quick documentation
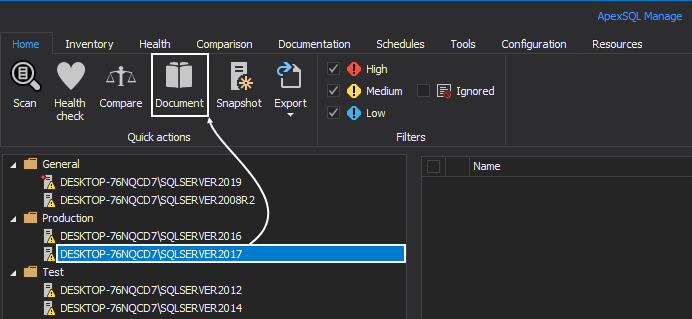
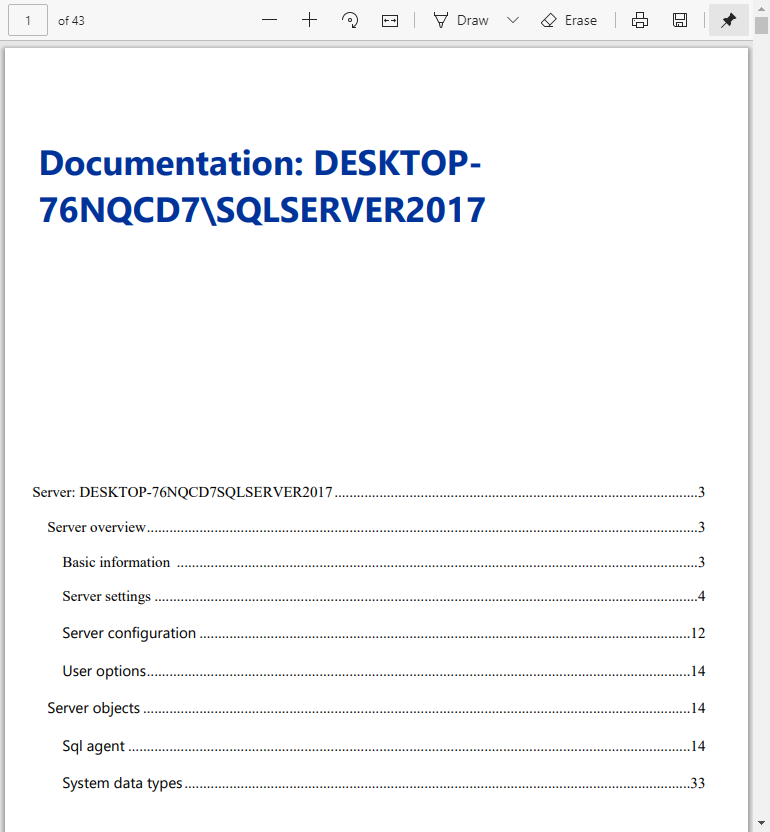
To quickly document a SQL Server instance based on the previously configured settings, make a selection from the panel and click the Document button:
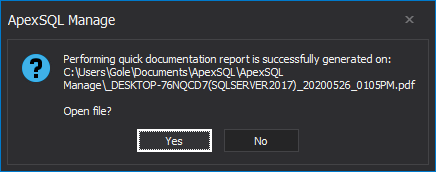
After the document is successfully generated, click Yes to open the file:
The created document will look like this:
Quick snapshot
To create a quick snapshot, select a SQL Server instance, and click Snapshot under the Quick actions category:

Once the quick snapshot is created, it will be listed in the server panel under the Snapshots folder:
More useful information, presented in the form of detailed technical guides regarding the SQL manage instance tool, can be found in the following Knowledgebase article.


