Applies to
Summary
This article describes different ways of adding new SQL Server instances in the SQL manage instance application.
Description
The following article will demonstrate all ways the connection between the software and a SQL instance can be made.
These different approaches distinguish between each other by the number of instances that could be added at once:
- Only one instance at a time or
- Multiple ones with the latter depending on the number of instances that are discovered in one search that is executed across the network
This guide will cover all approaches mentioned above in detail.
Add SQL Server manually
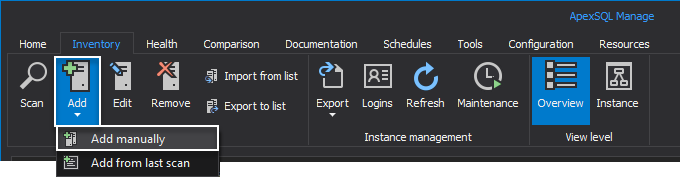
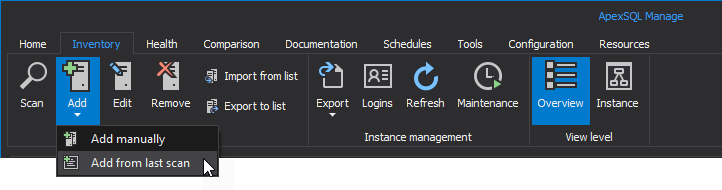
To initialize this process, head over to the Inventory tab and from the Add drop-down menu choose the Add manually option:
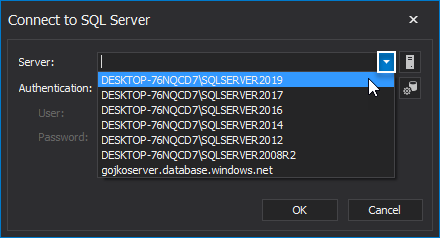
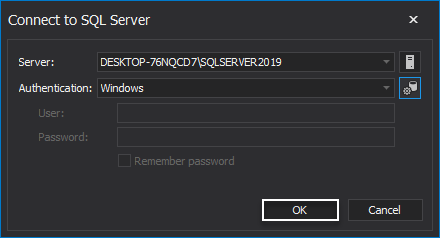
This action will open the Connect to SQL Server window, where the desired SQL Server instance from the Server drop-down list should be selected:
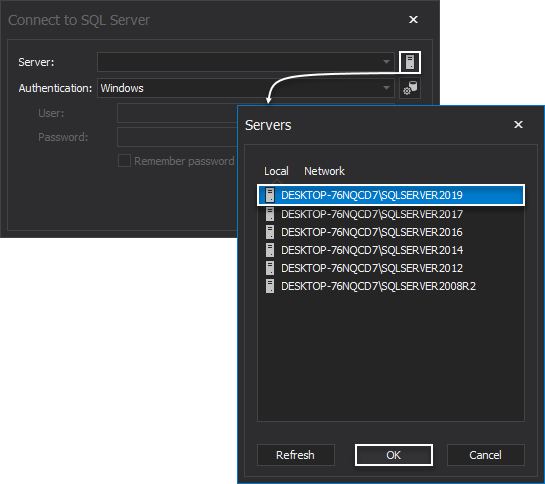
In addition to this, there is one more way of adding SQL instances within the same window. To do so, click the Browse for SQL Server button and choose either Local or Network tab (SQL instances discovered across the network). Once the selection is made, click the OK button:
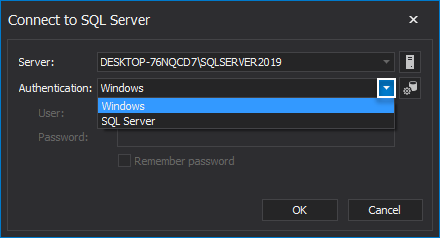
From the Authentication drop-down list, choose the preferred Database Engine authentication mode:
- Windows – this mode will make a connection through a Windows user account where SQL Server validates the account name and password using the Windows principal token in the operating system
- SQL Server authentication – when this mode is being used, the logins, both the username and the password, are created by using SQL Server instance and are stored in it. Every time this type of connection is used, login and password credentials must be provided
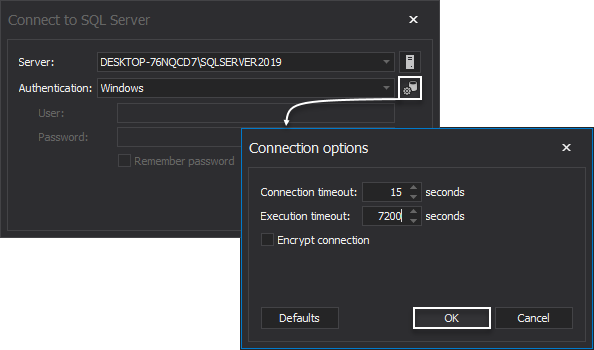
Additionally, a few more options can be tweaked regarding authentication. Click the Set connection options button on the right. Once in the Connection options window, configure the following:
- Connection timeout – specifies the time limit, measured in seconds, under which the connection to the specified SQL instance must be made; otherwise, the exception will be thrown
- Execution timeout – specifies the time limit, again measured in seconds, under which some request or operation needs to be executed, or the exception will be thrown
- Encrypt connection – toggle that secures the connection by using SQL Server encryption
Once the mentioned settings are configured, click the OK button:
With selected SQL Server instance and its authentication mode, click the OK button to add it with SQL manage instance tool:
In the next step, assign a new instance to a displayed folder in the drop-down list or create a new folder for the same purpose by clicking the Add new folder button:

Now, the added instance can be found under the newly created folder in the Server panel:

Add SQL Servers discovered on a network
To achieve this endeavor, please follow the How to discover SQL instances, SSRS, SSAS and SSIS services across the network in-depth guide.
Add SQL Server instances from the last scan
Once the scan is performed, and SQL instances are added with the guidance obtained from the above-mentioned article, this last executed scan can be easily found by clicking the Add drop-down menu and choosing the Add from last scan option:
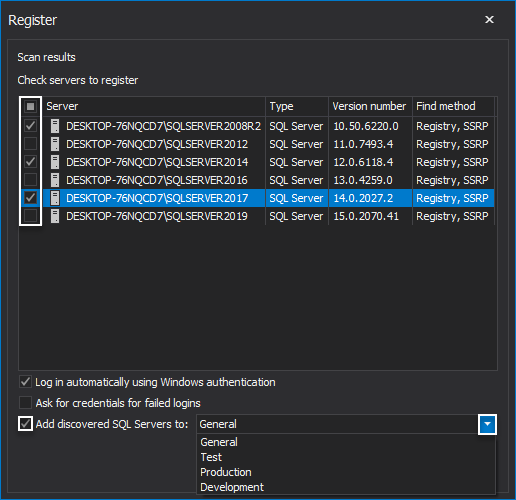
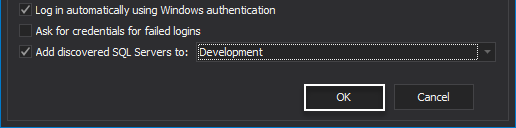
This action will open the Register window, where all discovered instances from the last scan are displayed. Check desired instances and afterward check the Add discovered SQL Servers to option to allocate selected instances to a folder from the drop-down list:
Click the OK button to confirm the selection:
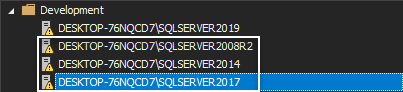
Now, chosen instances are listed under the Development folder in the Server panel:
Add SQL Server instances automatically
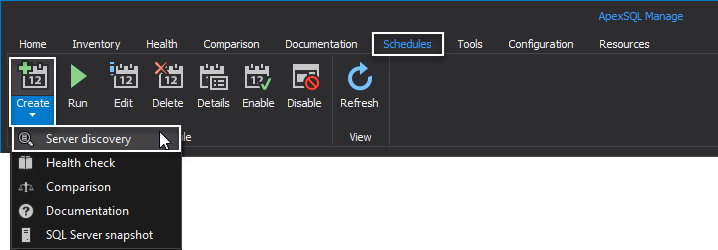
To add SQL instances automatically and unintended, head over to the Schedules tab and from the Create drop-down menu, select the Server discovery option:
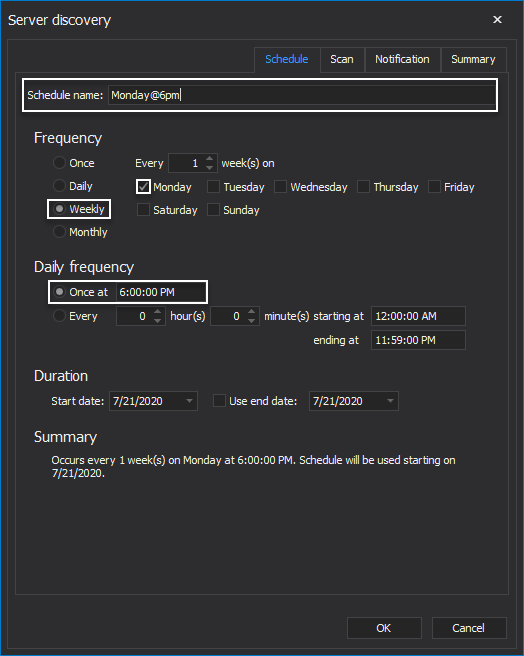
In the Schedule tab of the Server discovery window, provide a name for the schedule and set the desired execution time:
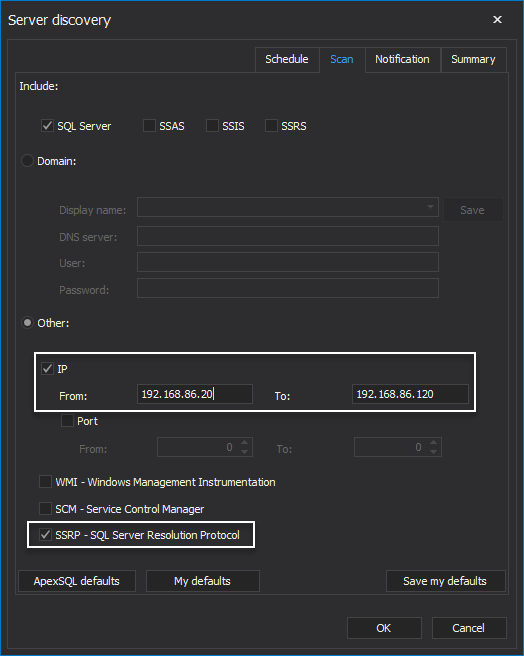
From the Scan tab, set the scan mode. For the purpose of this guide, the IP mode is chosen, and the IP scan range is provided. Additionally, the SSRP scan method, SQL Server Resolution Protocol, is checked:
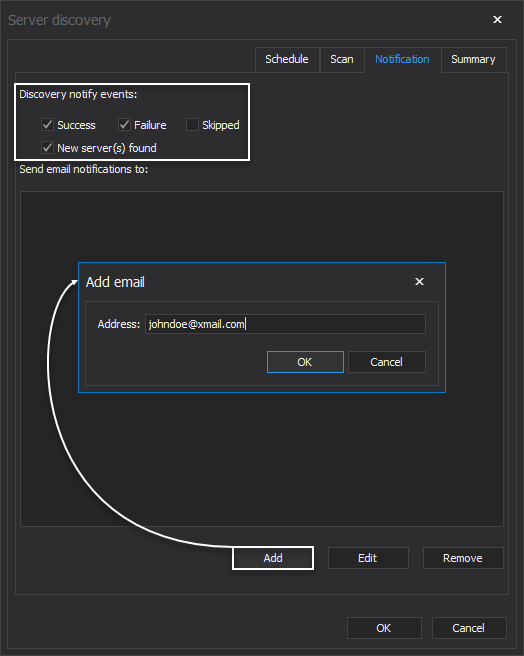
In the Notification tab, check the Discovery notify events options and provide email these notifications will reach:
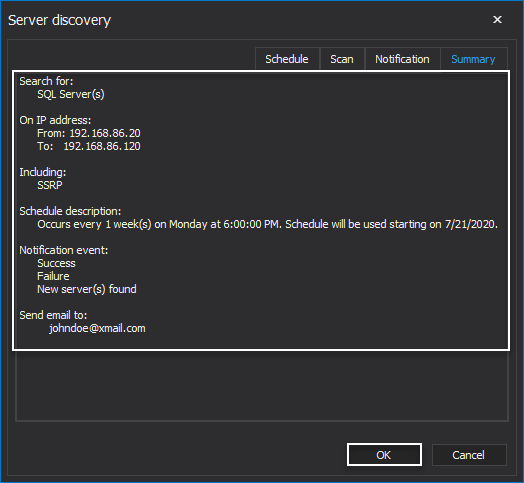
Under the Summary tab, all chosen parameters are gathered in one place. Click the OK button to confirm schedule creation:
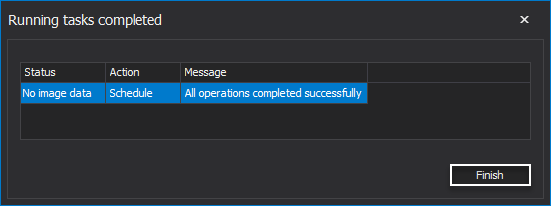
Click the Finish button to close the Running tasks completed window:
The created schedule is shown under the Schedules tab and will be executed based on the previously configured time :

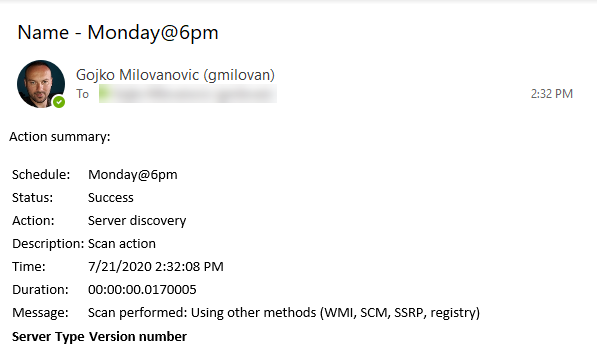
Once executed, the notification will arrive on the provided email account:
Add SQL Server instances with quick action option
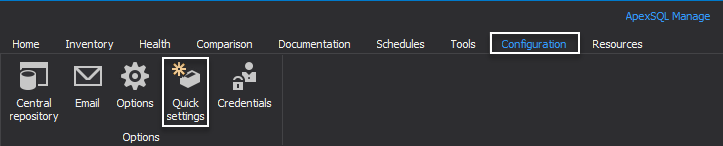
The last option of adding SQL instances within the SQL manage instance tool is by using the quick scan option. To achieve this feat, the first quick actions regarding the Server discovery needs to be configured. This is achievable by accessing the Quick settings button from the Configuration tab:
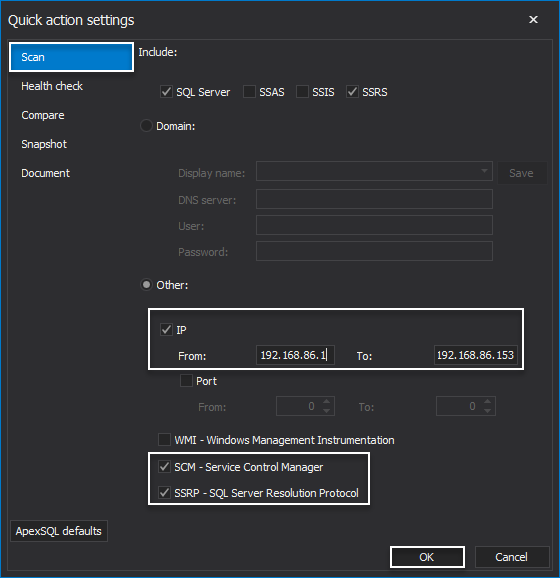
In the Quick action settings window, configure the scan mode, choose scan method(s) and click the OK button to save settings:
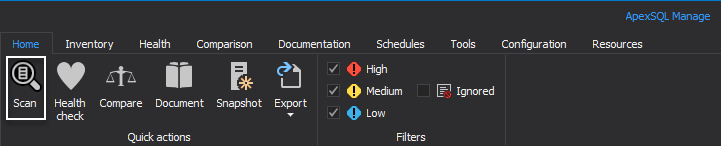
Now, every time the Scan button is clicked under the Quick actions category of the Home tab, the scan will be performed based on the previously configured settings: