Applies to:
Summary
This article provides an in-depth dive into the process of adding multiple SQL Server instances in a targeted folder.
Description
Once a scan across the network in search of the SQL instances is executed, the SQL manage instance tool has an ability to easily add the discovered instances into one default or custom-made folder.
This feature provides a form of flexibility when it comes to handling multiple instances simultaneously.
Below is a brief comparison between the “old-fashioned” approach of adding one instance at a time versus the new and enhanced one, where multiple instances are added into one folder in a matter of seconds that can later be reallocated to the desired location with a simple “drag and drop” action.
Adding one SQL Server instance at a time
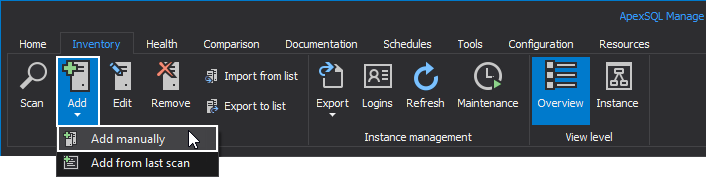
To initiate this process, head over to the Inventory tab and from the Add drop-down menu click the Add manually option:
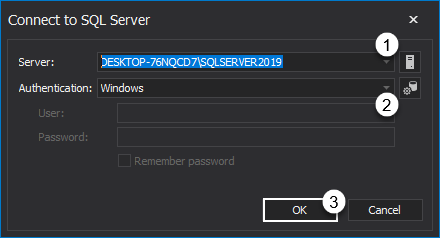
In the Connect to SQL Server window, select a SQL instance and preferred authentication type, and then click the OK button to establish connection:
In the following step, choose any of the listed folders to allocate this new SQL instance:

The newly added SQL instance is now listed under the chosen folder of the server panel:
- For more information on this matter, please see the Different ways of adding SQL Server instances in a SQL manage instance software article
Creating a custom folder
Besides the predefined folders, General, Production, and Test that are placed in the server pane, one could add a desired custom-named folder in a few simple steps.
Once the desired SQL instance is selected in the Connect to SQL Server window and this selection is confirmed by clicking the OK button, the following step lets us choose the appropriate folder for this instance:
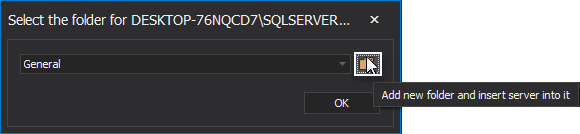
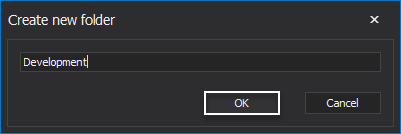
By clicking the folder browse button, the Create new folder window will be opened, where a new folder is easily created. Click the OK button to confirm its creation:
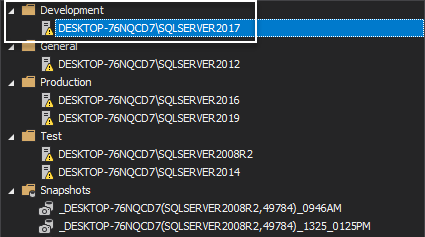
Now, the added SQL Server instance is listed under the custom folder of the server panel:
Adding multiple SQL instances at once
To add multiple SQL instances into the desired folder at once, one should first perform a proper scan across the network in search of the mentioned instances.
There are three ways to perform this scan within the SQL manage instance tool:
- One time scan – to configure this type of search, please see the in-depth How to discover SQL Server instances, SSRS, SSAS and SSIS services across the network guide.
Please note here that this type of scan needs to be manually configured anytime the search needs to be conducted - Quick action scan – to use this type of search, first, proper configuration needs to be set. Once the “new defaults” are configured, by using the quick scan option from the Home tab, this search gets easily triggered. For more information about setting up this process, please consult the Configure and execute quick actions in SQL manage instance software article
- Scheduled scan – this type of search requires some in advance tuning up. Once the scan is configured it will run based on the set date and time-frequency
For the purpose of this guide, the following will cover the “post-scanning” process, i.e. the SQL instance registering process within the application.
Registering SQL Server instances
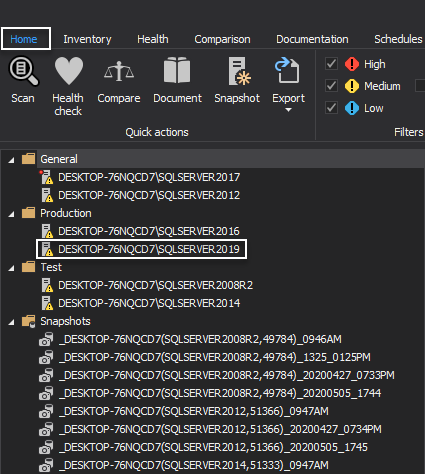
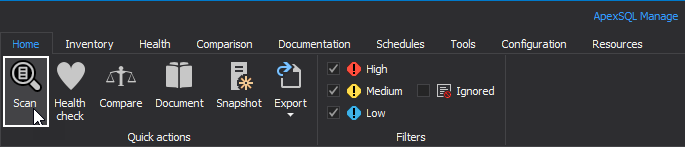
To initiate a quick scan, under the Home tab click the Scan option located in the Quick action category:
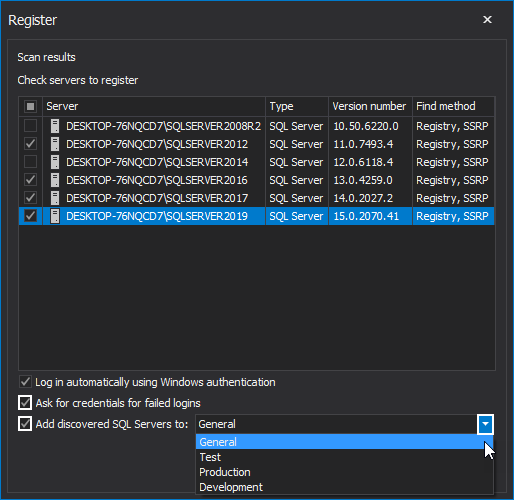
Once the quick scan is executed based on the previously set search parameters, the Register window will pop-up with the results. Here, check SQL instances to make a connection with and make sure to check the Ask for credentials for failed logins option in case of adding the remote instances. Afterward, check the Add discovered SQL Servers to option and from its drop-down list choose the desired folder that will store new instances:
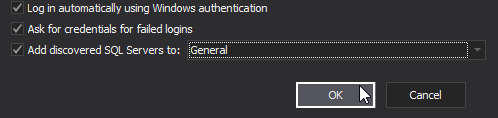
Click the OK button to finish this process:
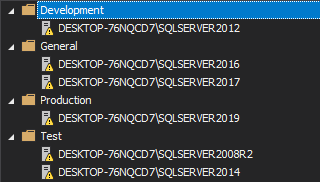
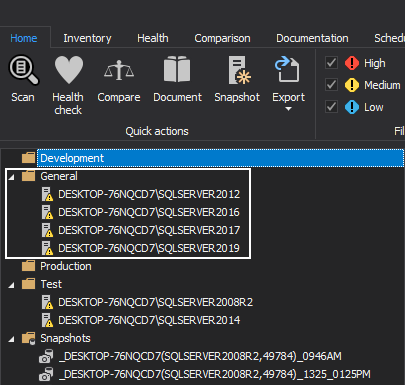
Newly added SQL Server instances are now listed under the General folder in the server panel:
From here, they could be easily moved into any of the presented folders by the simple “drag and drop” movement:
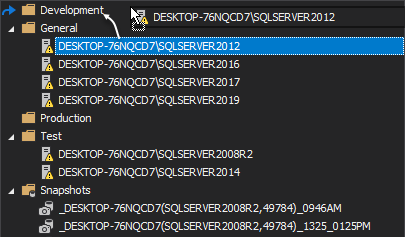
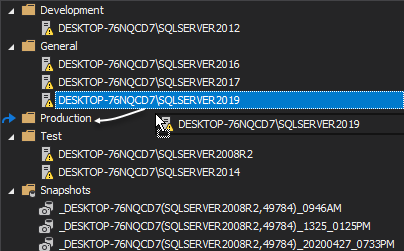
Now, SQL instances will be organized in the following order: