


Applies to
ApexSQL Source Control
Summary
This article describes how to utilize branching and merging when Perforce is used as a source control system.
Similar to Team Foundation Server, and Subversion, branching in Perforce assumes that a new folder is created for each new branch and that the content from a folder representing a source branch is copied to a folder representing a target branch.
|
Quick tip: Since a depot is used in Perforce as an equivalent to a source control project/repository, in this article, it is assumed that each branch is a new depot. |
We’ll first link a database to a branch that will be used as a main line. Besides the initial commit of all database objects, we’ll make additional changes for the purpose of showing how to create a branch that includes specific changesets.
Next, we’ll create a new branch that will contain only selected changesets. Some changesets committed to the main branch will not be included in a new branch and those should be shown as a difference after switching to a new branch.
In order to switch to a newly created branch, we’ll have to re-link a database choosing a new branch in the linking process.
At the end, we’ll merge changes from two branches and confirm that the merging process ended successfully by comparing a database with both of the branches, the main one and the newly created one.
A local Perforce repository will be used, but the same workflow can be applied for a Perforce repository hosted in any other way.
Description
Detailed explanation about the linking process to a Perforce repository is already covered in the article: How to link a SQL Server database to a Perforce repository
Linking a database to a main branch
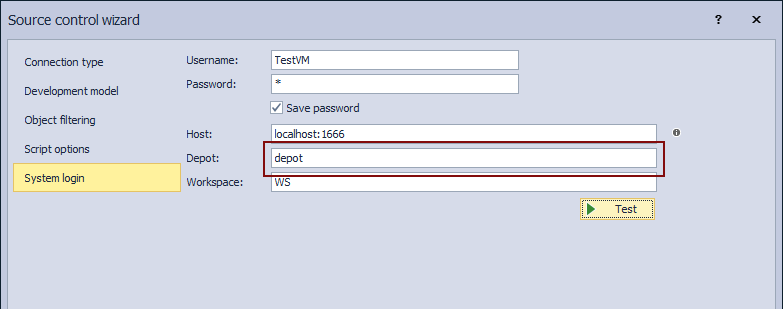
We’ll link a database to a Perforce repository, specifically to a default depot that will be used as a main line in this article. In order to link a database to a Perforce depot, we’ll specify that in the final step of the Source control wizard:
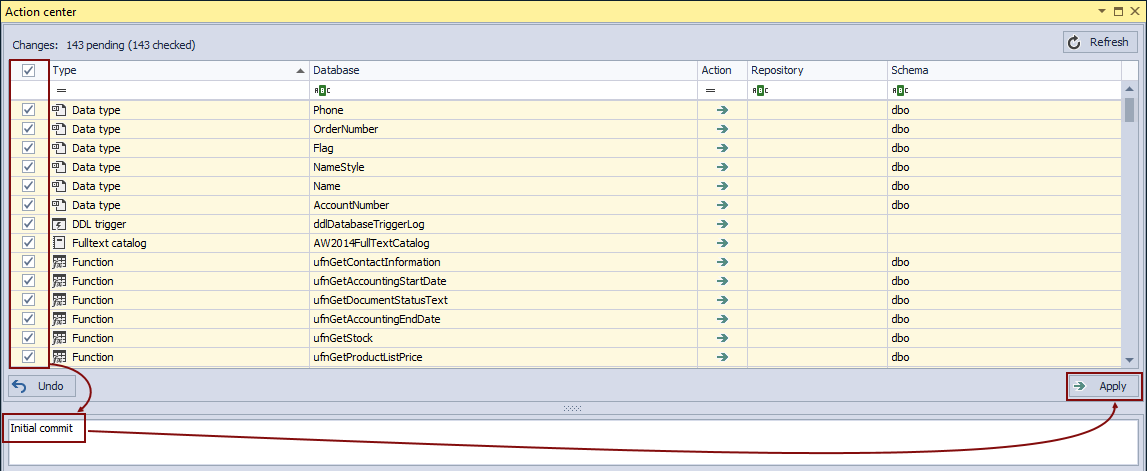
Now that we have a database linked to source control, let’s initially commit all objects by specifying a commit message and clicking the Apply button:
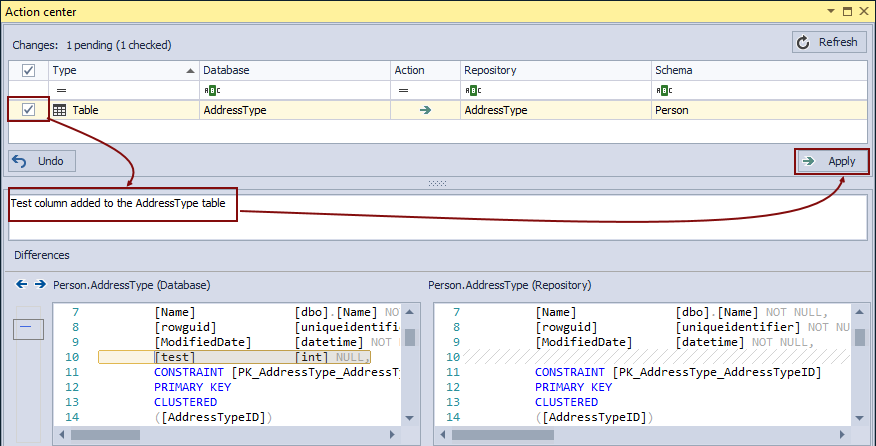
Let’s make additional change in a database using the following script:
USE AdventureWorks2014
GO
ALTER TABLE Person.AddressType
ADD test int null;
We’ll commit this change to a Perforce depot:
Creating a new branch
Now that we have additional change committed to source control, let’s create a new branch. Since we have two changesets, the one that represents the initial commit of all objects and another one that contains a change related to the AddressType table, the second changeset will not be included in a new branch.
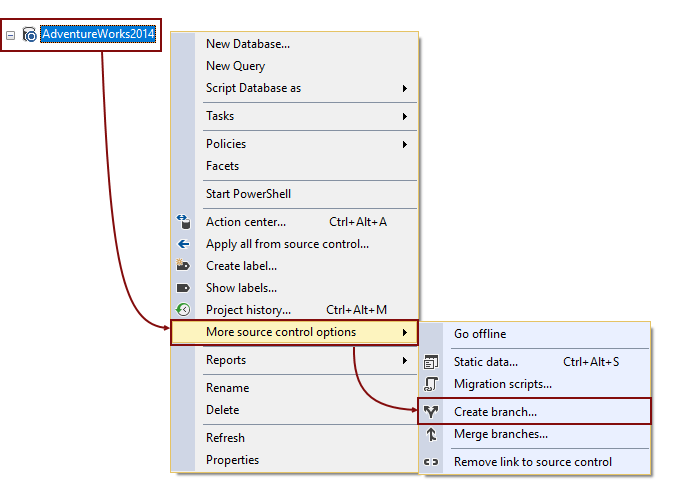
In order to create a new branch, right click a database and choose the Create branch option from the More source control option context menu:
This initiates the Create branch dialog:
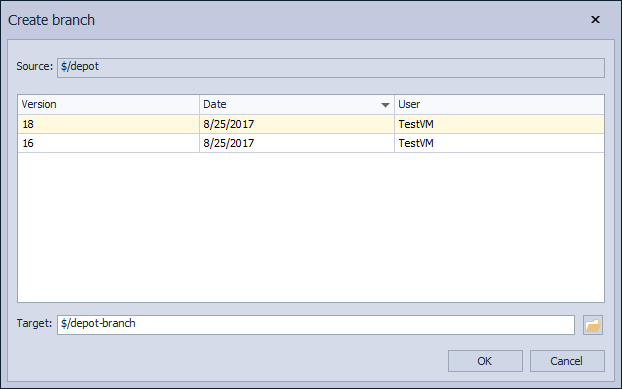
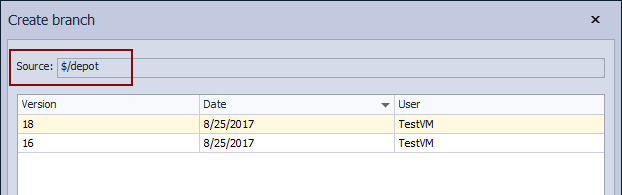
The source branch will be automatically set to a branch where a database is linked. In this case it is depot:
Below the Source field is a list of changesets that are committed to a source branch. In this case, we have one commit that represents the initial commit (Version 16) and another one that represents an additional change related to the AddressType table (Version 18).
As we don’t want to include anything after the initial commit, we’ll highlight the changeset 16. In general, anything that is committed after the selected changeset will not be included in a new branch, while any changes committed before the selected changeset will be included.
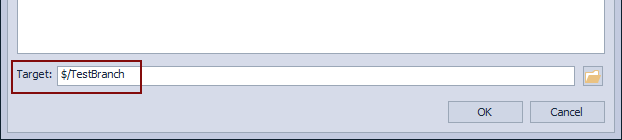
The Target field is where a name for the new branch should be specified. We’ll specify TestBranch to be the target branch:
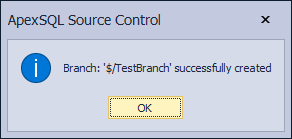
Once we have everything set, by clicking the OK button, a new branch will be created and all the content from the source branch will be copied to a folder dedicated to a new branch, except for changes related to the AddressType table. When the process is finished, a validation message appears:
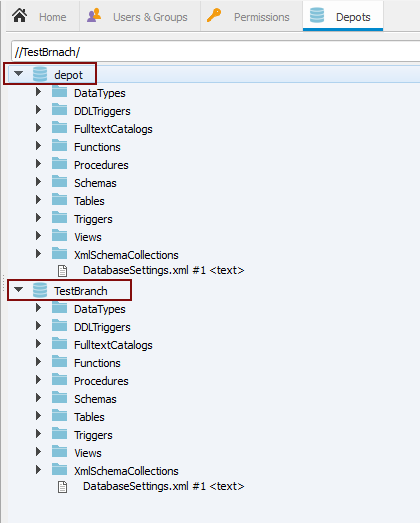
To verify that a new branch is created, we can explore a repository structure. As shown in the image below, identical folder structure that was created in deport, is replicated in TestBranch:
In order to verify that the most recent change, related to the AddressType table, is not included let’s make the TestBranch as the active branch. In that way, it will be compared to a current state of a database which already contains changed AddressType table. If a new branch is correctly created, there should be a difference shown in the Action center tab.
Switching between branches
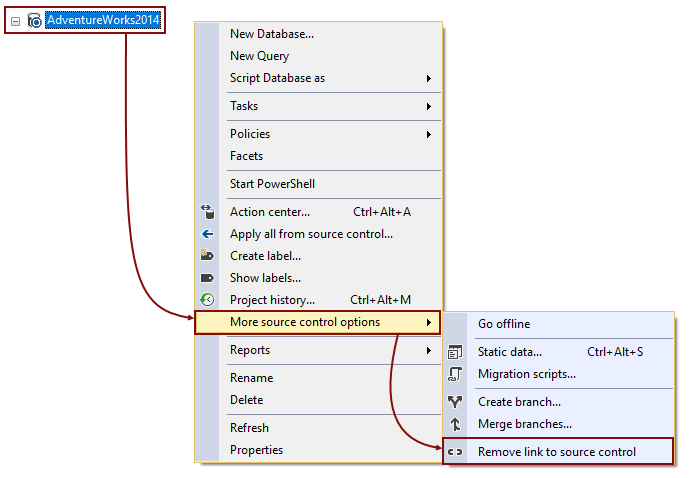
In order to switch between branches, we’ll need to re-link the database. This means that we need to unlink the database from the current branch (depot) and re-link it to the newly created branch (TestBranch). To unlink a database, right click it and from the More source control options menu, selected the Remove link to source control option:
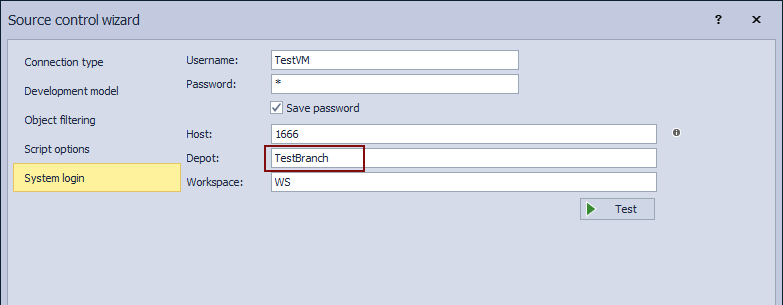
Repeat the linking process as for the initial linking to depot. One difference in the final step of the Source control wizard, instead of depot, we should specify a new branch that is previously created:
After the linking process is finished and the Action center tab is loaded a difference should be detected:
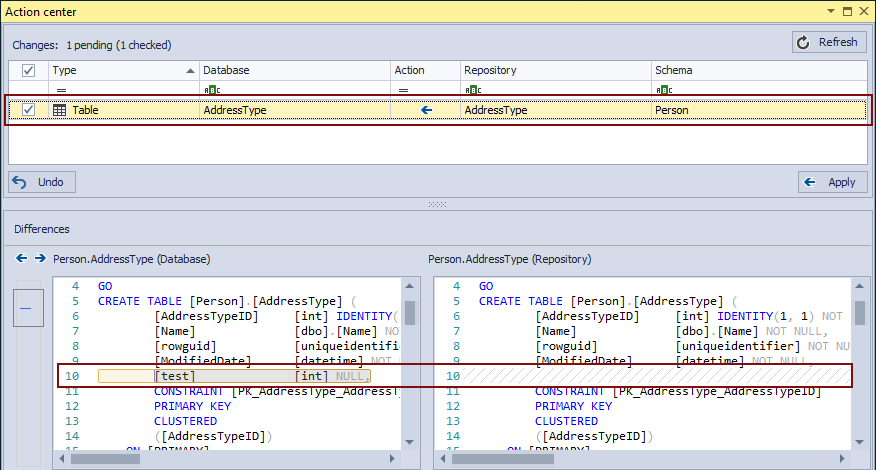
This means that when a new branch is set as active, we have a confirmation that the most recent change is not included. The right side shows the current state in a new branch (the test column does not exist) while the left side show the test column.
Now that we have a change committed to TestBranch and that does not exist in depot, let’s merge these branches.
Merging branches
In order to merge changes committed to one branch with other branch, right click a database and select the Merge branches option from the More source control options menu:
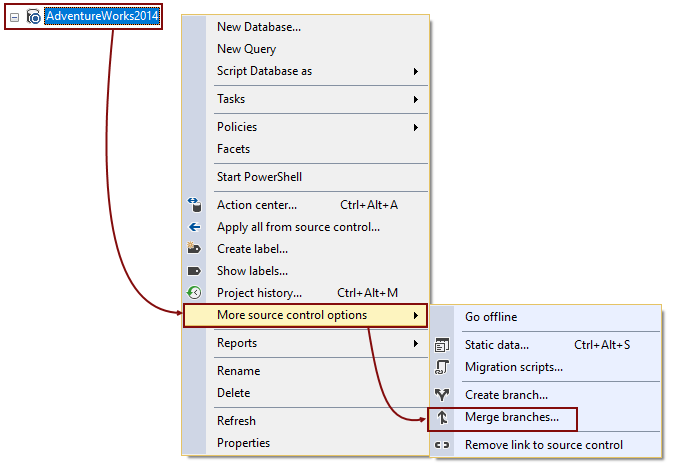
This initiates the Merge branches dialog:
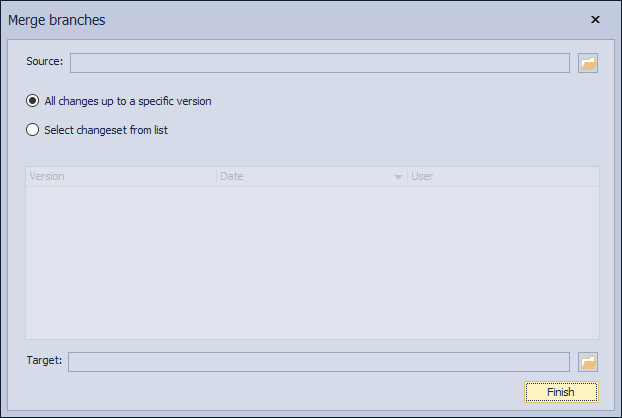
We’ll use the Browse buttons to pick a source and a target branch, in this case depot will be source and TestBranch will be a target branch:
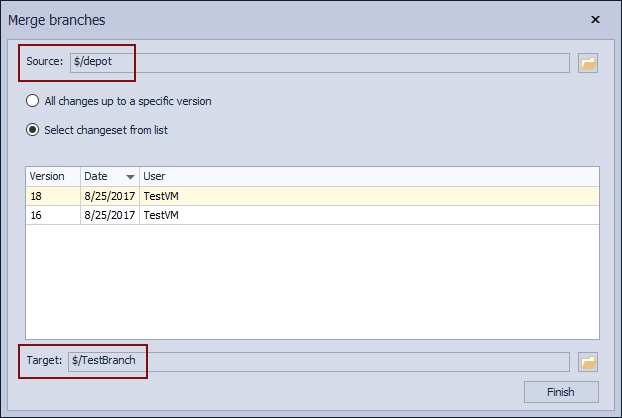
Similar to creating a new branch, when a source branch is selected in the Merge branches dialog, a list of committed changesets appears. This allows us to pick a specific changeset from the list that will be the last one in which changes will be merged with the target branch. All changesets committed after the selected one will not be merged, while all changesets before the selected one will be merged, including changes from the selected changesets.
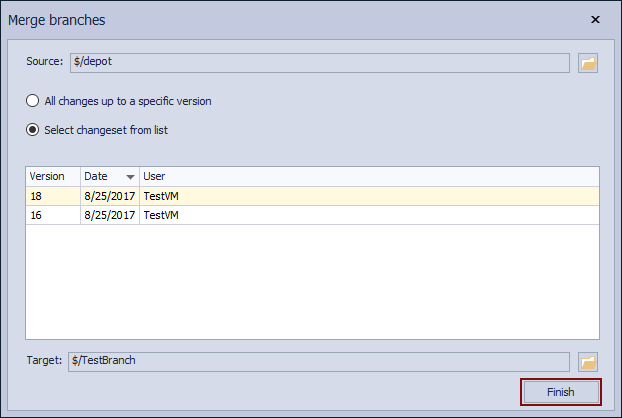
In this case, we want to merge all changes, so we can either click the changeset 18, or to switch to the All changes up to a specific version option. Once we have everything set, we’ll click the Finish button:
Since TestBranch is the current branch, there should be no differences shown in the Action center tab after refreshing it:
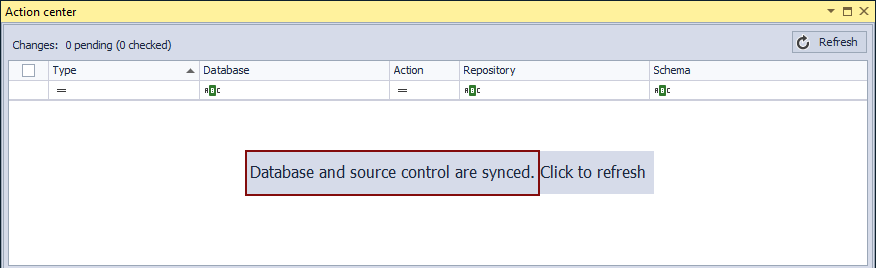
Since the Action center tab shows no differences, we can confirm that everything is merged successfully.
Be sure to review all of our frequently asked questions about branching and merging, in the separate KB, Branching and merging FAQs


