


Applies to
Summary
To maintain a SQL Server instance healthy, frequent Server and database maintenance must be performed as well as security and performance checkups. Depending on the environment, specific tasks require specific tools to get the job done. For example, inspecting SQL Server jobs. Instead of connecting to various SQL instances, a more centralized approach can be taken. Once SQL instances have been inspected with ApexSQL Manage, ApexSQL Job can be called to inspect all the relevant SQL jobs on a selected SQL instance.
Description
This article describes how to invoke ApexSQL Job to create, edit or delete SQL jobs using ApexSQL Manage.
Using ApexSQL Job
In order to invoke ApexSQL Job from ApexSQL Manage, a SQL instance needs to be registered in ApexSQL Manage This can be accomplished by manually adding the SQL Server instance or by utilizing the discovery feature of the tool. Refer to the following article for detailed information on the subject: How to discover SQL Server instances, SSRS, SSAS and SSIS services across the network.
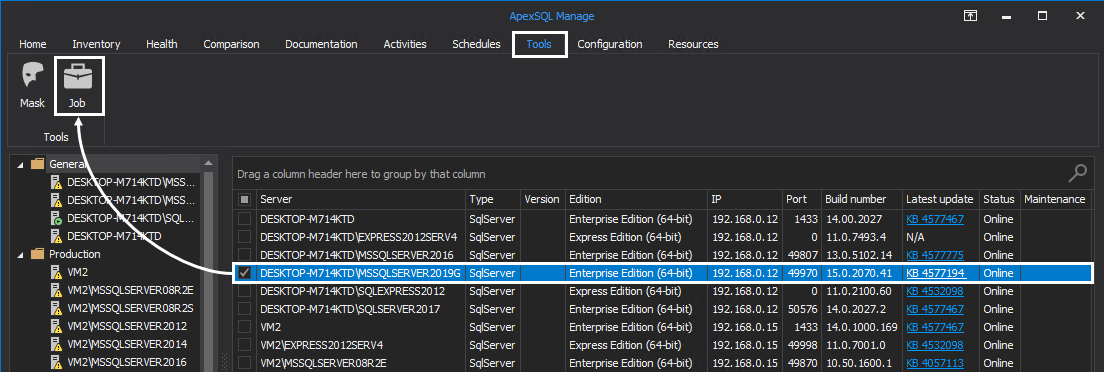
Once all the relevant SQL Instances have been registered in the tool, go to the Tools tab of the main ribbon menu. Check a SQL instance from the grid and click the Job button:
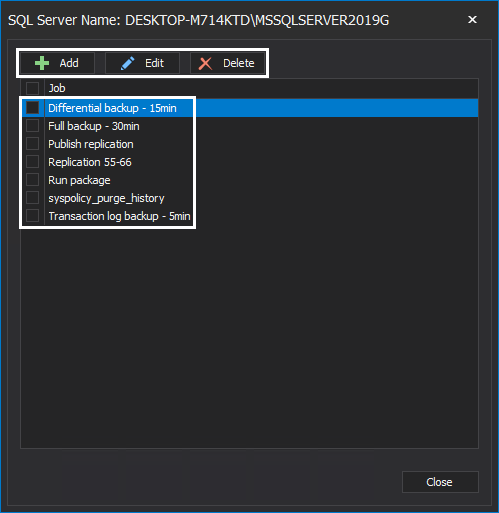
This action will show a window with a list of SQL Server jobs that have been found on the checked SQL instance. From here, new SQL jobs can be created as well as existing ones edited or deleted:
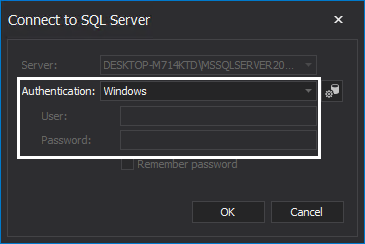
If the SQL Server instance is not registered in the ApexSQL Job, opting for any of the aforementioned options will result in a Connect to SQL Server window where the necessary Authentication type and SQL login credentials can be specified so that the SQL Server instance can be registered in the ApexSQL Job. By default, the Server will be the one check from the grid in ApexSQL Manage and Windows authentication will be selected:
Creating new SQL Server jobs
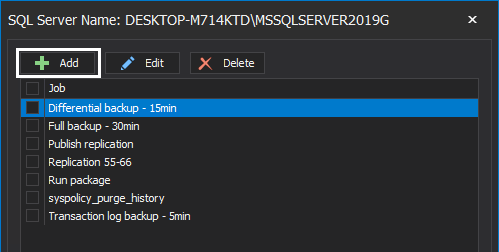
In the dialogue with SQL Server jobs, click the Add button to invoke ApexSQL Job to add a new SQL job on the SQL Server instance:
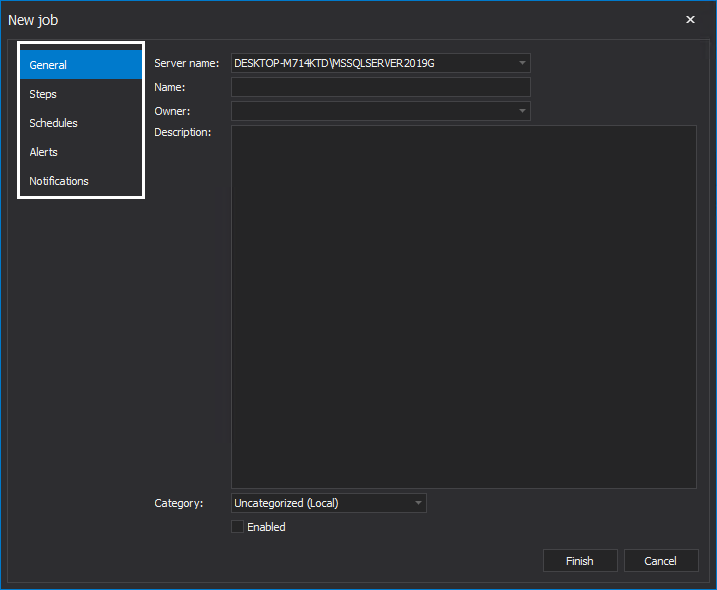
This action will open a window where the parameters of the new SQL job can be specified. The New job window is comprised of several tabs:
- General
- Steps
- Schedules
- Alerts
- Notifications
-
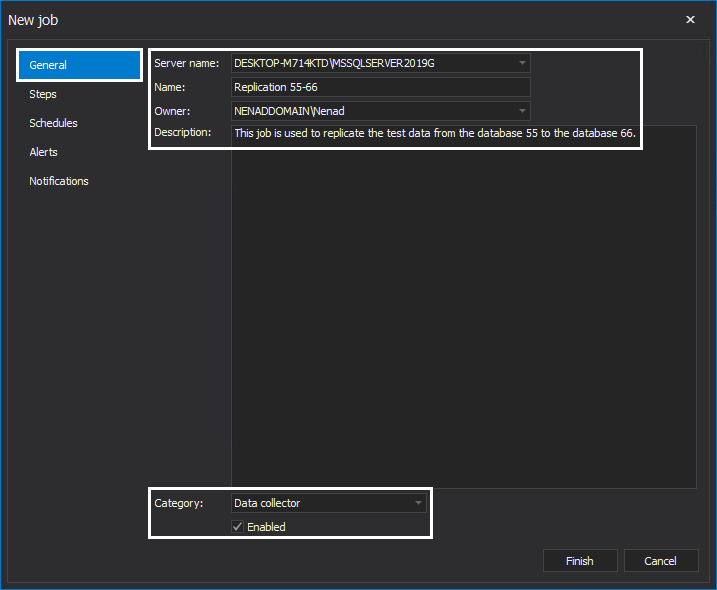
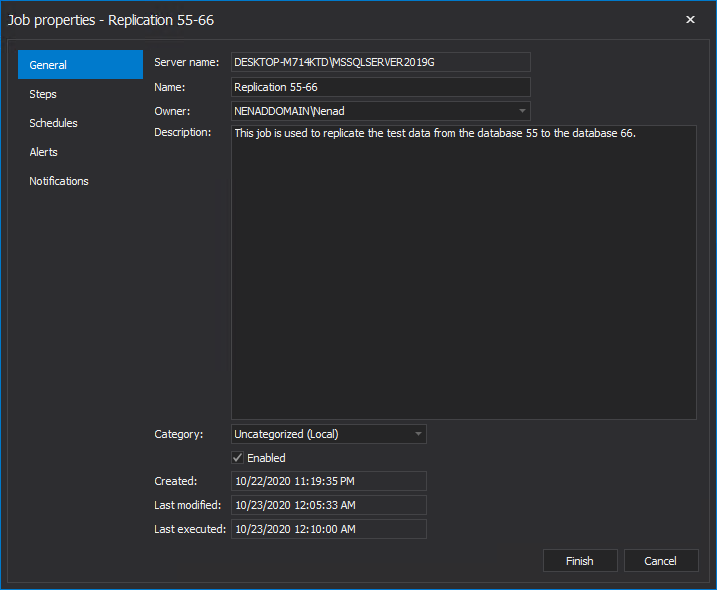
General tab provides options to specify:
- Server name – On which SQL Server instance will this SQL job be created
- Name – The name of the SQL job
- Owner – Who will be the owner of this SQL job
- Description – A brief description on the specific and functionality of the SQL job
- Category – To which category does this job fall into
- Enable/Disable – These options can be used to specify if this SQL job will be enabled upon creation, or disabled
-
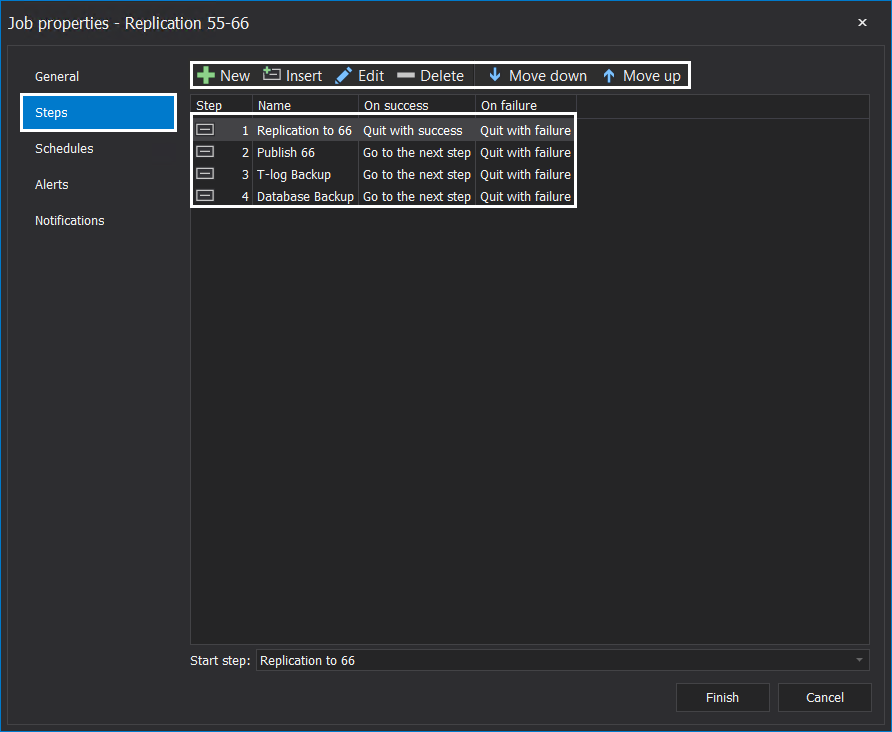
Steps tab provides the options to construct SQL jobs by using the following actions:
- New – Create a new step
- Insert – Insert a new step at the top
- Edit – Edit existing steps
- Delete – Delete a step
- Move down
- Move up
New job step is comprised of two tabs:
-
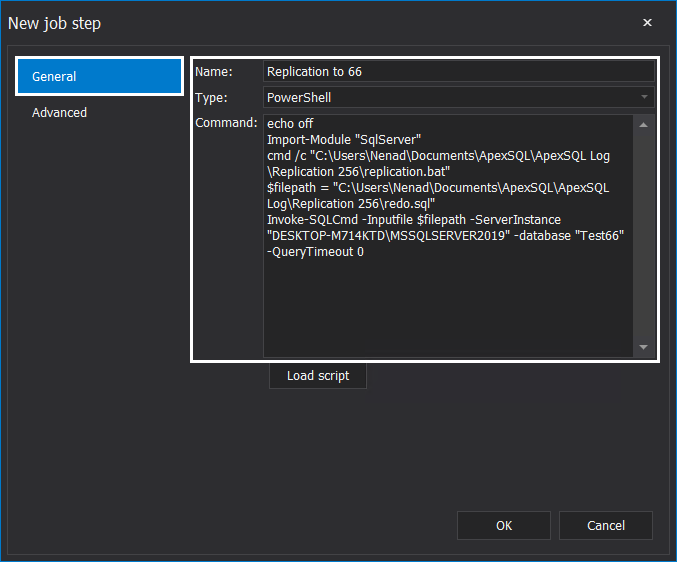
General – This tab is where the step details can be specified
- Name – Name of the job step
-
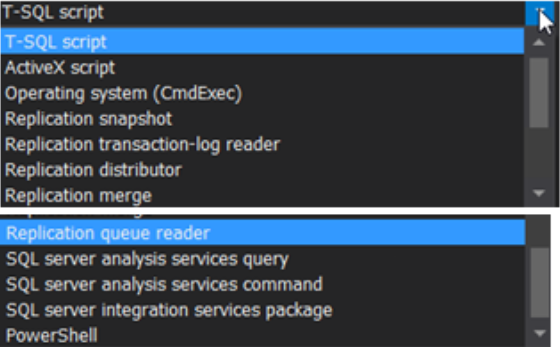
Type – There are twelve different types of tasks
- Database – Specify the target database for the job step. Note, this option is dependent on the job step Type
- Command – Command that will be executed with this step
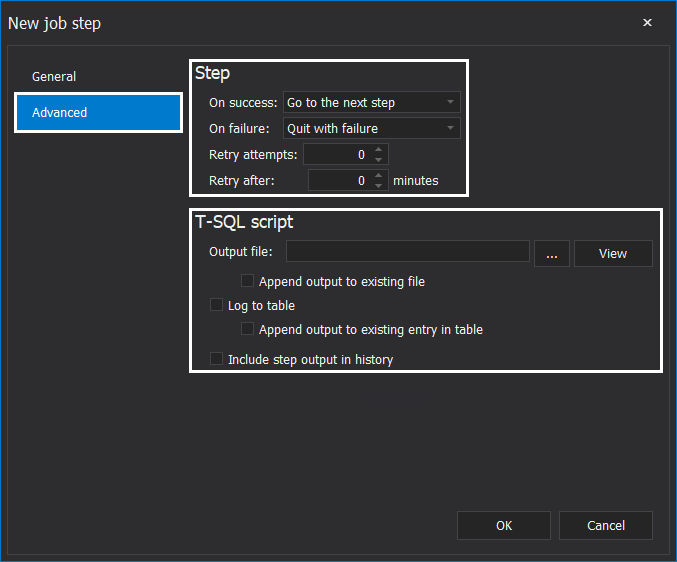
- Advanced tab
- Step – Parameters of the step execution behavior
- T-SQL script – Output of the step execution
Schedules tab is used to:
- Create a job schedule
- Pick a predefined schedule template
- Edit a schedule
- Delete existing schedules

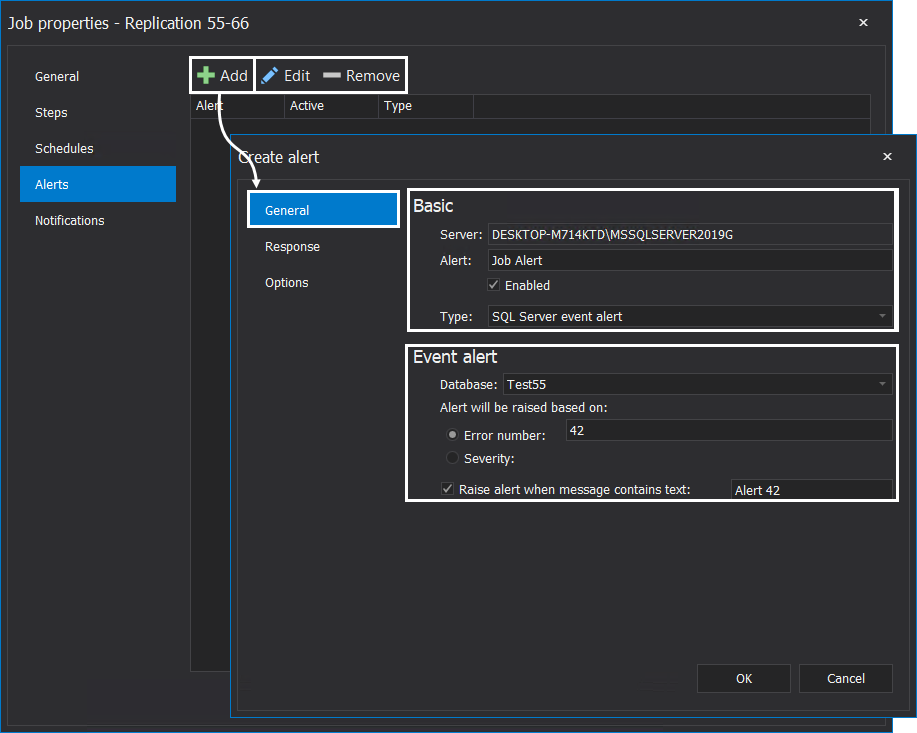
Alerts tab serves to specify the Basics of the Alert configuration, to set conditions for scenarios when a job does not execute, edit existing alerts as well as remove them. To create a new alert, it is necessary to specify the conditions in the following tabs:
- General
- Response
- Options
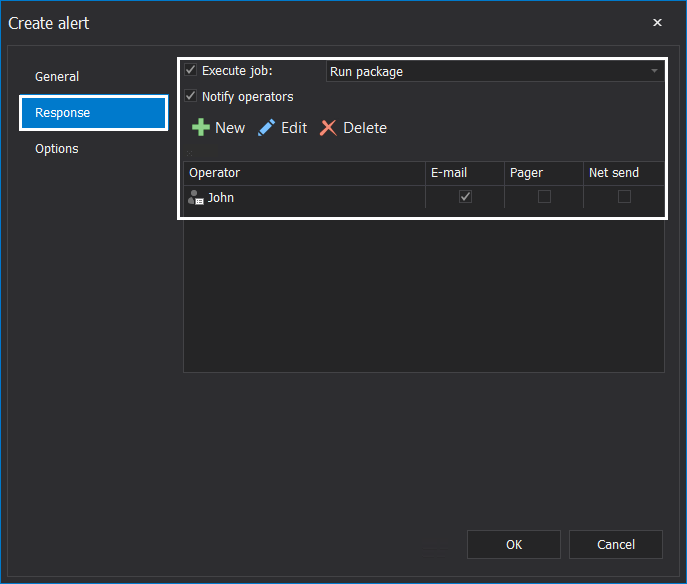
To avoid situations where a job fails and it was not properly handled, the option to Execute job and Notify operators from the Response tab can be used to preemptively minimize potential negative impact:
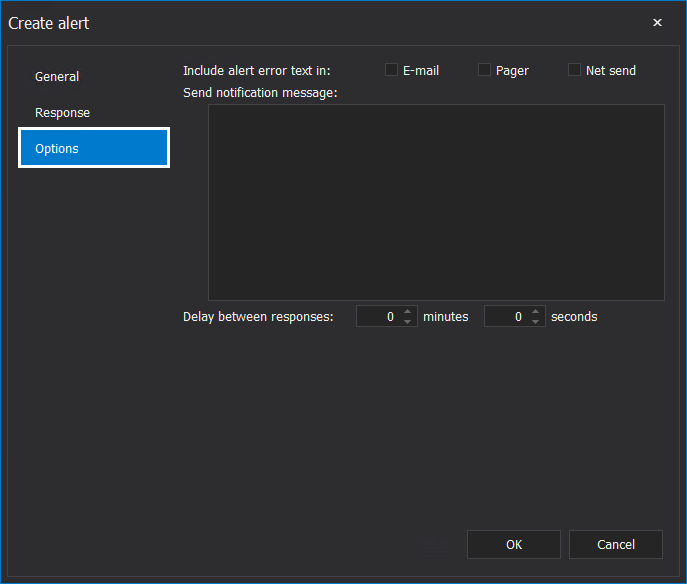
Additionally, in the Options tab, a message that will be sent to the operator can specified with options of delay between responses:
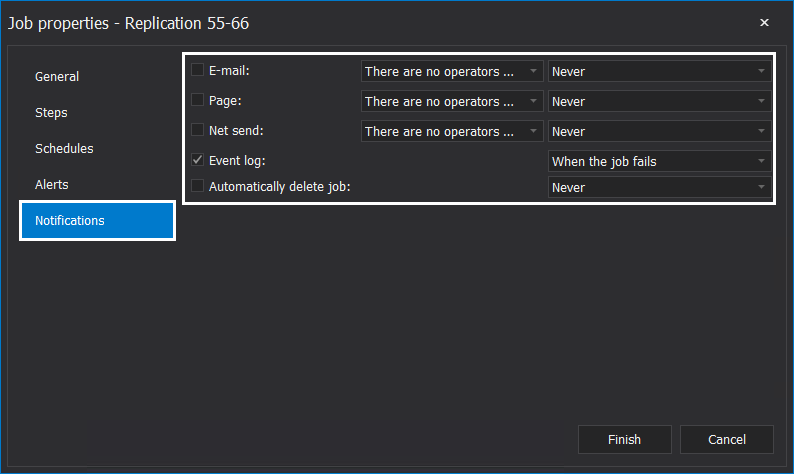
Finally, the Notifications tab can be used to specify how to respond to failed and successful job executions by notifying operators, saving a log record, or automatically deleting the job:
Edit a SQL Server job
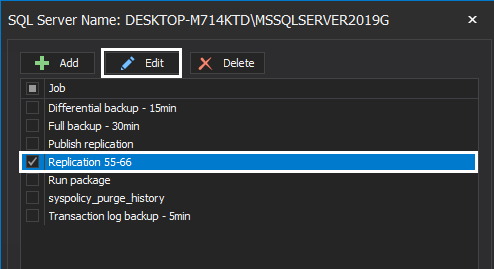
To edit a SQL job, check a job from the list and click the Edit button:
This action will open the Edit window where the SQL job can be reviewed and reconfigured if necessary:
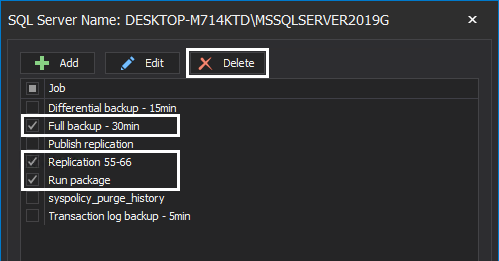
Delete a SQL Server job
In contrast to the Edit option, where only one SQL job can be edited at a time, the Delete option can be used to delete multiple SQL jobs at once. To delete SQL jobs, check desired jobs from the list and click the Delete button:
In summary, managing SQL jobs in this manner provides a more centralized approach where all SQL jobs on all managed SQL Server instances can be easily reviewed, reconfigured, or deleted as well as new SQL jobs created.


