Applies to
Summary
This article explains how to import Excel to a SQL database using the Repopulate import option to update an existing SQL table in a SQL database.
Description
ApexSQL Pump is a tool that can import data from 11 different sources. The first source is the importing SQL data from a SQL database to another SQL database, and the other 10 sources are from different file types such as Excel, Word, XML, CSV, etc. In this example, the Excel to SQL database import action will be used to repopulate a current table and update it with the new data.
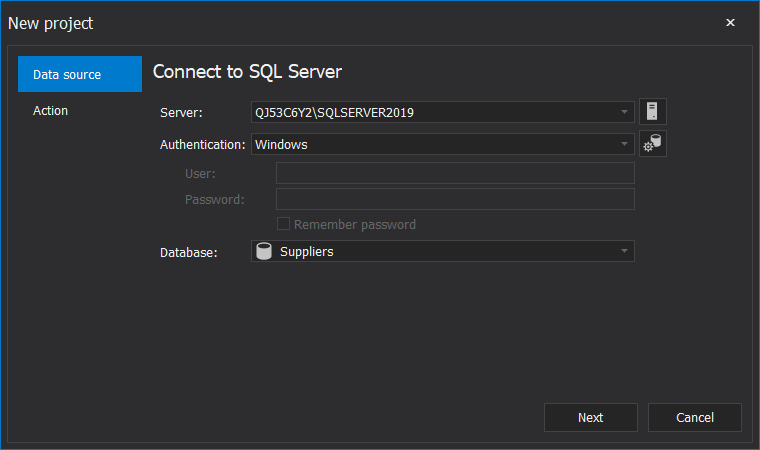
To Import data, first, it’s needed to set the connection under the Data source tab from the New project window, and in this example, the Suppliers database will be used from a local SQL Server:
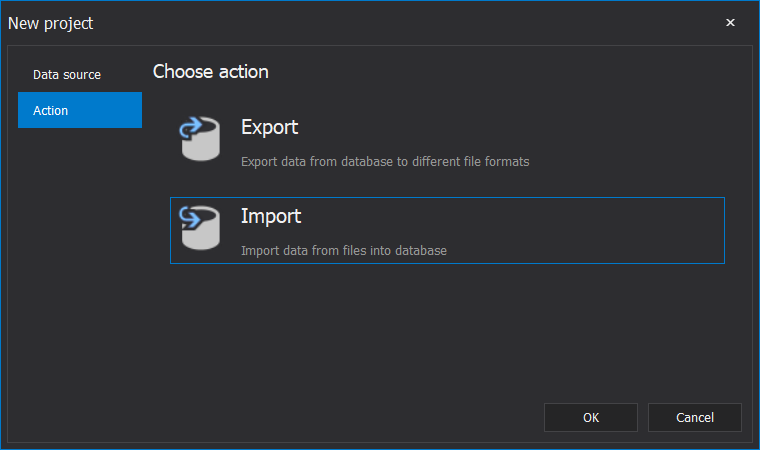
The second step is to select the Import option under the Action tab and click the OK button to load a SQL database into the main grid of the application:
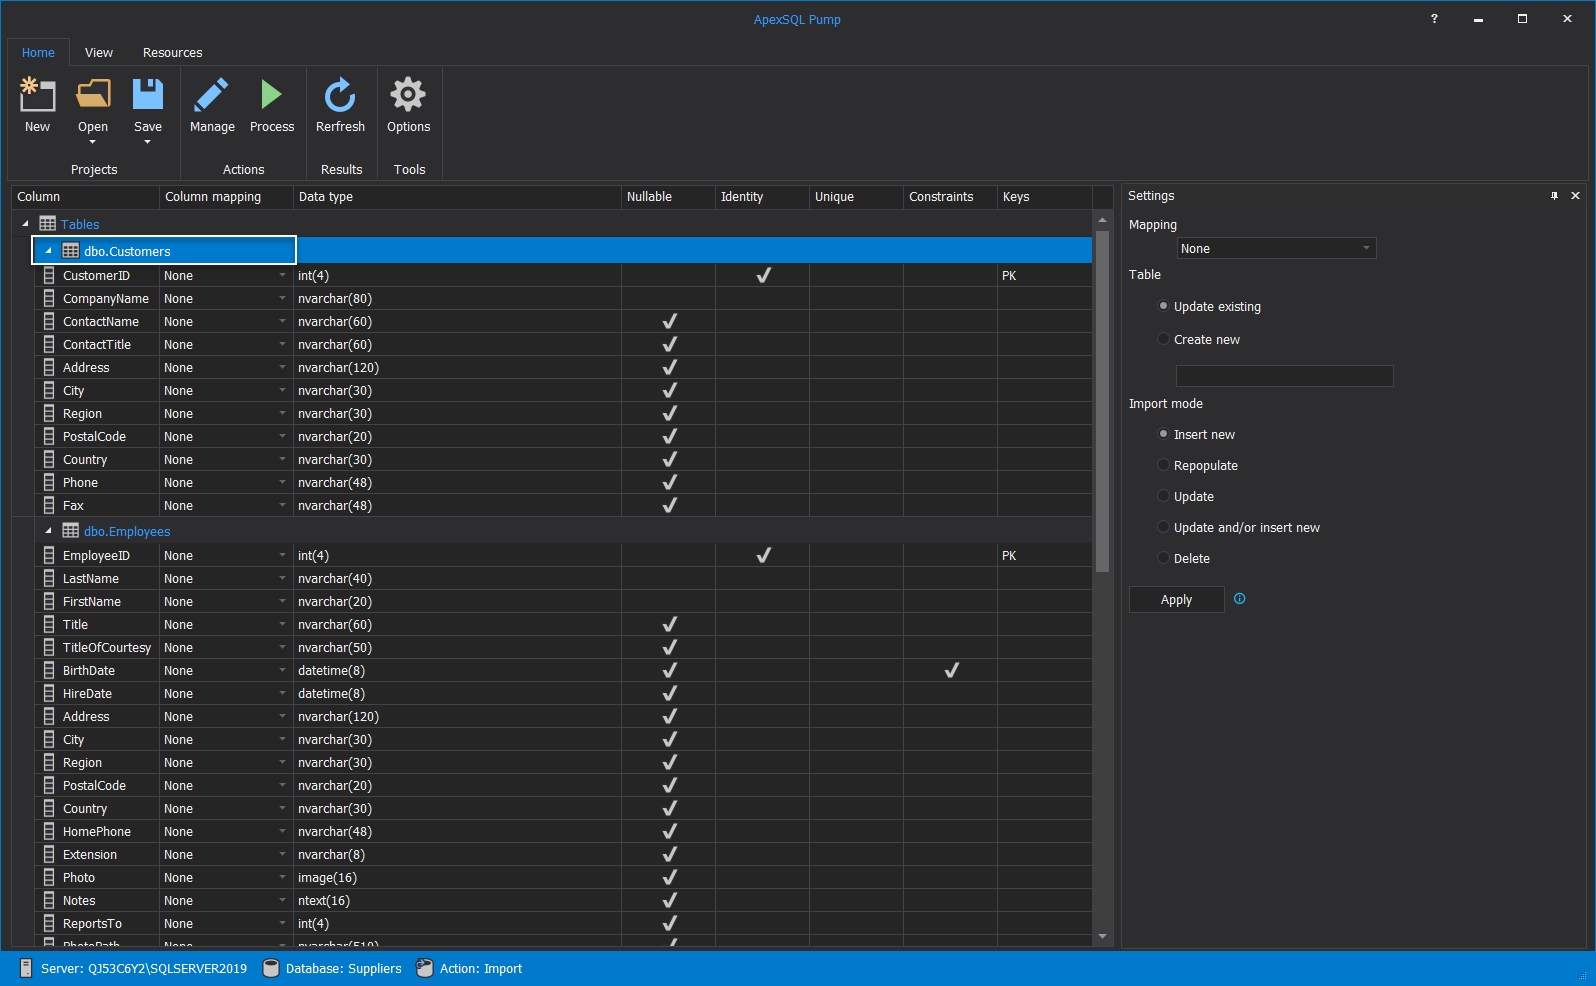
When the main grid is opened, and a SQL database is loaded, check the desired SQL table which will be repopulated with the new data from the Excel file. In this case, the dbo.Customers table will be used:
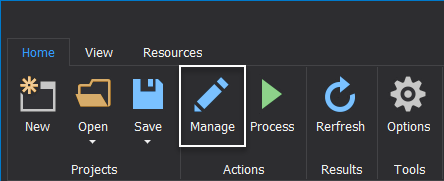
After that, click the Manage button from the Home tab:
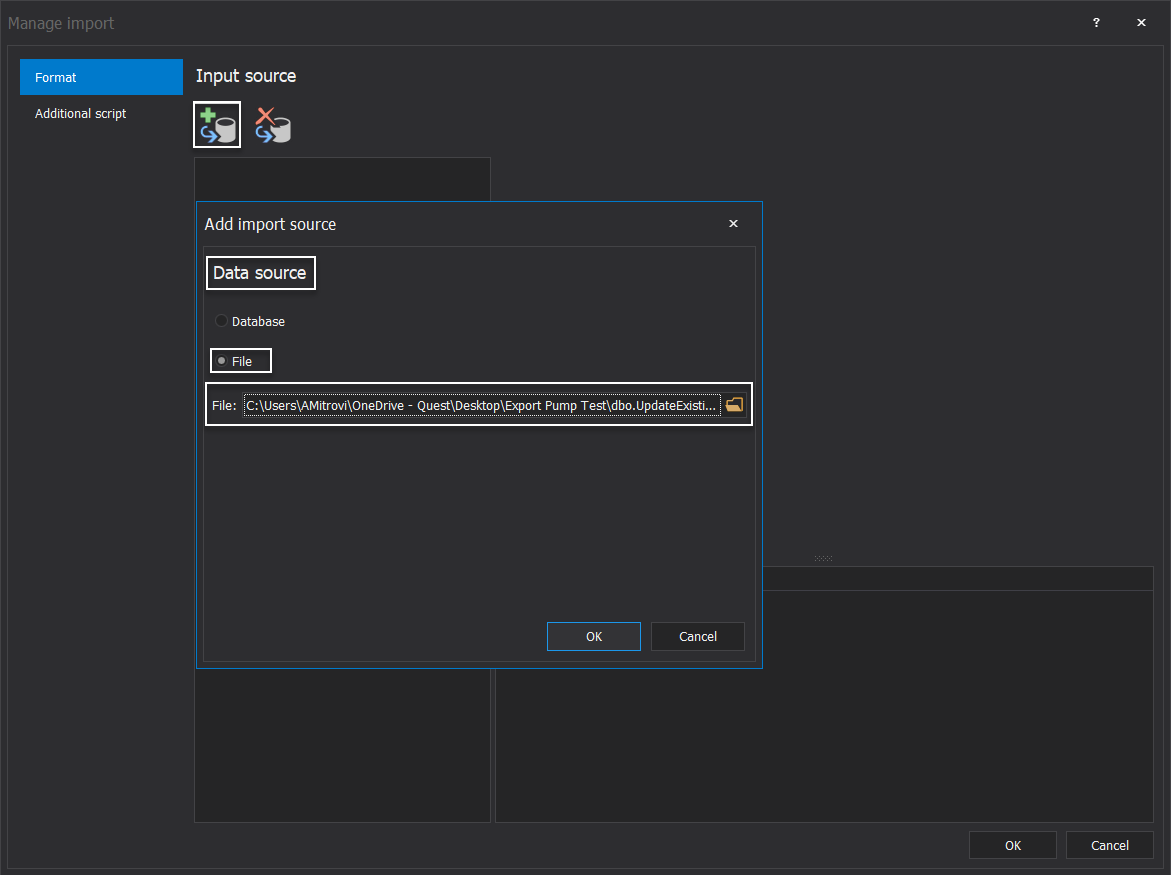
To import Excel to SQL database, under the Formats tab, click the Add button under the Input source section, select the File option under the Data source and add the desired Excel file. In this case, the dbo.UpdateExisting.xlsx file will be used to repopulate the data into the dbo.Customers SQL table:
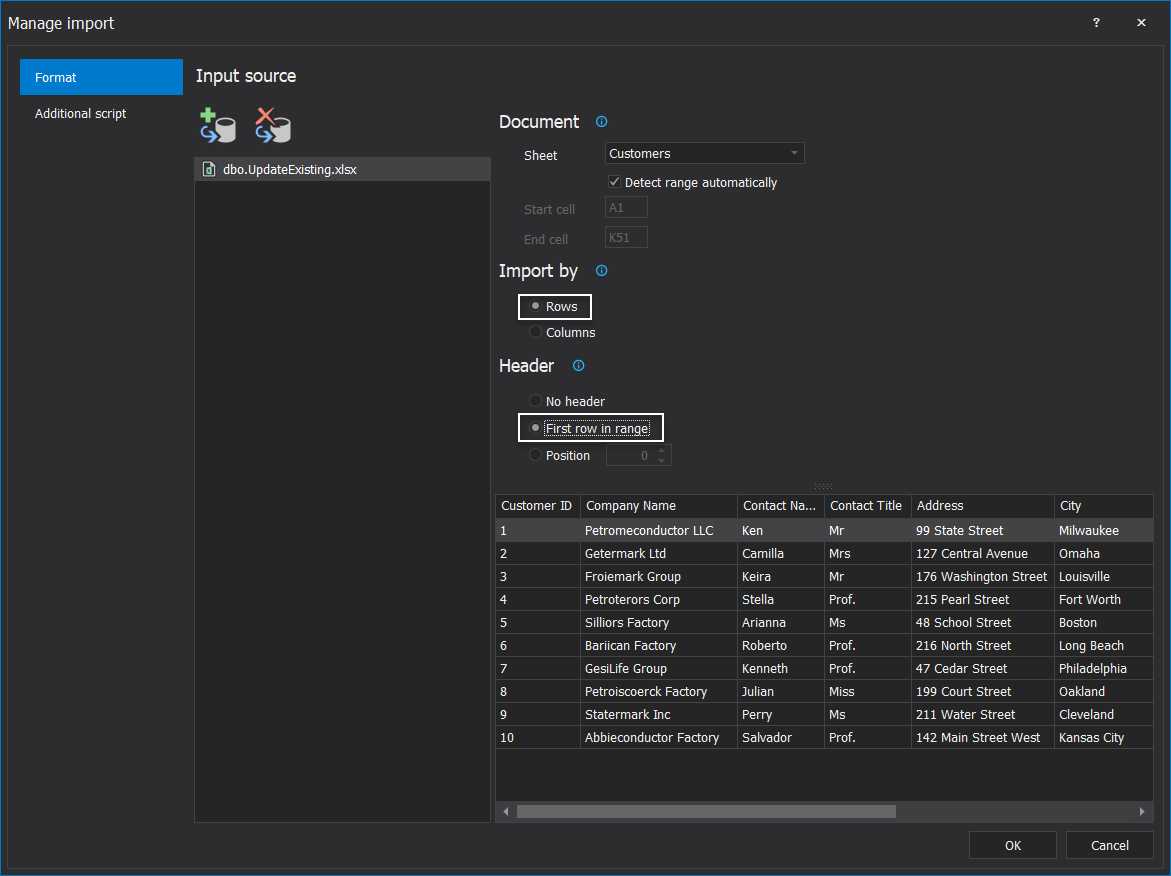
Click the OK button in the Add import source dialog to return into the Manage import window. Import by rows option is selected, and under the Header section, the First row in range option is selected which means that the first row will be used as the column name when the mapping column is used:
When everything is set, click the OK button, and the main application grid will be shown again.
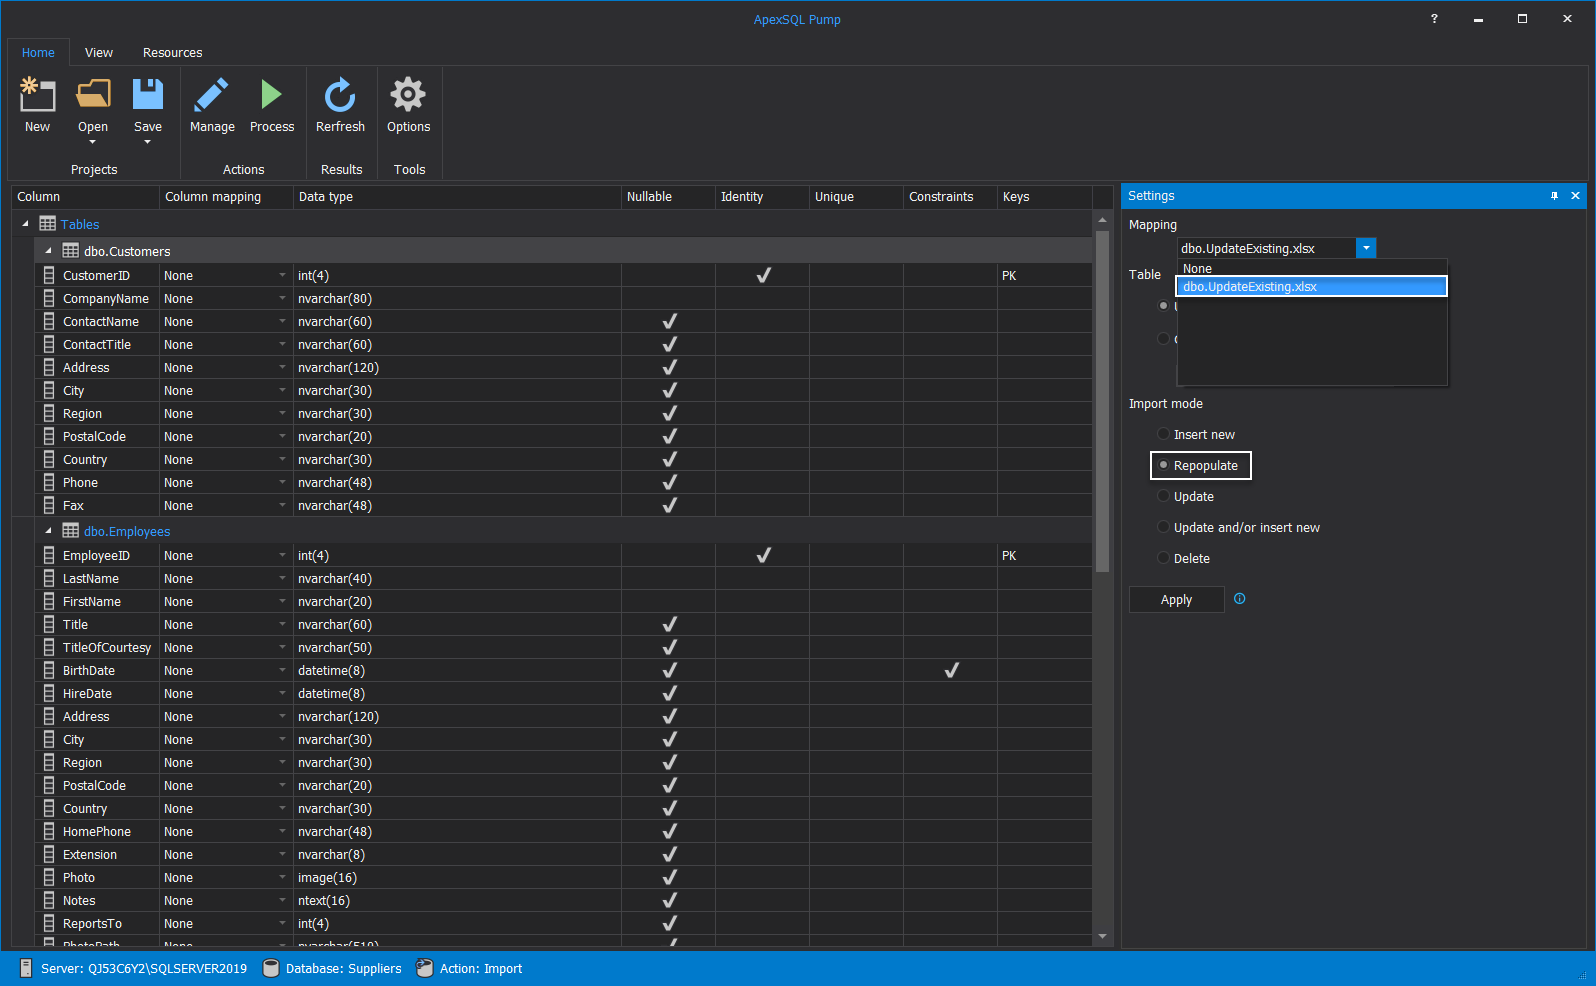
The next step is to map the columns in the previously selected SQL table dbo.Customers. On the right side, by default, the Settings panel is shown where the same Excel file can be chosen from the Mapping drop-down list. To update the existing data in a SQL table, select the Repopulate option under the Import mode:
After selecting the dbo.UpdateExisting.xlsx file, it will be assigned to the previously selected SQL table dbo.Customers.
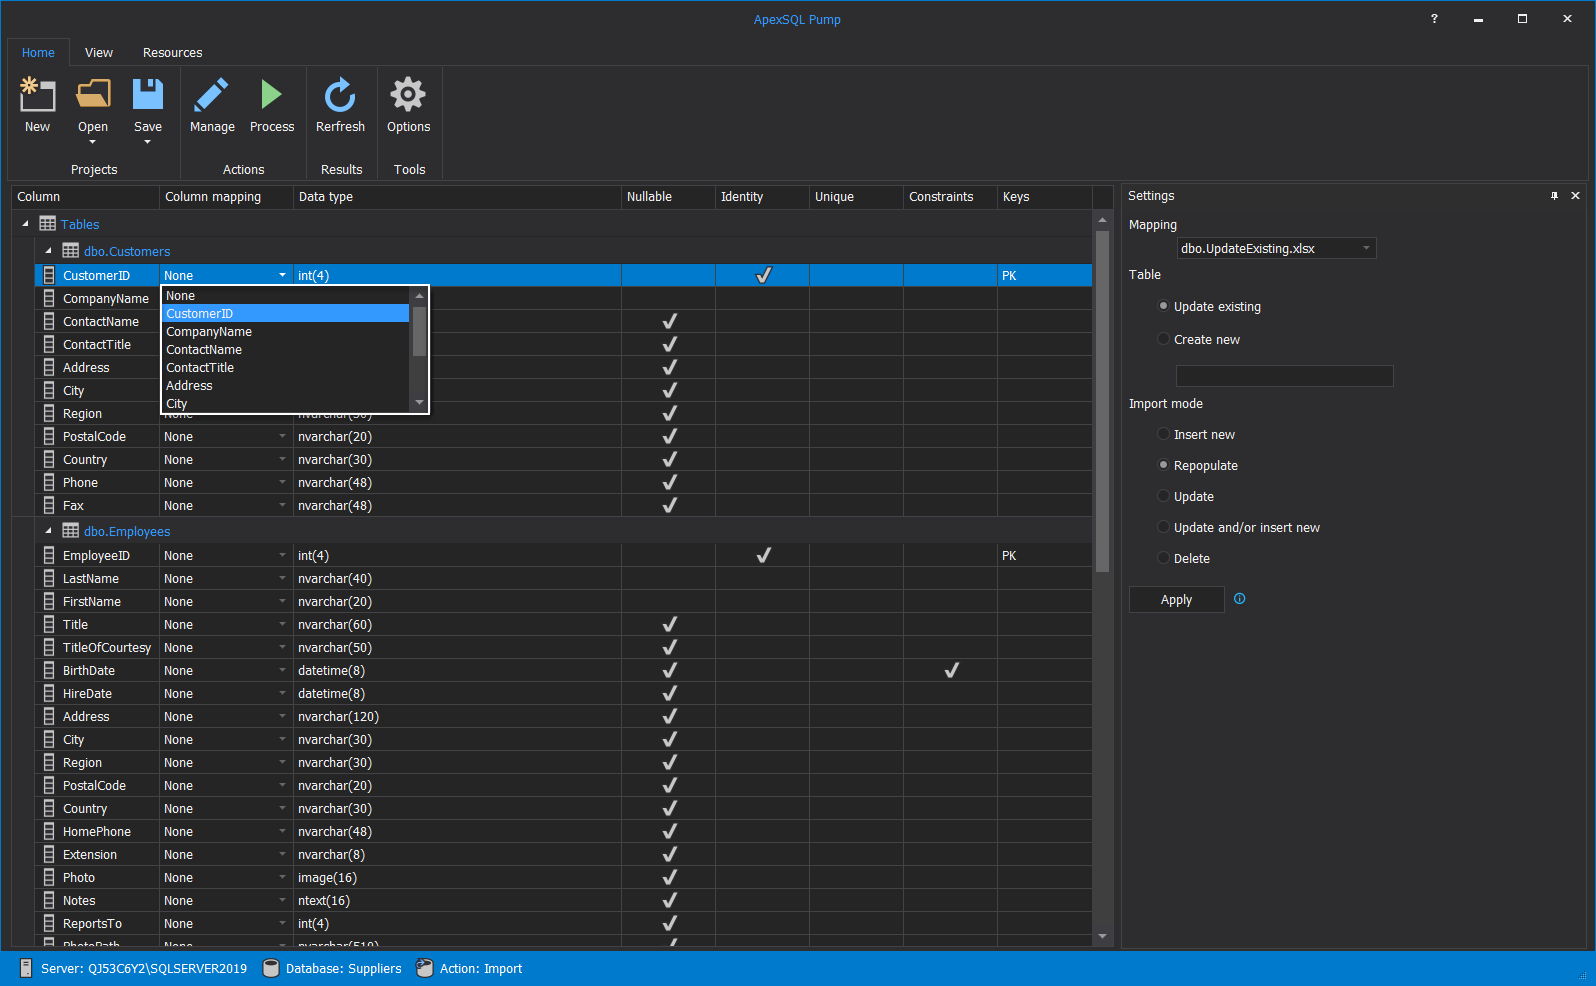
The next step is to use the Column mapping from the main grid and assign proper columns from the loaded Excel file to a SQL database table. To do so, click the drop-down list for each column under the Column mapping cell. Under the drop-down list, all columns that are imported from the Manage import window will be shown:
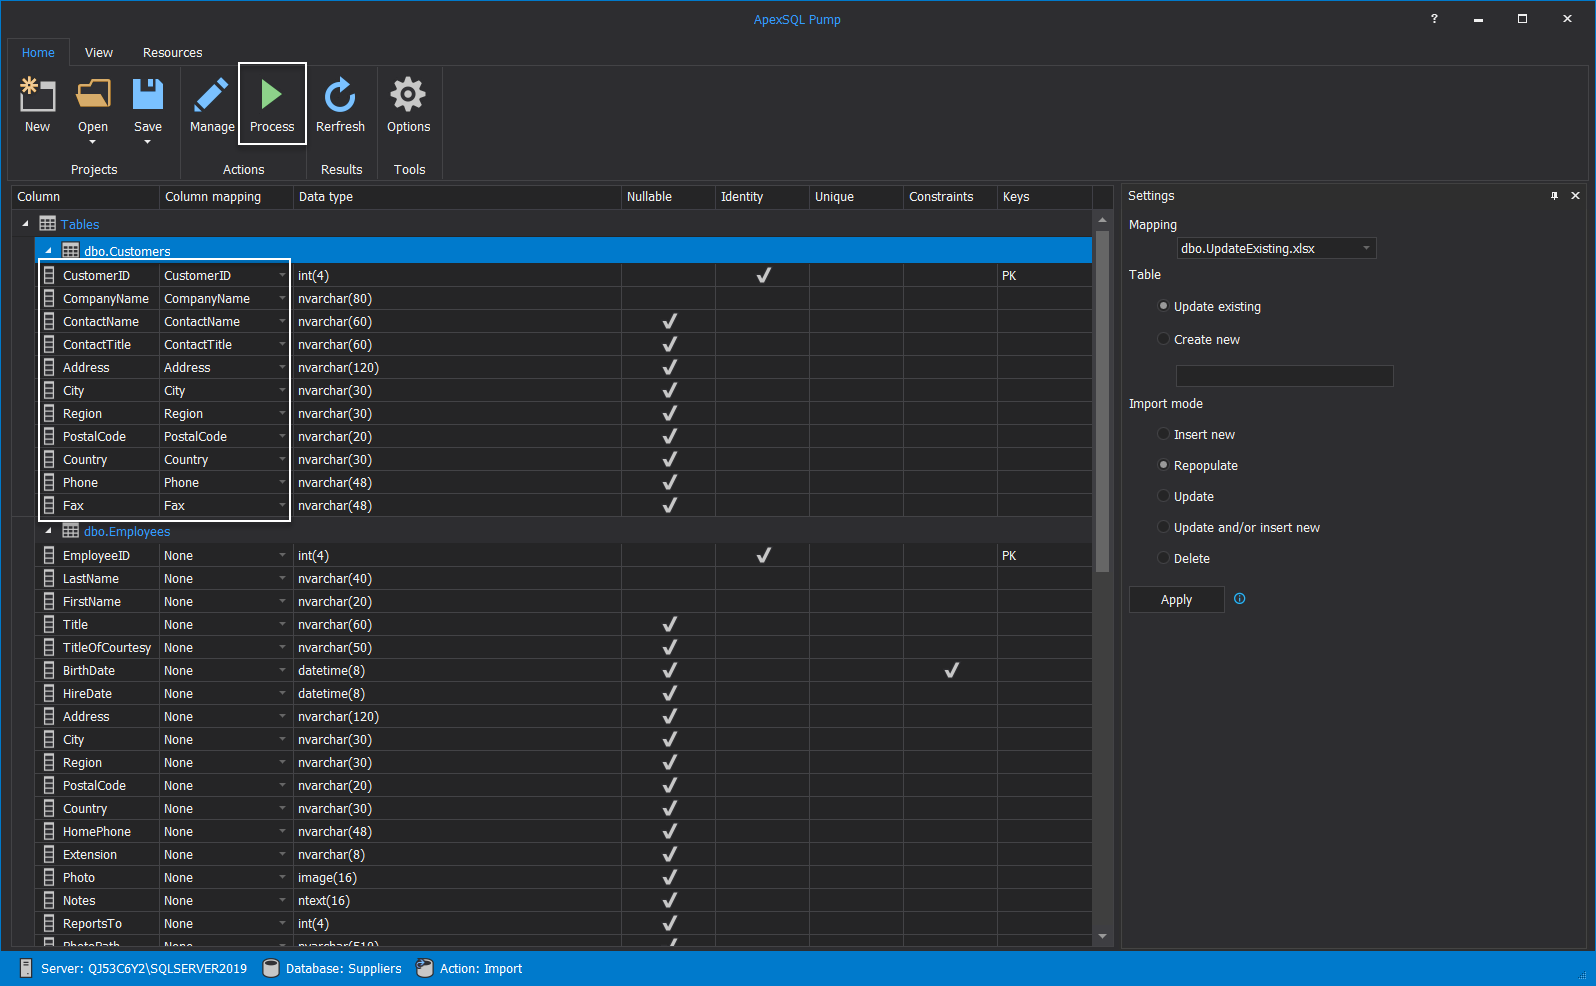
When each column is set for the desired SQL table with the proper column from the assigned Excel file, click the Process button from the Home tab to start the import data into a SQL database:
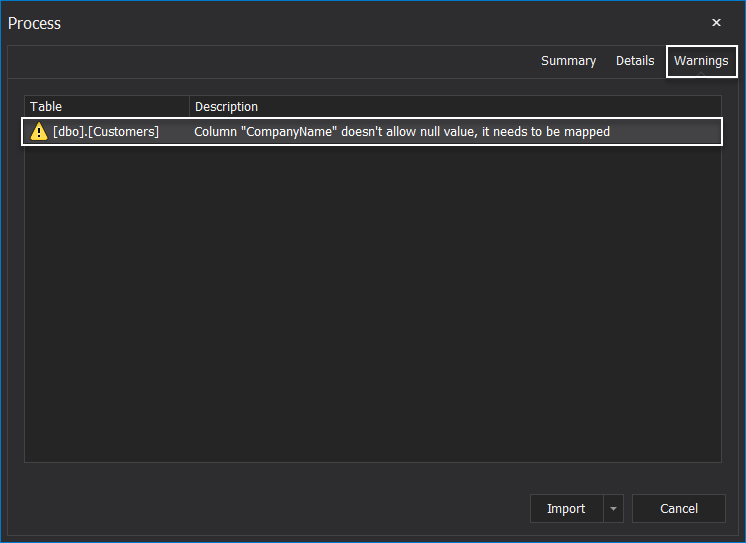
Note: Keep in mind that if columns are not nullable, it will pop-up the warning to map them in order to proceed further with the import process. Warnings will be shown in the Process window, and the details for the warnings can be seen under the Warnings tab. For this example, the CompanyName column is used since it’s not nullable and must be mapped:
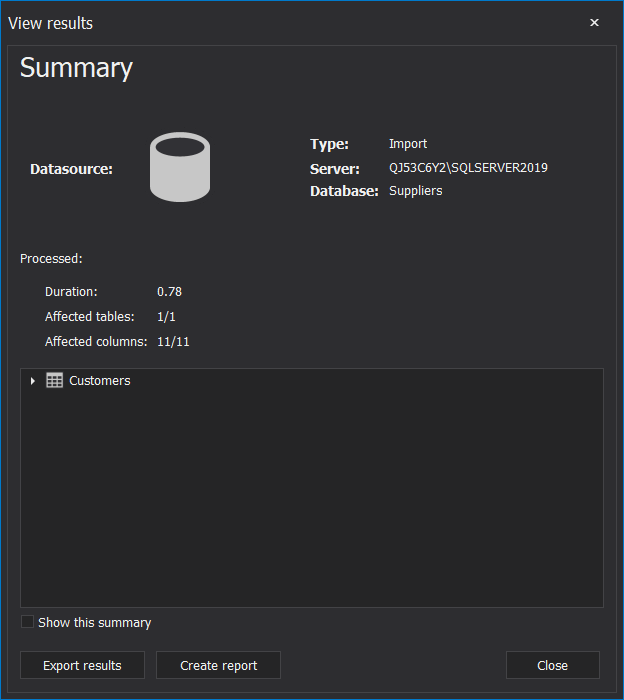
After resolving all warnings, click the Import button and import Excel to SQL database process will start. When the import is finished, it will show the results, and in this case, 11 columns are affected and successfully updated in the SQL database:
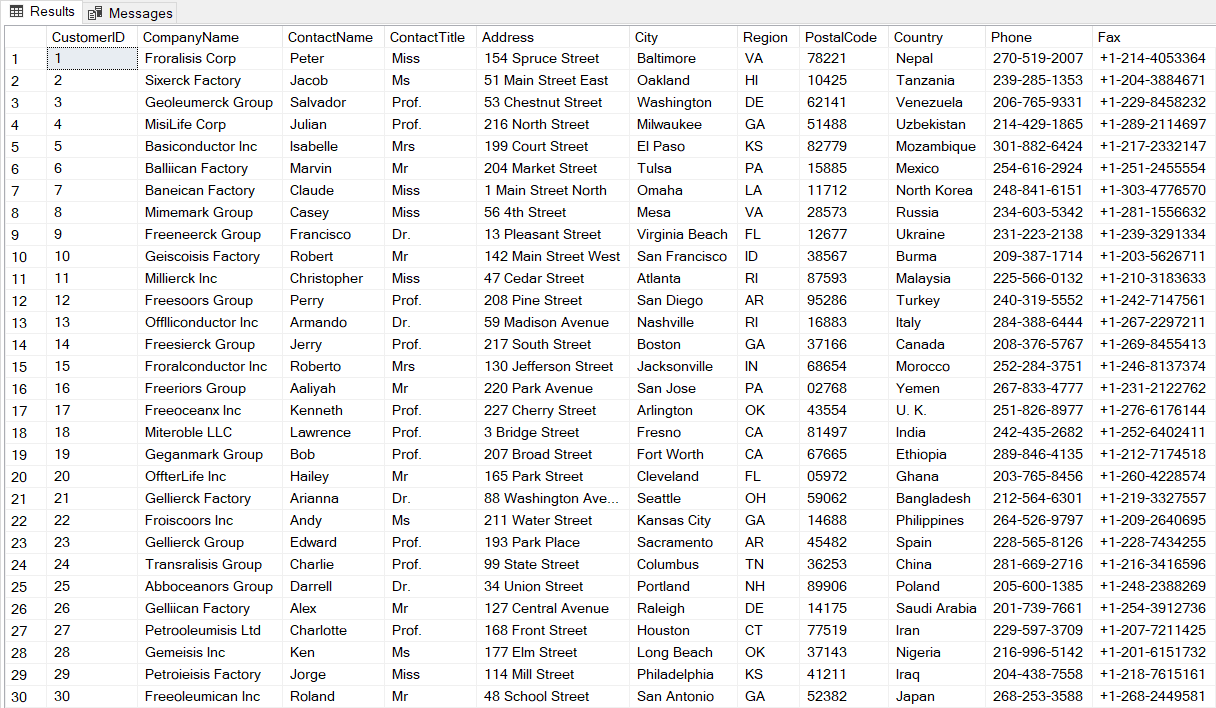
Below is shown the SQL data before updating an existing SQL table in a SQL database:
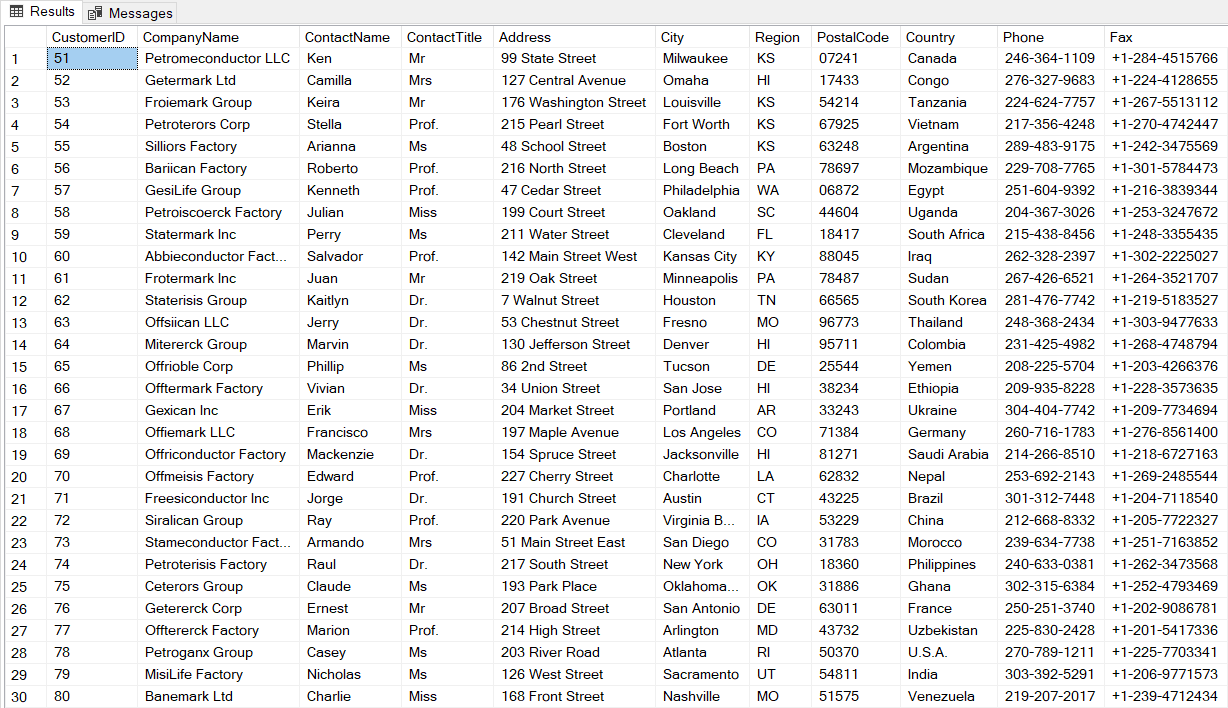
This is the result when the repopulate and update an existing SQL table is used from the ApexSQL Pump, and Excel file is imported into a SQL table:


