Applies to
ApexSQL Restore
Summary
This article explains how to utilize ApexSQL Restore to restore a backup to a specific point in time.
Description
ApexSQL Restore is a SQL Server tool that attaches both native and natively compressed SQL database backups and transaction log backups as live databases. It allows attaching of multiple full, differential, and transaction log backups. In addition, ApexSQL Restore enables mounting backup sets to a specific point in time, making it ideal for quickly reverting inadvertent or malicious changes.
In order to perform restoration of a backup to a point in time, the following steps need to be executed:
-
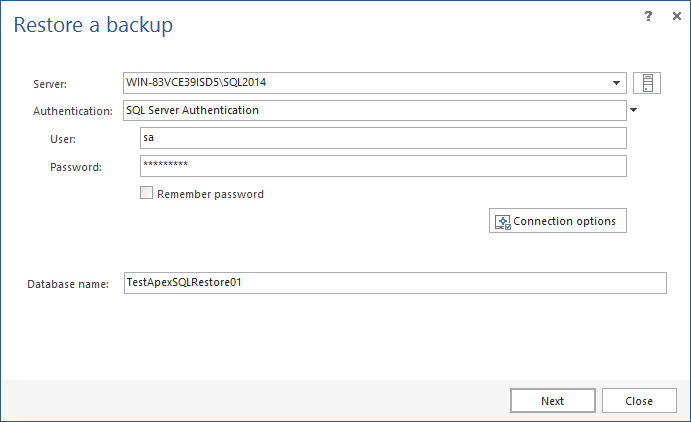
Start ApexSQL Restore and click on the ‘Add virtual database’ button to initiate the wizard

- In the first step of the wizard, select the SQL server that will hold a restored database, provide valid credentials and specify the name of the database that will be restored. After full input is provided, click on the ‘Next’ button to proceed to the next step.
|
Quick tip: Regardless of the authentication method, the account used to authenticate to the SQL instance needs to have CREATE DATABASE permission over that instance |
- In the second step of the wizard, add backup files via the ‘Add files’ button and check/uncheck backup parts that will be included in the process.
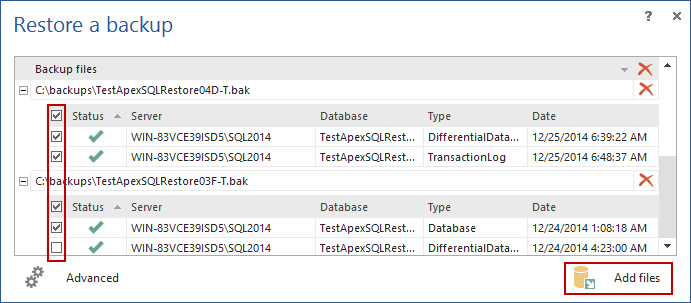
- In the same dialog, select the ‘Restore to specific point in time’ option as a restoration type, and click on the ‘Next’ button to advance to the final step of the wizard.
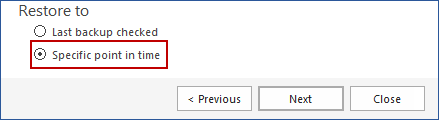
- In the final step of the wizard, a backup-chain will be presented as a timeline. To specify the exact point in time, use one of the available methods:
-
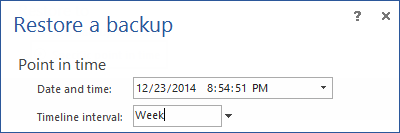
Manually enter date and time of a point in time
- Select a point in time by clicking on the timeline – red marker will appear in that position

|
Quick tip:
The ‘Timeline interval’ setting affects timeline format and allows increased navigation and overview of included backups
|

- To complete the process, click on the ‘Finish’ button. This will attach a fully functional database to the selected SQL Server.
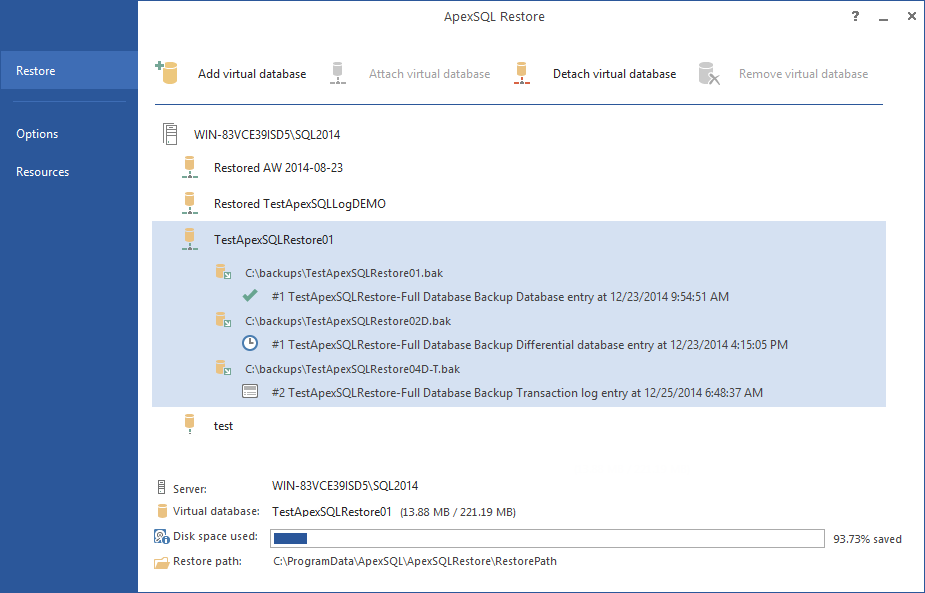
Details of a database restored to a point in time can be seen in the main screen of the application