Applies to
ApexSQL Doc, ApexSQL Doc for MySQL
Summary
This article will explain what documentation settings can be saved as a template in a project file to reuse it for later projects with the MySQL/SQL database documentation tools. The steps are the same, and can be used for the ApexSQL Doc and ApexSQL Doc for MySQL. For demonstrative purposes, the ApexSQL Doc for MySQL will be used.
Description
When there is a need to document MySQL database with a targeted database objects and options several times, and this process will be repeated from day to day, the MySQL database documentation tool offers to save those settings as project file. Using the project file, database developer does not need to go through the whole process of selections for the database objects and options, or selecting, for example, the same set of tables which are needed to be documented. All previously defined selections will be saved and ready for generating the documentation when needed.
In a project file, the following settings can be saved as a template:
From the Database engine tab:
- The previously defined Database options
- The previously defined Database objects
From the Output options tab:
- From the File format tab, the selected Output file format will be saved
- From the Style tab, the selected Style and Sections will be saved
- From the Custom text tab, Custom text, Text, Font, etc. will be saved
- From the Naming tab, the Title and the File name will be saved
An additional advantage in keeping settings in a project file is that the saved project can later be used through Command Line Interface (CLI) since the ApexSQL Doc for MySQL and ApexSQL Doc supports CLI commands.
In this article, it will be described how to define necessary options and filters, and then save them with the project file.
Define project settings
Let’s say that a developer who works on documenting a certain database with precisely defined objects and options, that needs to be documented, does that work periodically day by day.
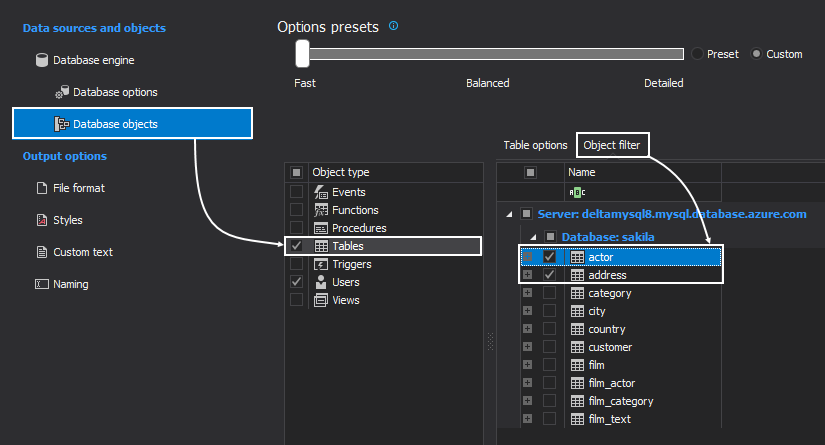
Let’s use an example, there are objects in a sample sakila database, the tables named actor and address, and a user object named deltamysql.
The following steps will explain how to select desired tables and users, which will be included in the documentation and save them in a project file.
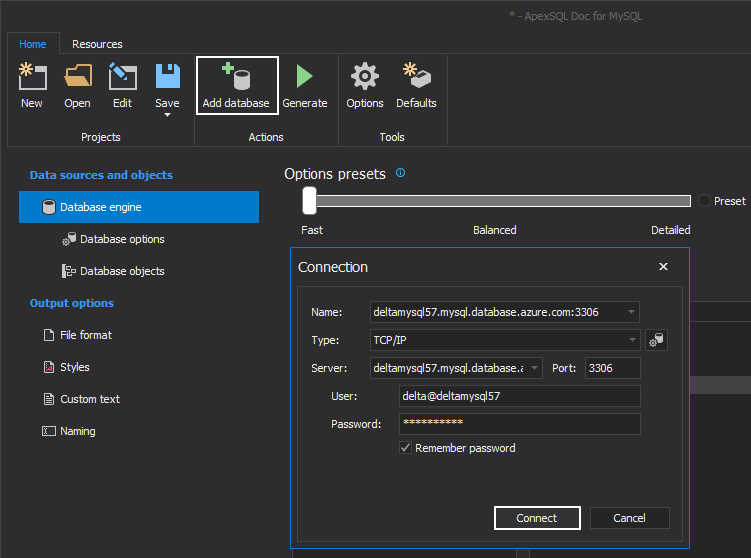
To start with documentation connect to the specified server using MySQL database documentation tool by clicking on the Add database button from the Home tab of the main ribbon menu at the top of the application window When all the necessary connection parameters are filled with information, click the Connect button:
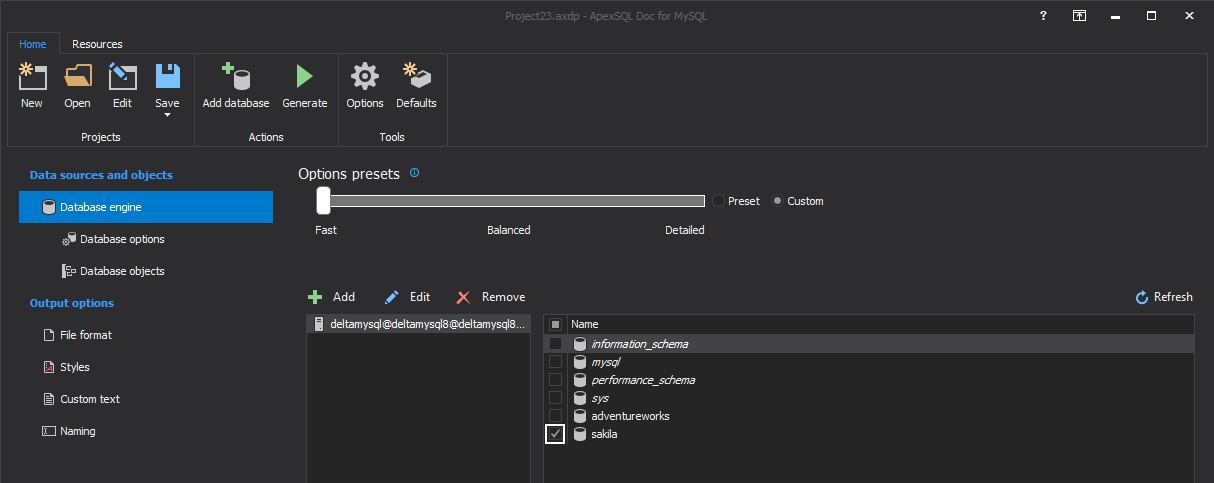
Now when the connection to the server is established, the next step is to select the desired database for the documentation. This can be done by checking the checkbox next to the name of the database:
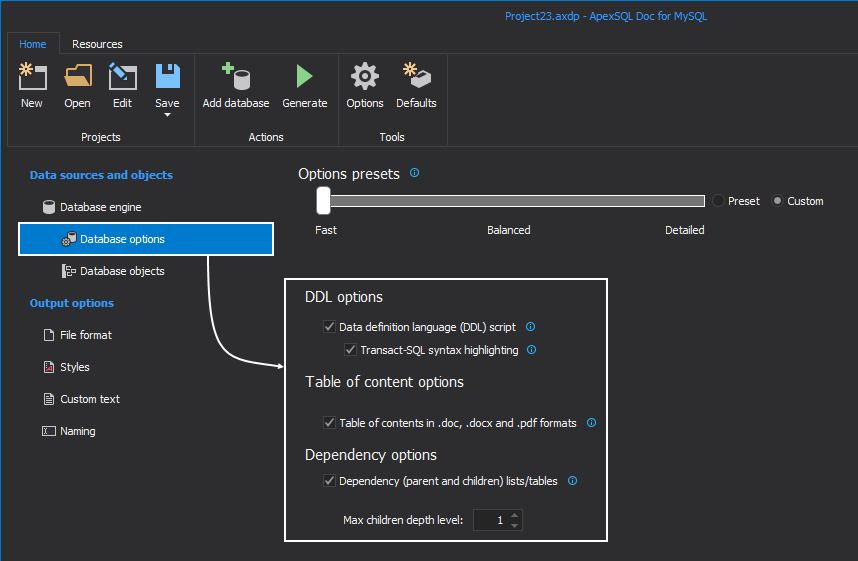
In the MySQL database documentation tool from the Database options tab under the Data sources and objects panel the database developer can select which database details want to include in the documentation:
Now is time to select desired database objects. This can be done by click on the Database objects tab under the Data sources and objects panel. As the task is to document a few tables, the database developer needs to check the Tables item from the Object type grid, then from the Object filter grid next to the right, check desired tables. In this case, it will be the actor and the address tables:
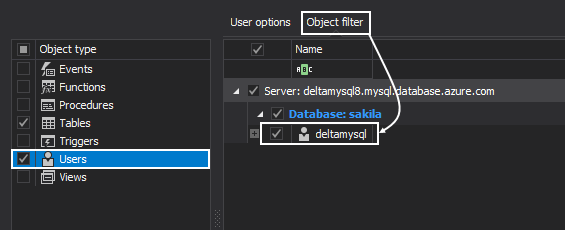
As stated at the beginning of the article, the task is to document one user type object also. In MySQL database documentation tool this can be done in the same window, check the Users item from the Object type, then from the Object filter check desired user:
Documentation output formatting
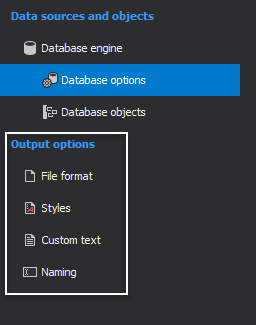
As the final step before in this project before saving, it is going to be required to customize how documentation will look and select the output file format. All of this can be done under the Output options panel:
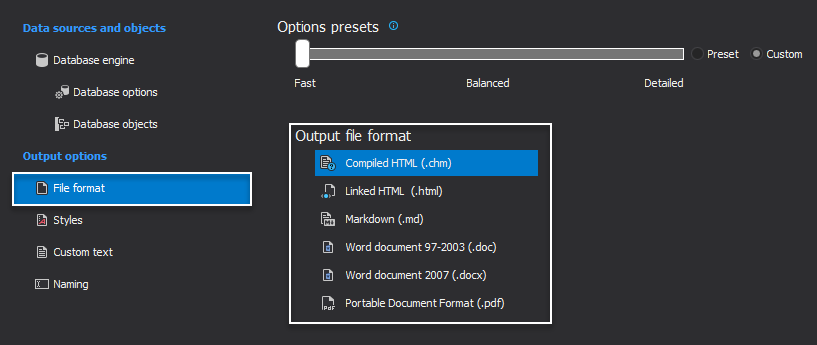
The File format defines the output format for the generated documentation. It includes most common document formats like CHM, HTML, MD, DOC, DOCX, and PDF which are supported by MySQL database documentation tool:
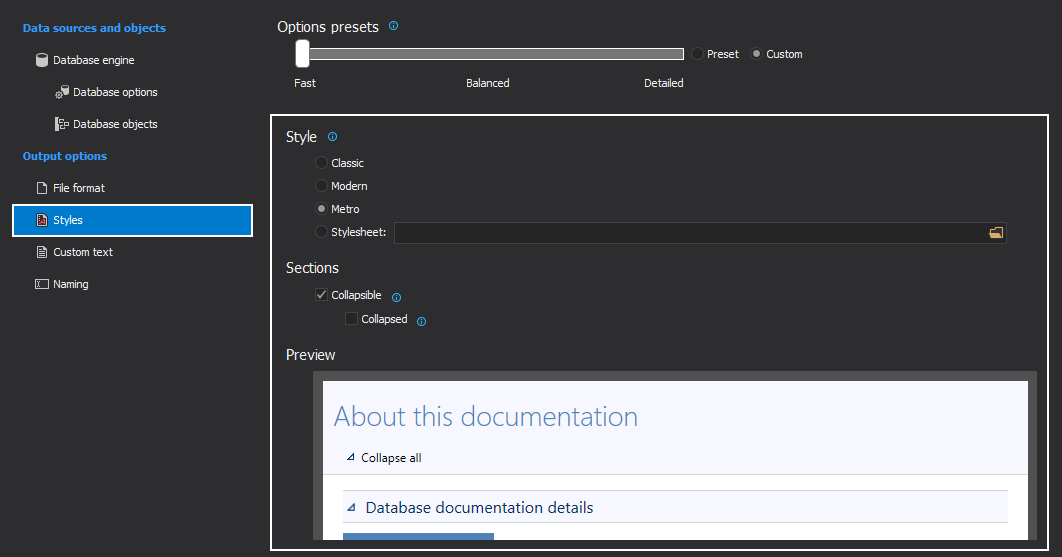
Under the Styles tab, the database developer can define the look of the documentation. The Classic, Modern, and Metro can be selected or Stylesheet (which is the custom created style)
In the Preview window, will be shown the look of the selected style:
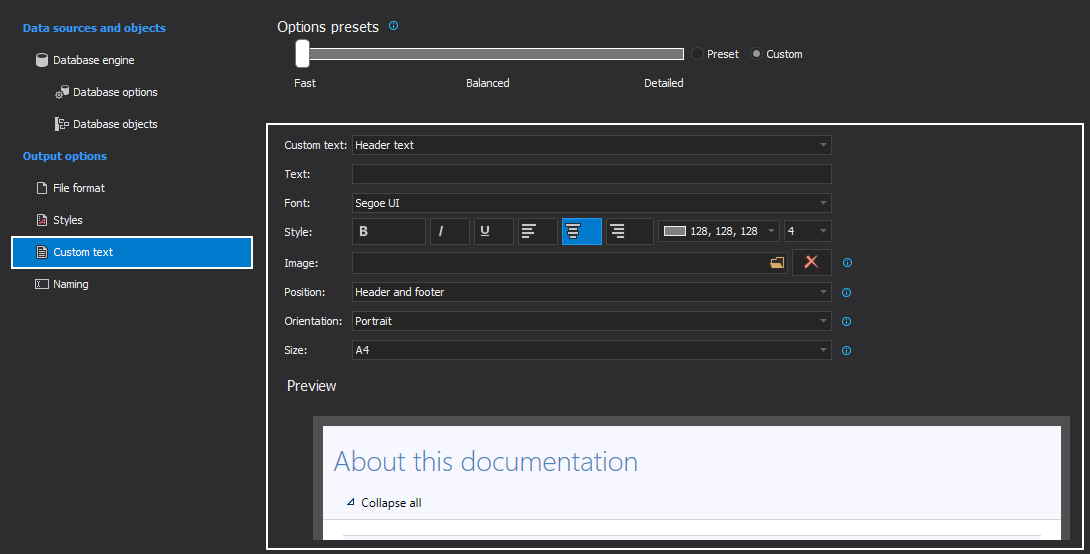
The Custom text allows including some user-defined text and the style of the text in the generated document. Also, the image can be added, for example, a company logo. The Preview window will show any change that is made.
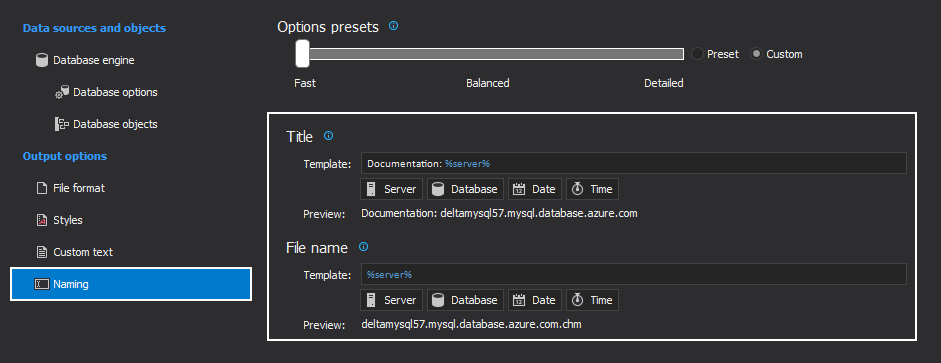
In the MySQL database documentation tool, the Naming allows defining the Title name/File name of the generated document in the corresponding fields. Along with the Title name/File name, the Server and Database name and the Date and Time can also be added when the document is created:
When object filtering is set to provide selections of desired database objects and the database options to documentation is done, the final step is to simply click on the Save button, or, from the button extension, click on the Save as option:
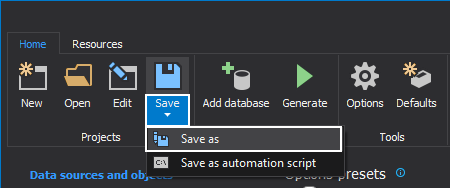
The Save project as window will appear, In the File name text box define a name of the projects, then click the Save button.
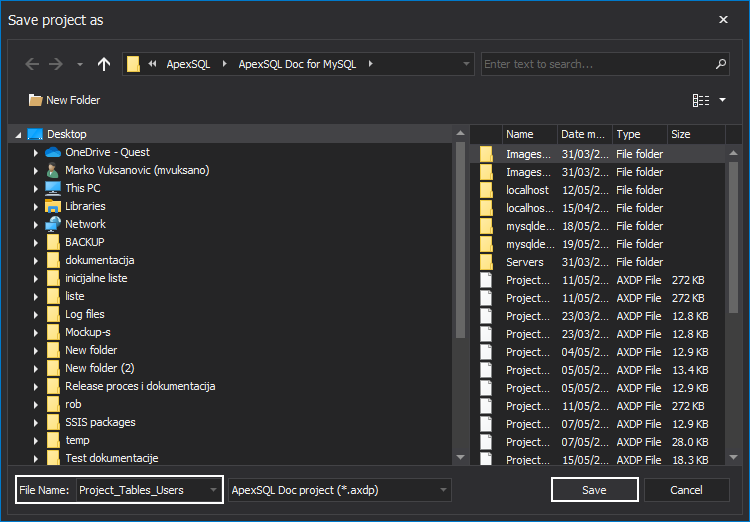
Now, when the project file is saved, it can be used later as a new project or can be used through Command Line Interface.
Note: The created project file using the MySQL database documentation tool cannot be sent to another developer to use it as a basic project, it can be used only locally on the machine on which it was created.


