Applies to
Summary
This article describes different ways of creating SQL Server instance documentation when documenting various server objects in the SQL manage instance management application.
Description
Documenting SQL Server along with its database(s) is a continuous process and recommended approach from the time a specific instance is created.
By frequently documenting server objects, all changes on our instance will be safely kept and used for before-after comparison when convenient.
This guide will demonstrate how SQL Server documentation can be created using different methods within the SQL manage instance tool.
Create SQL documentation manually
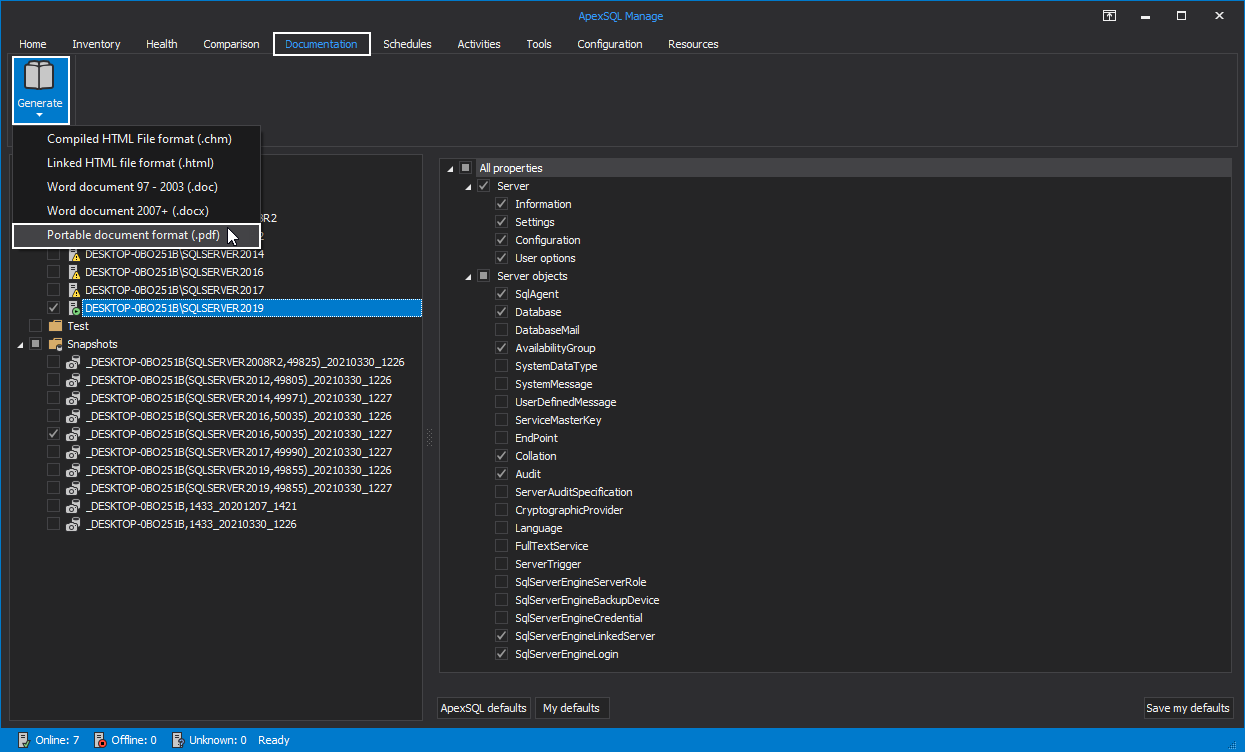
To start this process, upon starting the tool, switch to the Documentation tab. From the server panel, choose preferred SQL Server instance(s) and/or SQL Server snapshots, and afterward choose specific SQL Server properties to document from the All properties panel. From the Generate drop-down menu, select one of the offered output formats:
- CHM (Compiled HTML)
- Linked HTML
- DOC (Word document 97 – 2003)
- DOCX (Word document 2007+)
For this example the Portable Document Format, PDF, is selected:
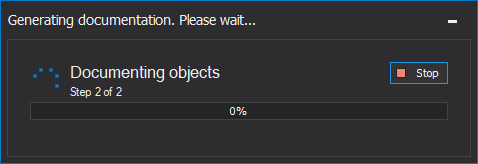
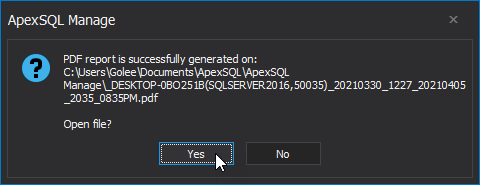
This action will start the process of generating the document:
Once finished, click the Yes button to open the document:
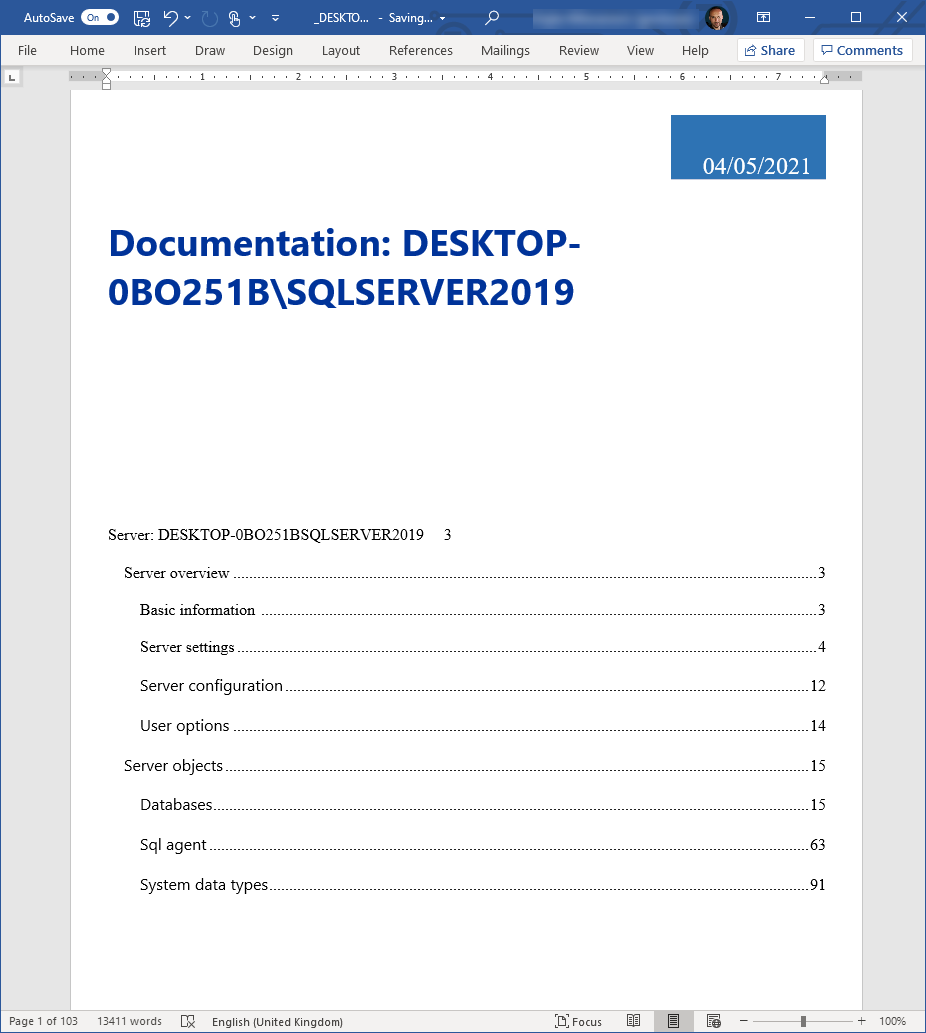
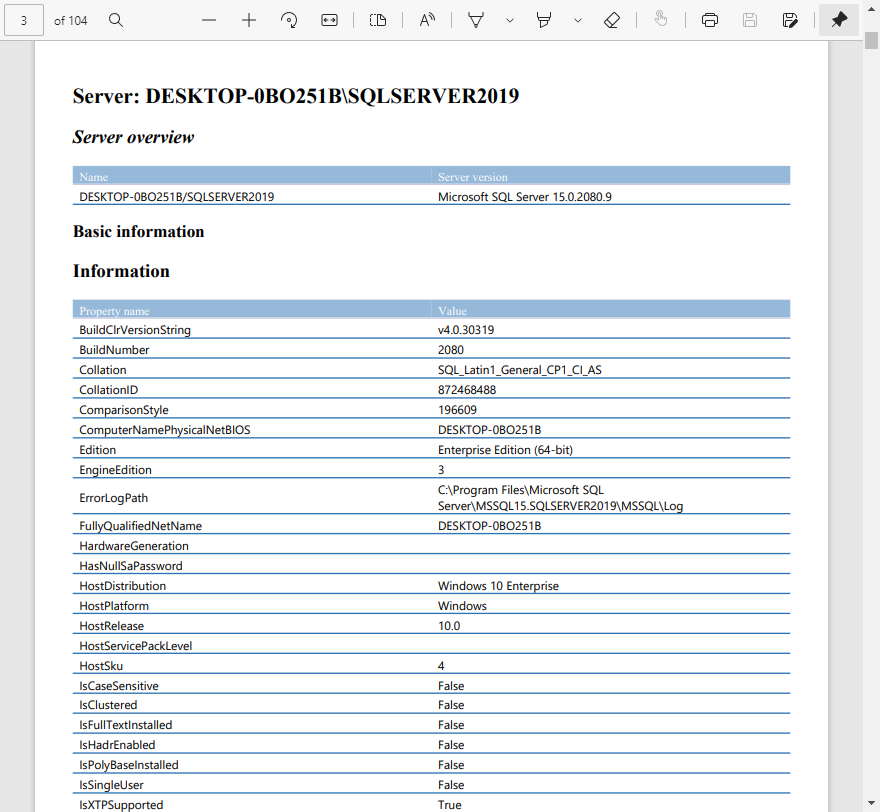
The generated document will include all previously selected SQL Server properties:
|
Quick tip: To learn how to configure the output of generated documents and tweak settings that directly impact the final look and form of those documents, check the How to create detailed documentation for SQL Server instances and snapshots article. |
Create SQL documentation automatically
To create scheduled SQL Server documentation activities, run them automatically and unattended, follow the Automate and schedule SQL Server documentation article.
Create SQL documentation with a quick action option
The last option to generate SQL documentation within the SQL manage instance software is by using quick action.
Before initiating this process, let’s first configure this quick documentation action by accessing the Quick settings button from the Configuration tab:
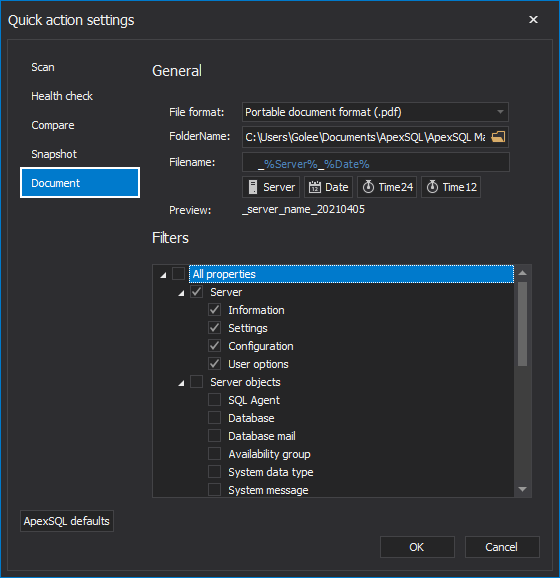
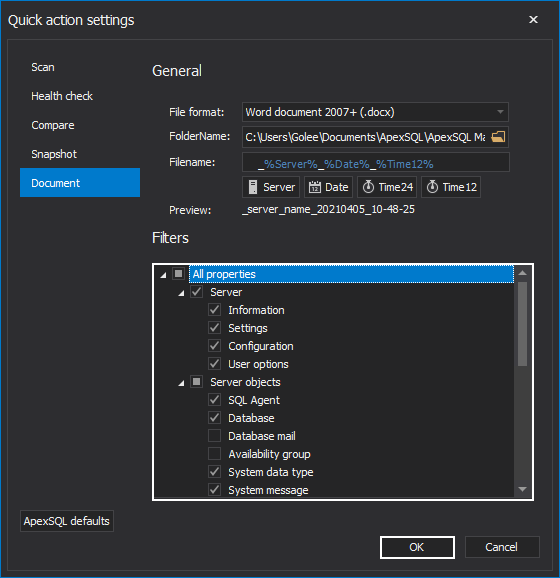
When the Quick action settings window is opened, switch to the Documentation tab on the left where various documentation-related settings can be easily tweaked:
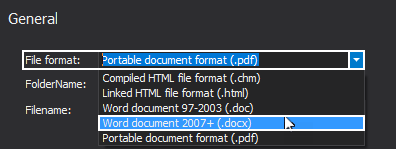
In the General section, choose the desired output format by selecting it from the File format drop-down list:
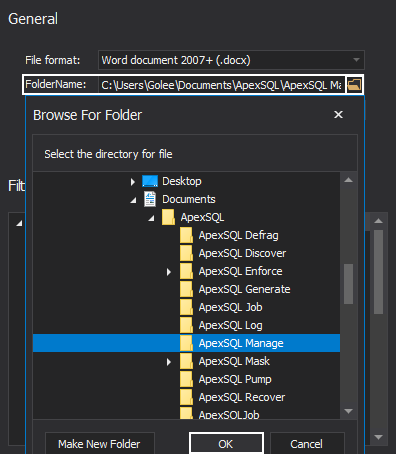
In Folder name, provide location path where generated SQL Server instance documents will be saved. Choose a custom location or leave the default one. Click the OK button to confirm the selection and close the Browse for folder window:
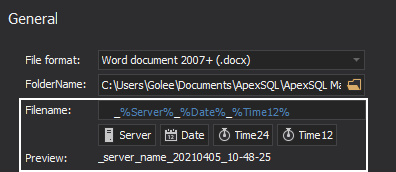
Choose the name for the documentation file by clicking preferred cards under the File name box:
- Server – the name of the SQL Server
- Date – the date when a document is created
- Time24 – the time of the document creation displayed in 24h format
- Time12 – the time of the document creation displayed in 12h format
The selection of any card makes its matching entry in the File name box. The example of the chosen document name template can be seen in the Preview:
In the Filter section, all SQL Server instance properties are presented. By default, only base Server properties are selected. Select all properties by ticking the Server objects or add only a handful of them if more suitable. Click the OK button to save the new configuration and close the Quick action settings window:
|
Quick tip: Conveniently, by clicking the ApexSQL defaults button on the left bottom of the window, all default settings for the Documentation tab will be restored undoing any previously entered custom settings. |
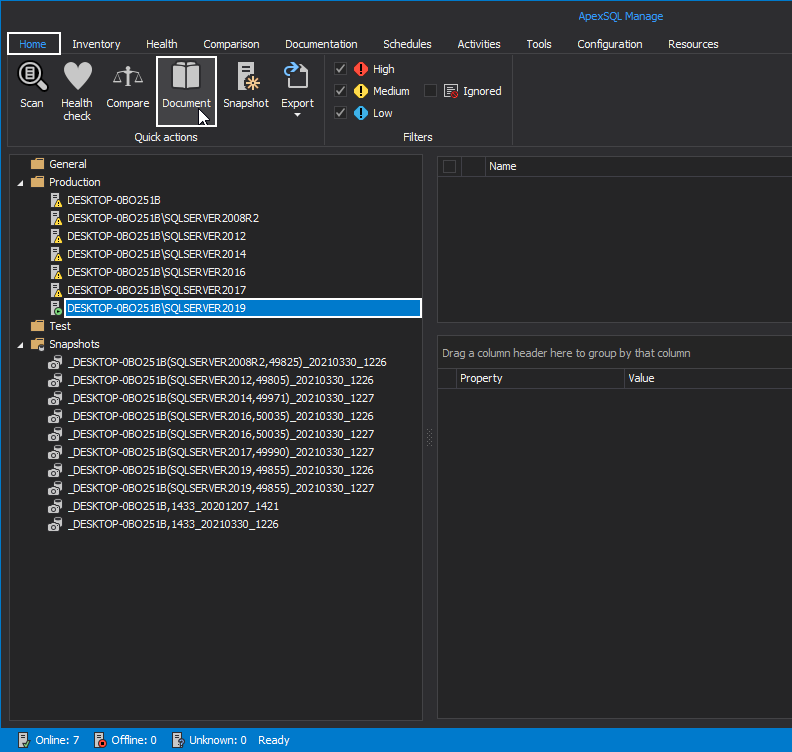
Once the new quick action settings related to documentation are successfully configured, switch to the Home tab, select a SQL Server instance or a snapshot from the server panel, then click the Document button from the Quick action ribbon category:
In a few seconds, the file will be generated for the selected SQL instance and based on the newly configured documentation settings. Click the Yes button to immediately open it:
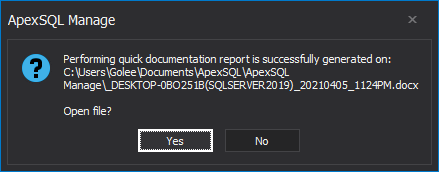
The generated document will look as below:
