Applies to
Summary
This article explains how to build an executable installer for creating a SQL database.
Description
Creating or editing a SQL database can be done in more than one way. Database developers are often choosing to have a copy of a development database on its local SQL Server instance. To create a copy of one database in multiple environments can be achieved in several ways (backup and restore a database, executing a database script, etc.). Depending on the database size, those types of files can be large and hard to transfer from developer to developer. Also, there is no way to exclude the human factor in database creation, so it can happen that instead of creating the exact copy of a database, the different database is created.
To prevent all these possible issues, with ApexSQL Build, the database executable installer can be created on which execution, the exact copy of a database will be created directly on a chosen SQL Server. Creating SQL databases this way will not require any additional application like SQL Server Management Studio or Visual Studio.
Here, it will be explained a step-by-step process of building an executable installer from a SQL script that will, when executed, create a SQL database.
Creating the executable installer
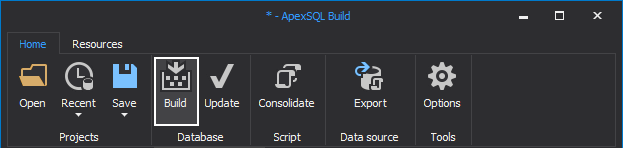
After ApexSQL Build is opened, click the Build button, from the Home ribbon, to start the process of creating the executable database installer:
The panel that is shown, the first step in the build process, is the Output type panel, where the Executable installer option should be clicked:
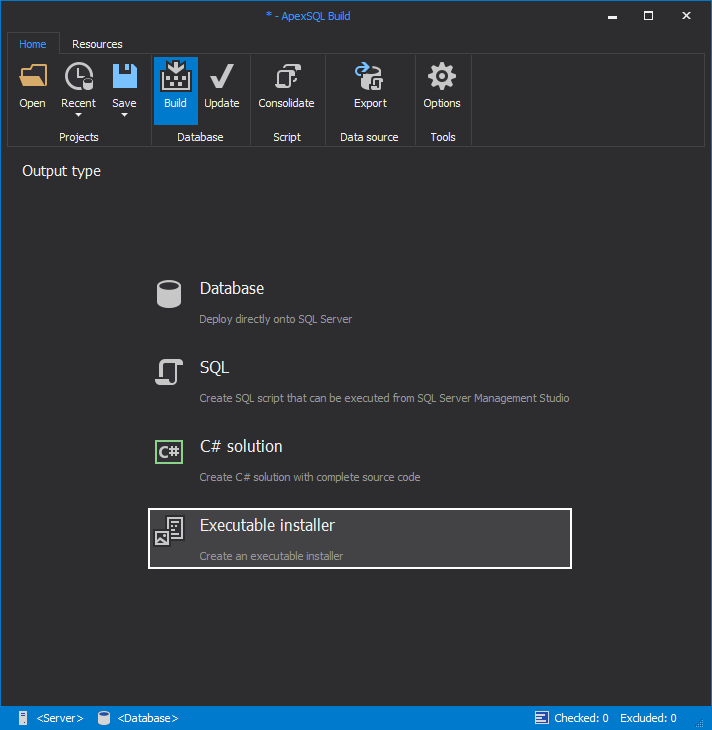
Note: Clicking on any of the listed options in the Output type tab, will automatically bring up the next tab, the Input source tab.
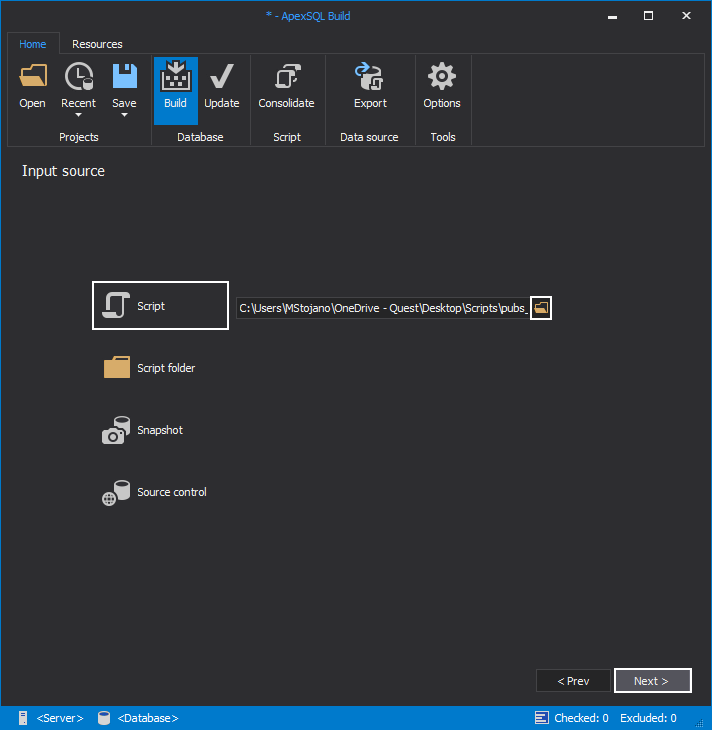
In the Input source tab are listed four input source options from which the executable installer can be built:
- Script – from only one SQL script
- Script folder – from several SQL scripts stored in one folder
- Snapshot – from database snapshot – more about how to create a database snapshot can be found in the Using ApexSQL’s Snapshot Utility article
- Source control – from the source control local or remote repository
-
Note: To use source control repositories for any of the supported source control systems, the folder structure on the repository must be created by either ApexSQL Source Control or ApexSQL Script.
No matter which input source option is chosen, the building executable installer process is the same, so for this example, the Script option will be chosen as an input source.
Click the Browse for folder button to specify the SQL script path. After the path is entered, click the Next button:
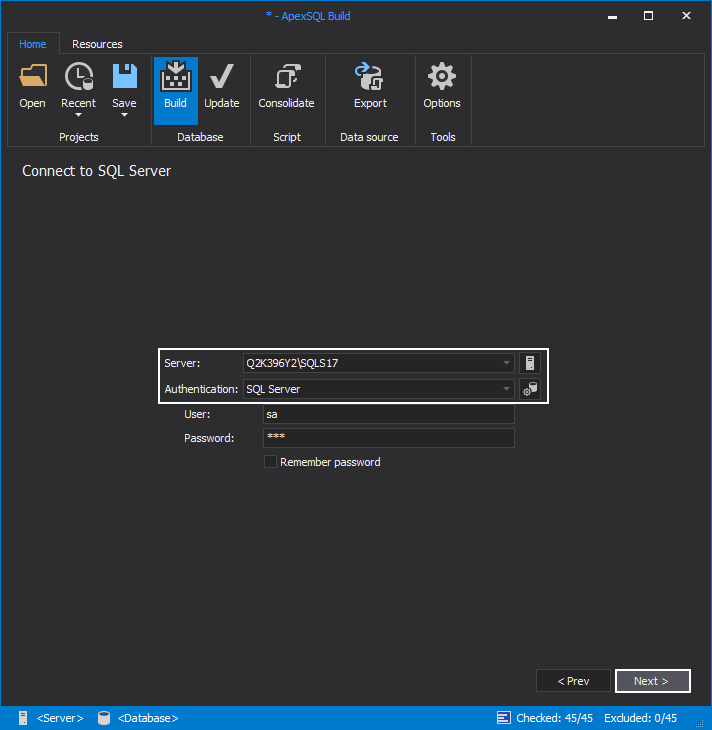
In the Connection to SQL Server step, SQL Server and authentication type must be specified before proceeding to the next step, since ApexSQL Build will need a reference for creating a proper executable installer that will create a SQL database.
For this example, SQL Server 2017 and SQL Server authentication will be chosen. When this is set, click the Next button:
In the next step, the Database options tab, all needed properties to create a SQL database can be set (database name, collation, recovery model, etc.). There are four ways for setting the database properties in this tab:
- From source control – all database properties will be collected from the specified source control repository
Note: This option can be chosen only when the input source is specified to be source control.
- From script – all database properties will be collected from a single SQL script
- By configuration – if the user wants to set the database properties by itself, not by using any of the above-mentioned options, this way should be chosen
- Get database properties from input source – choosing this option, all database properties will be collected from the specified input source
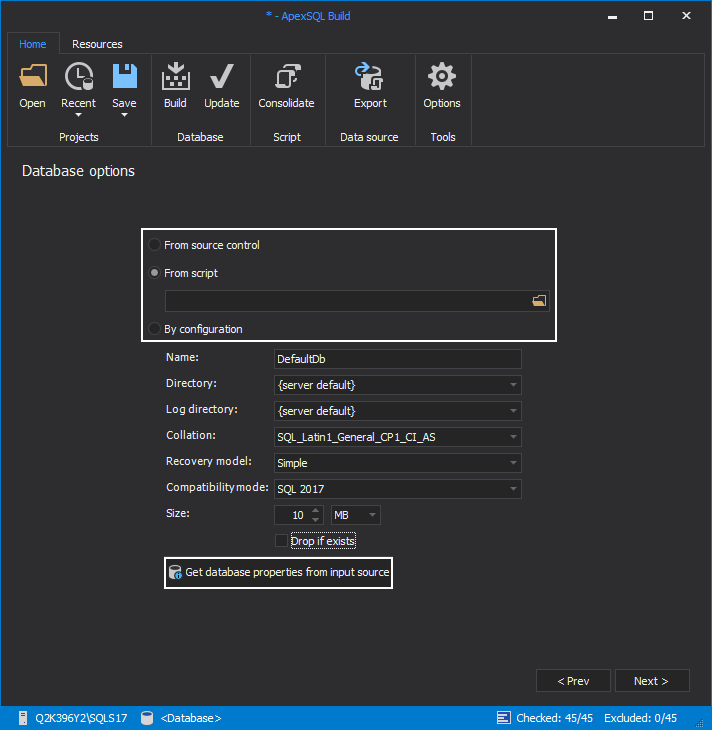
Choosing one of the listed options in this tab will result in showing the collected database properties automatically. Here, the Get database properties from input source will be chosen, and the shown database properties will be changed automatically:
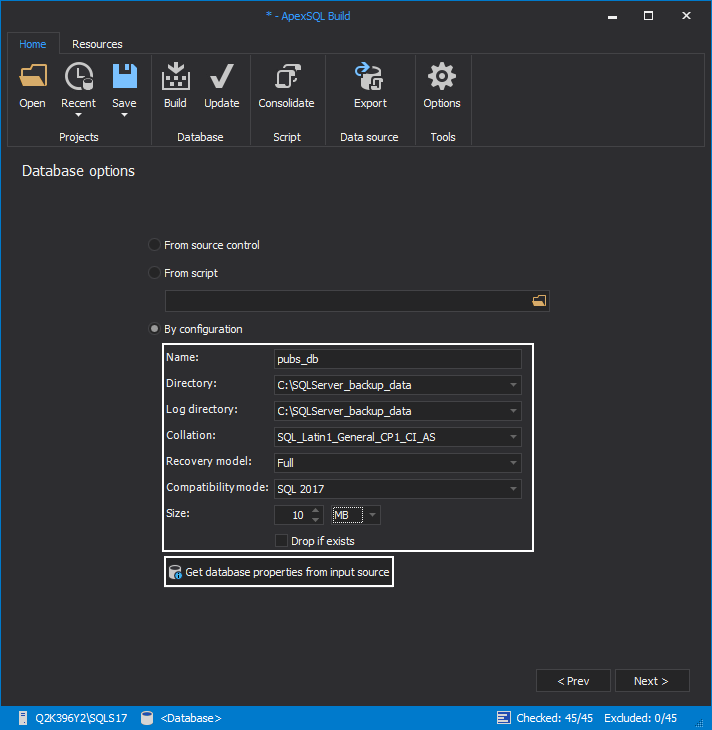
Note: No matter which option for collecting database properties is chosen, any of the shown database properties can be additionally edited.
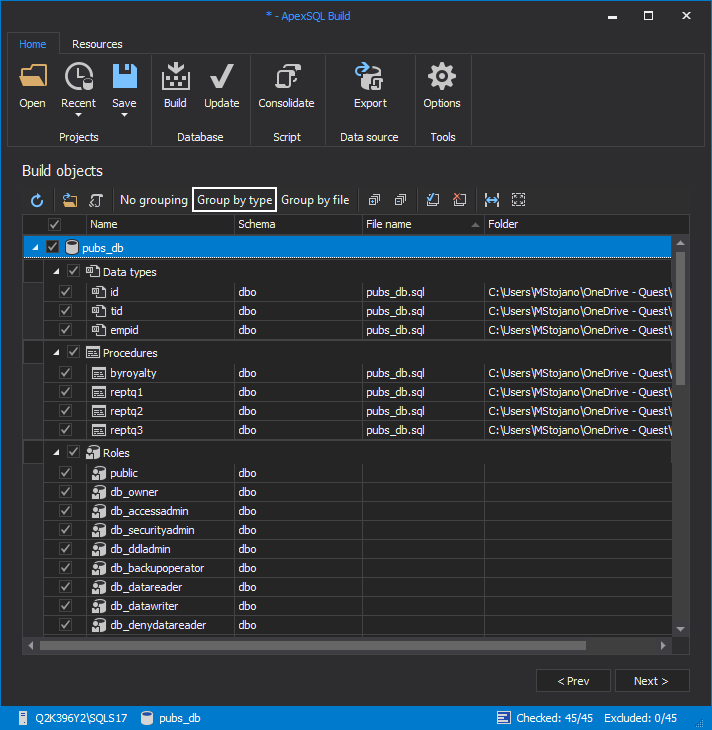
In the next step, the Build objects tab, all objects that will be created in the database will be listed, checked, and grouped by type, by default:
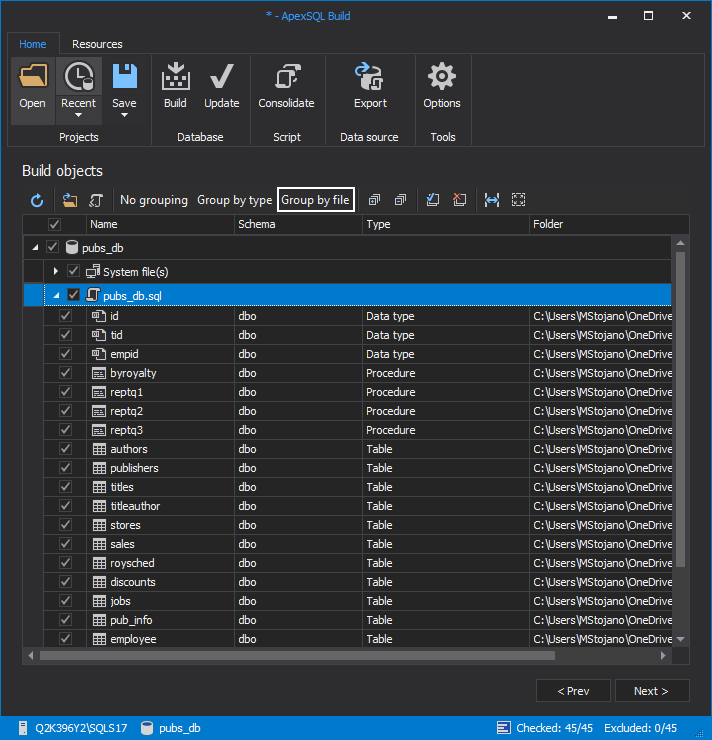
Click on the Group by file option to see which objects beside the default system objects will be created. In this case, it will be as shown in the image below:
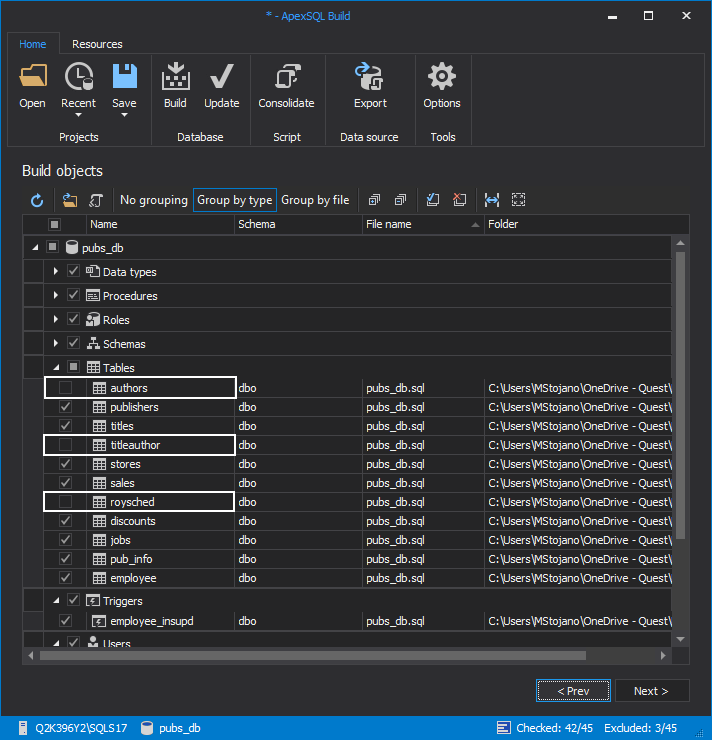
No matter which grouping is chosen, to exclude any of the listed objects from a database that will be created using the executable installer, just uncheck it. In this case, the authors, titleauthor and royshed tables will be excluded from a new database, so they will be unchecked:
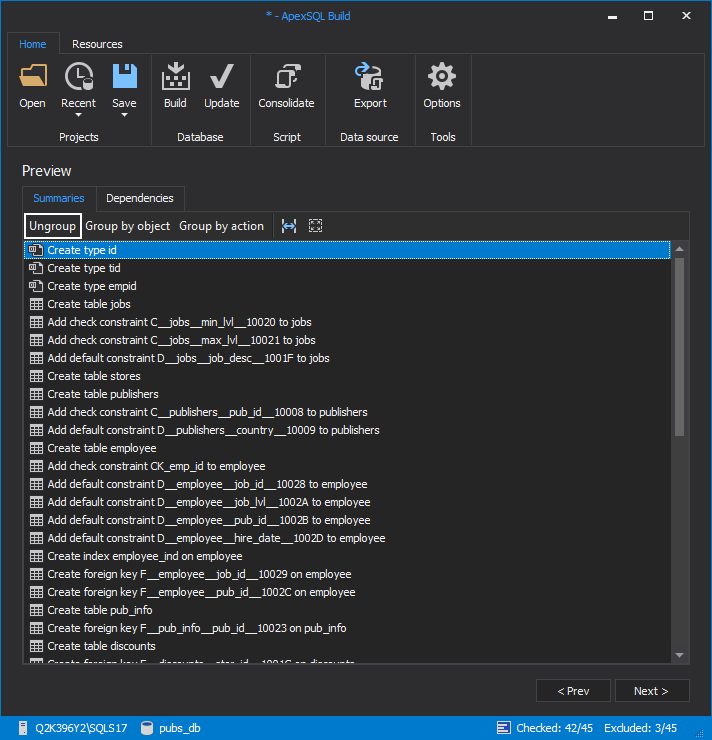
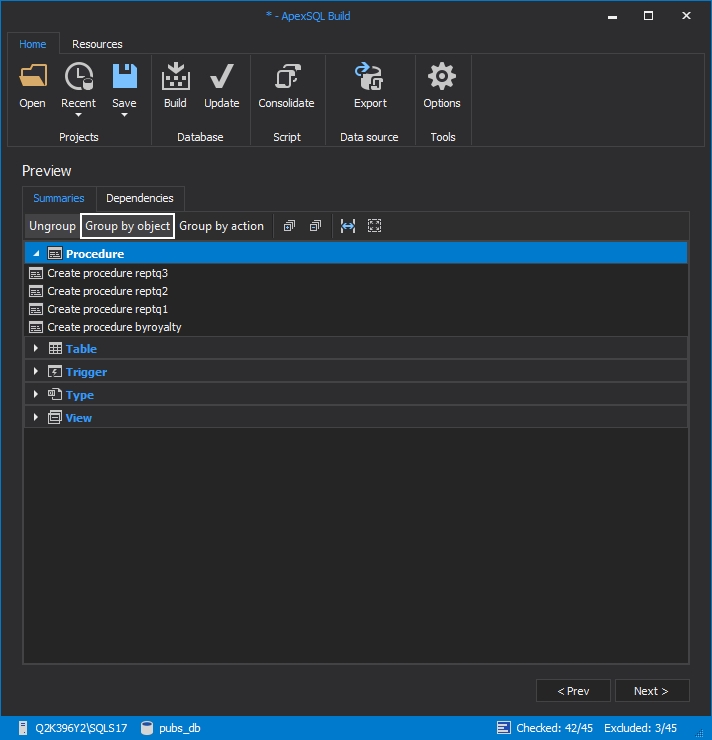
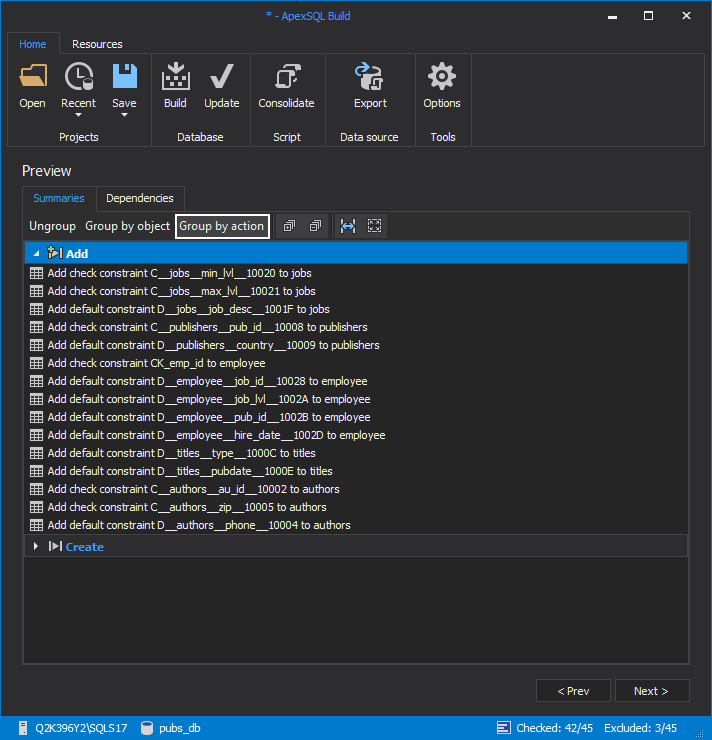
In the Preview step, the Summaries sub-tab, sequences for creating a database will be listed. By default, this list is ungrouped, but it can be grouped by object or action. Based on the chosen grouping, for the example database that will be created, the sequence list under the Preview tab will look like this:
-
Ungroup:
-
Group by object:
-
Group by action:
-
Note: The default system database objects defined under the Build objects tab will not be listed in the Preview tab (schemas, roles, users, etc.).
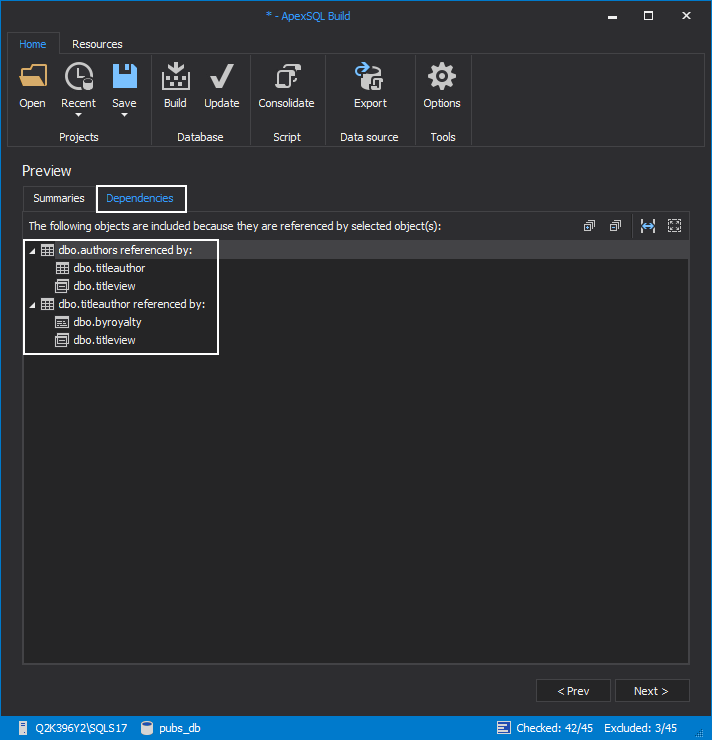
Under the Dependencies sub-tab, all objects that are unchecked in the Build objects tab will be listed, and they are referenced by the checked objects. This means that even though they are excluded/unchecked in the Build objects tab, they will be created in the database because other database objects depend on them. For every listed object, the referenced by objects will be listed as well. In this case, the authors and titleauthor tables will be listed that were unchecked/excluded in the Build objects tab:
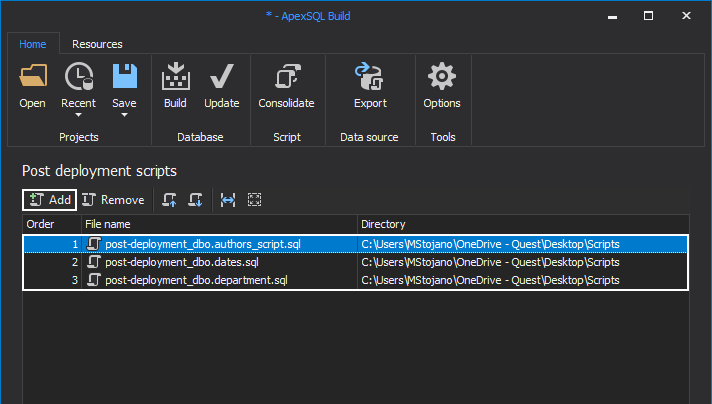
Adding any of the post-deployment scripts can be done in the next tab, the Post deployment scripts step. Click the Add button to add the post-deployment scripts:
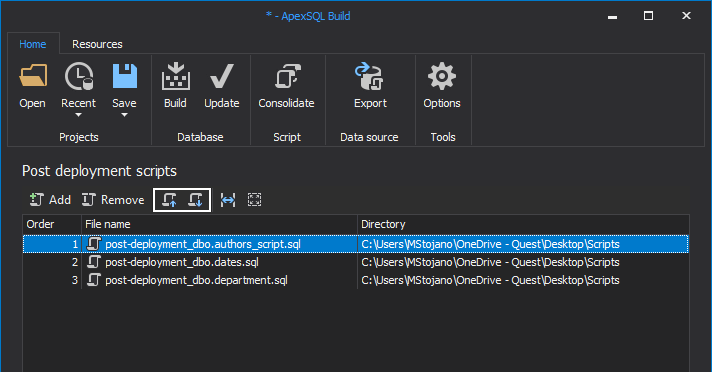
The execution order of the post-deployment scripts can be set using the Move up and Move down buttons:
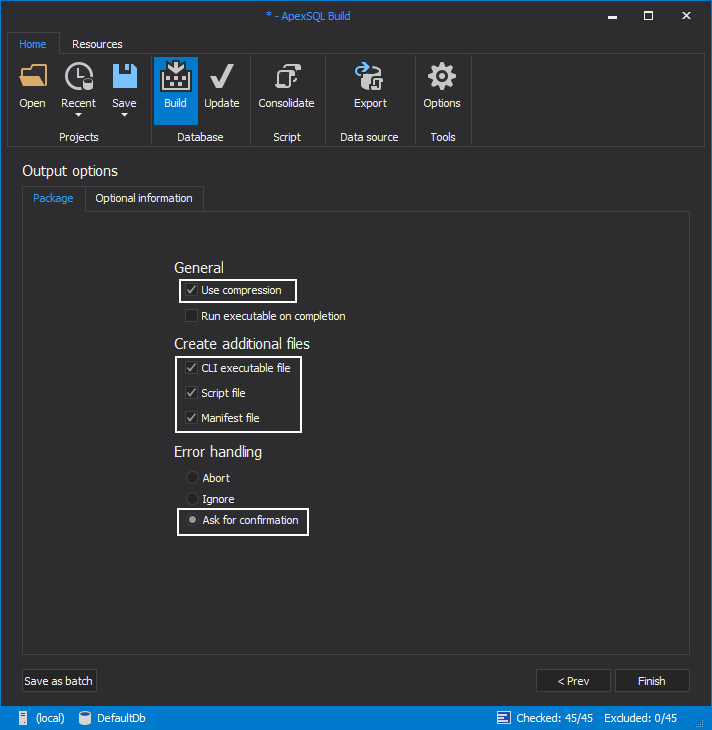
The final tab in the executable installer build process is the Output options tab under which the Package and Optional information sub-tabs are stored:

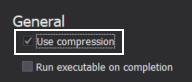
From the General options, be sure to check the Use compression option if working with large databases. Using this option will reduce the size of the executable installer significantly:
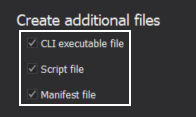
Additional files that can be created beside the executable installer are present under the Create additional files section in this sub-tab:
- CLI executable file – CLI file of the executable installer created from GUI. This file can be run unattended, and it can be used for automation
- Script file – this file contains a SQL database script, that if needed, can be additionally changed. Every saved change of this file will be executed by the executable installer to create a SQL database
- Manifest file – contains all Windows information needed for the executable installer to work on. By default, all information is recognized, but if there are different settings on the operating system that the executable installer will be run on, and there is a possibility that execution of the installer could fail, be sure to check this option
Even if the last two of the above-listed options are not checked (the Script file and Manifest file options), the executable installer will properly work, since that information is built in the executable installer:
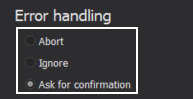
With the Error handling options, the behavior of the executable installer, if there are any issues during the execution, can be defined. The following options for error handling process are present:
- Abort – the execution of the executable installer will be aborted if any issue is raised during that process
- Ignore – if this option is checked, any issue that can appear during the create a SQL database using the executable installer process will be ignored
- Ask for confirmation – further behavior of the executable installer must be defined by the user if any issue is raised during its execution if this option is checked:
For this example, all options from the Package sub-tab will be checked (except the Run executable on completion option) as well as the Ask for confirmation error handling option:
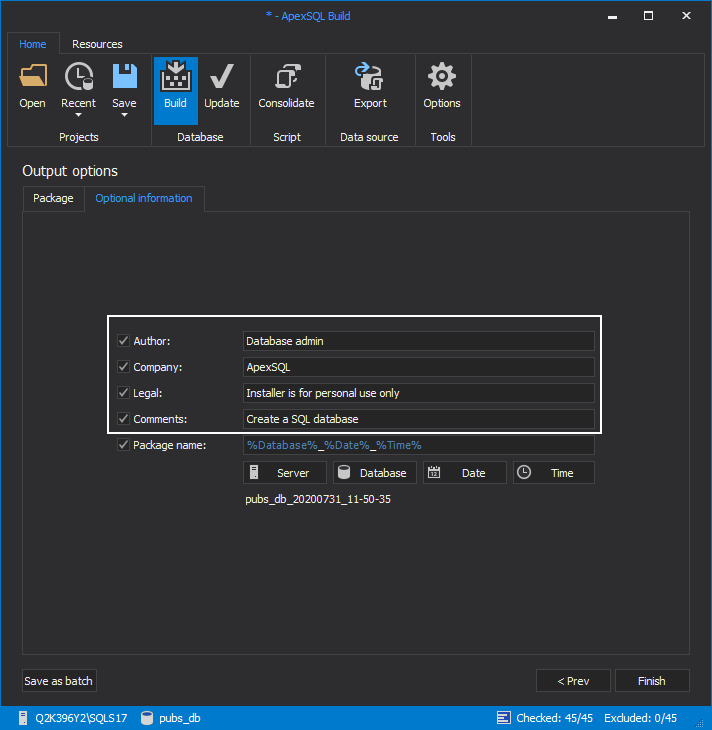
Under the Optional information sub-tab, information that will be shown in the About window of the executable installer (Author, Company, Legal, Comments) can be set. Check the wanted options and enter the needed information in the text fields:
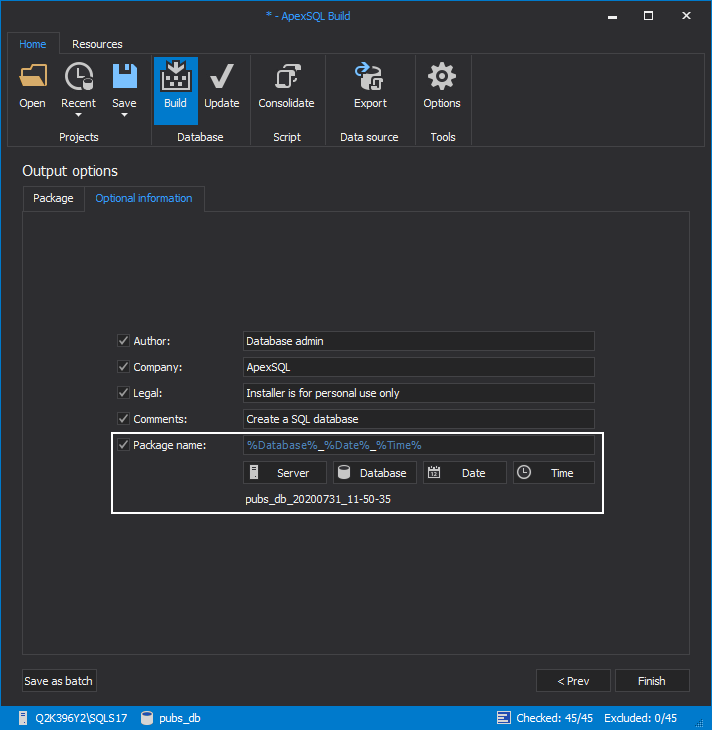
One more option present in this sub-tab is the Package name option that allows the user to define the name of the executable installer and all additional files that will be created. The SQL Server and database name with the date and time stamps can be shuffled to create the package name as wanted. Or the user can define the package name by itself without using any of the provided options. The preview of the package name that is defined will be shown below the present options.
For the example executable installer that will create a SQL database, the package name will be defined like Database_Date_Time:
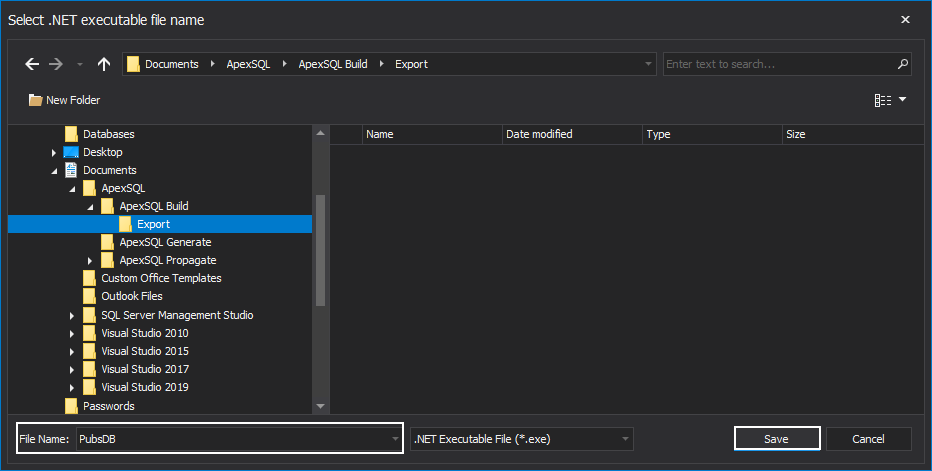
When everything is set, click the Finish button to start the build process of the executable installer that will be used to create a SQL database. At this point the Select .NET executable file name window will be shown, where the location of the executable installer (by default it is C:\Users\<user_name>\Documents\ApexSQL\ApexSQL Build\Export) and its name should be specified (by default is the already defined under the Package name option but it will be changed to PubsDB for this example), and the Save button clicked:
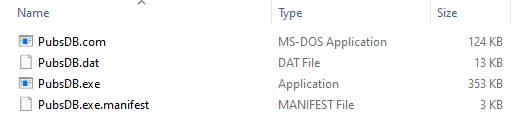
On the specified location, and based on the chosen options, the following files will be created:
Creating a SQL database using the executable installer
To create a SQL database from the built executable installer, double-click on the PubsDB.exe file:
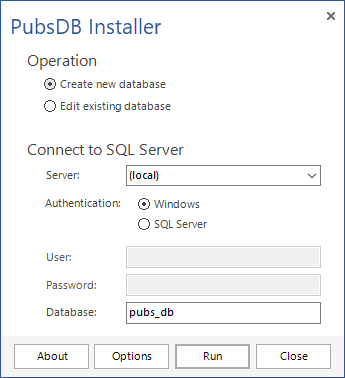
In the Installer window, choose the Create new database option, specify the connection options:
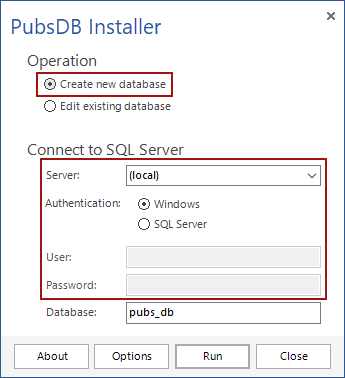
Note: The database name can be changed in the Installer window if needed.
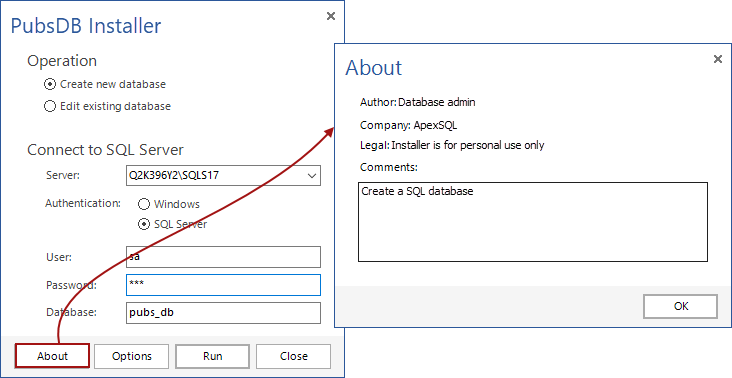
Before the Run button is clicked, some of the set options through GUI can be rechecked.
To review the information set under the Optional information sub-tab click the About button:
Click the Options button to review the Package options (Error handling and Database properties options):

After everything is reviewed, click the Run button to create a SQL database:
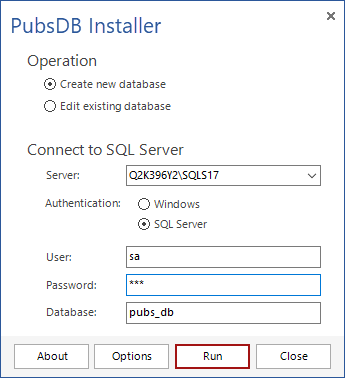
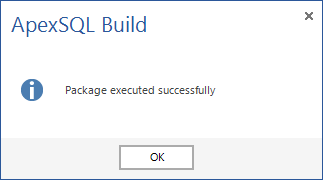
If the SQL database is created without any issues, the following message will be raised: