


Applies to
ApexSQL Analyze 2022, ApexSQL Build 2022, ApexSQL Compare 2022, ApexSQL Complete 2022, ApexSQL Data Diff 2022, ApexSQL Diff 2022, ApexSQL Decrypt 2022, ApexSQL Doc 2022, ApexSQL Enforce 2022, ApexSQL Generate 2022, ApexSQL Propagate 2022, ApexSQL Pump 2022, ApexSQL Refactor 2022, ApexSQL Script 2022, ApexSQL Search 2022, ApexSQL Source Control 2022, ApexSQL Unit Test 2022, ApexSQL Database Power Tools for VS Code, ApexSQL Data Diff for MySQL, ApexSQL Diff for MySQL, ApexSQL Doc for MySQL.
Summary
This article explains how to activate MSSQL and MySQL tools from the ApexSQL collection.
Description
To eliminate the need for cumbersome procedures, Quest has enabled its customers to directly manage their licenses as they see fit. The license management can be directly accessed through the dedicated web portal which will be explained in this article.
Note: To access the license management system, a web browser and an active internet connection will be required.
For purpose of this article, ApexSQL Doc for MySQL will be used as an example.
|
Quick tip: Every new customer will receive a 30-day trial period of the ApexSQL tools for MySQL. In the trial period, there are no limitations for using MySQL tools, all features and options will be available to use. Command-Line Interface (CLI) also can be used in the trial period for MySQL tools which have support for it. |
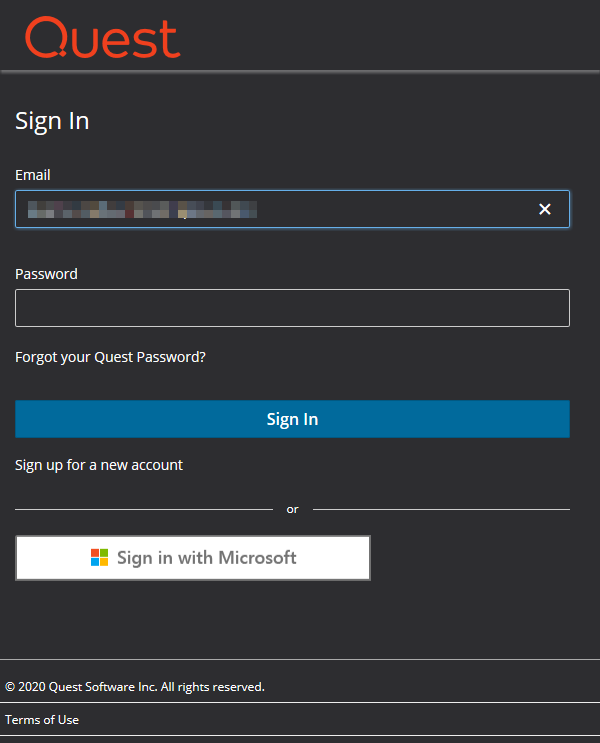
When the application is started for the first time, the Quest log in window will be shown, enter the Quest credentials which were used to register on the Licensing portal:
When the credentials are added and the desktop application is started, the user account will be shown next to minimize/maximize/close buttons. By clicking the drop-down list, the following options will be available:
- Manage your license online
- Check for updated license (Refresh license for MSSQL tools)
- Sign out

Manage your licenses online
With the Manage your license online option, the application will start a default web browser and open the site with the licensing portal in which the licenser information will be shown, (for which tool the license is activated, administrator name, type of the license, the date when the license or trial period will expire, etc.).
Also, through this portal, a new license can be added or a product can be purchased:
Adding sets/users
When let’s say an administrator, buys a license that contains multiple seats, filling up these seats can be done in the following manner.
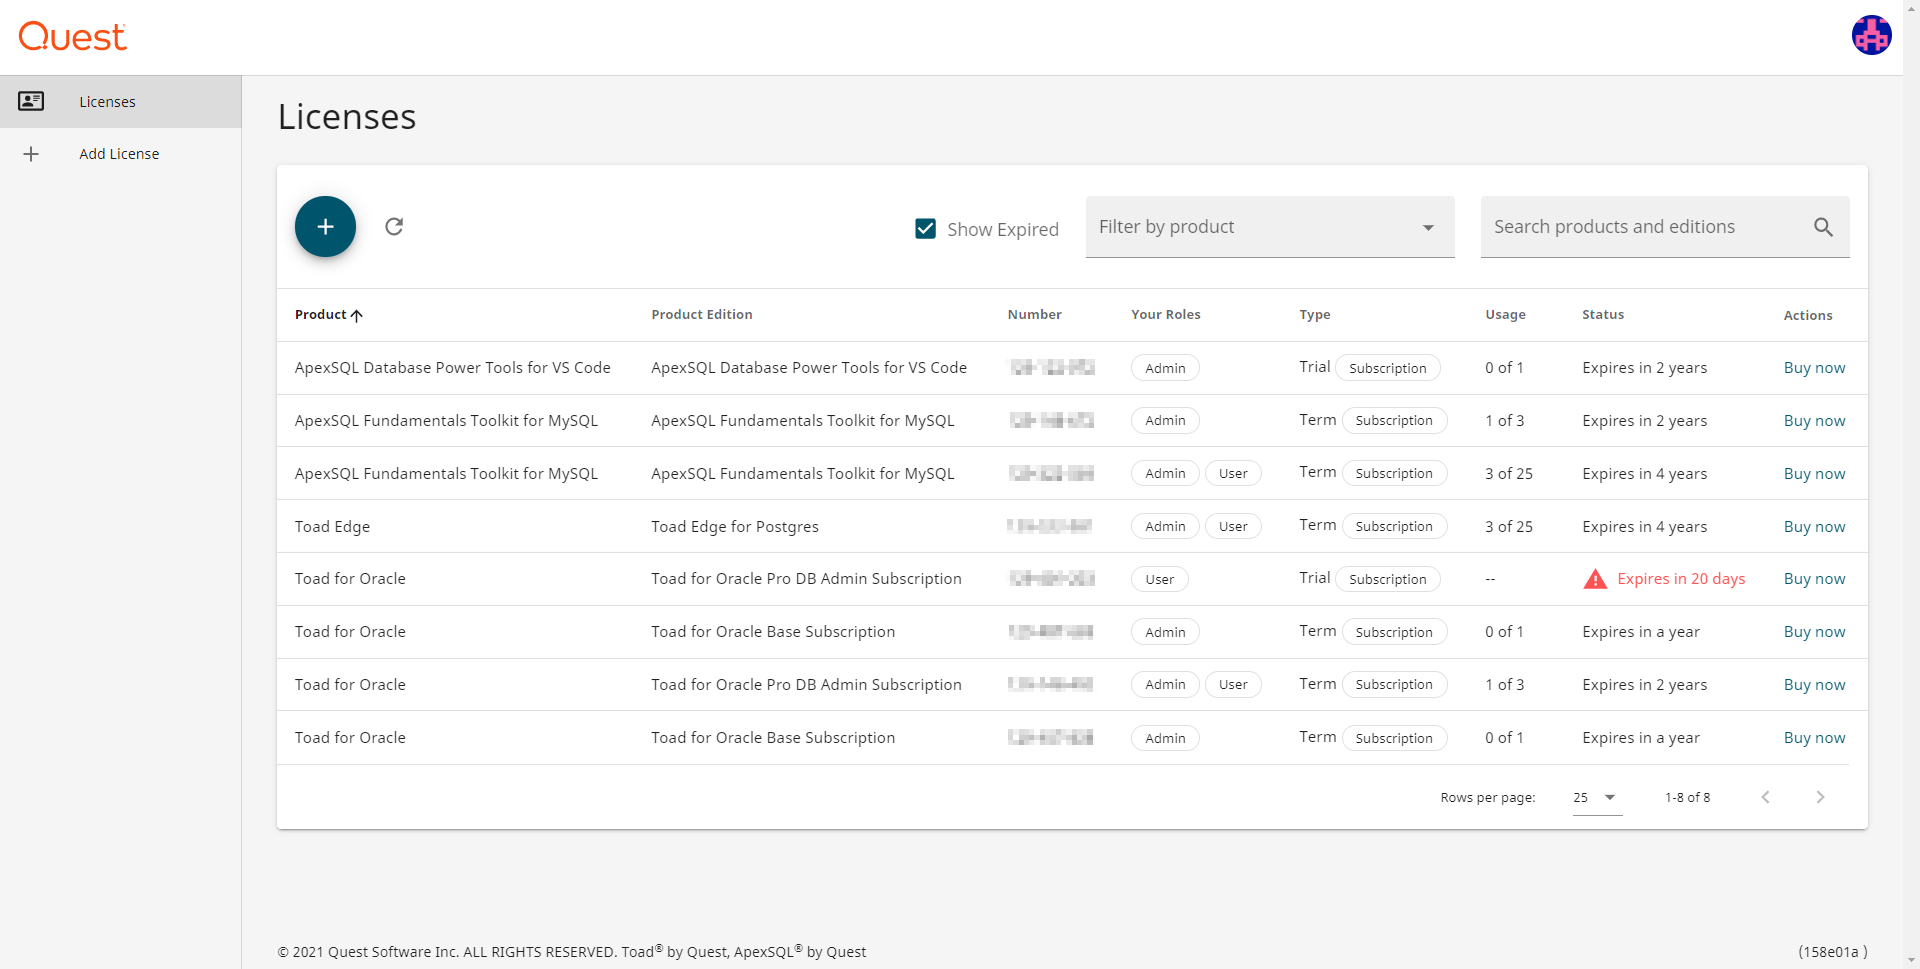
Select the Manage your license online from the account drop-down list (or use this URL directly from a web browser: https://core-licensing-ui-prod.ism.quest.com/ licensing portal site):

When the logging-in process is done, the license portal will be opened. The next step is to click on the desired product:
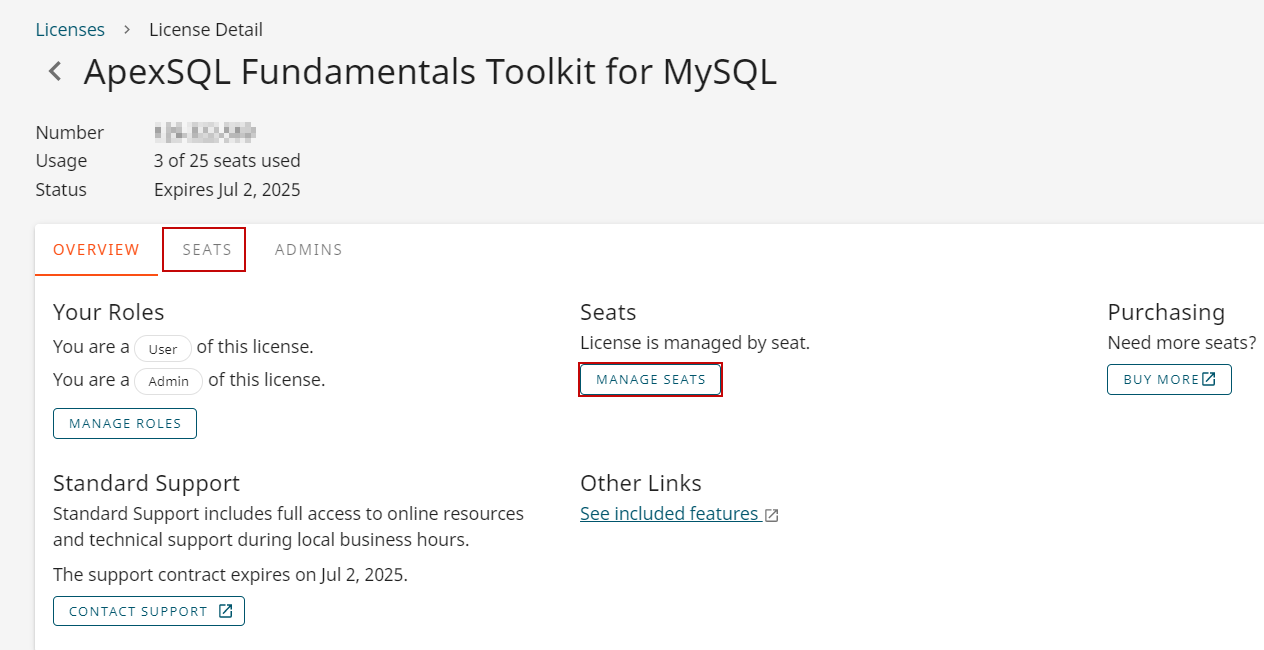
The License Detail page will be opened, click on the Seats tab (or MENAGE SEATS button):
|
Quick tip: On this page administrators can see how many seats are used/free
|

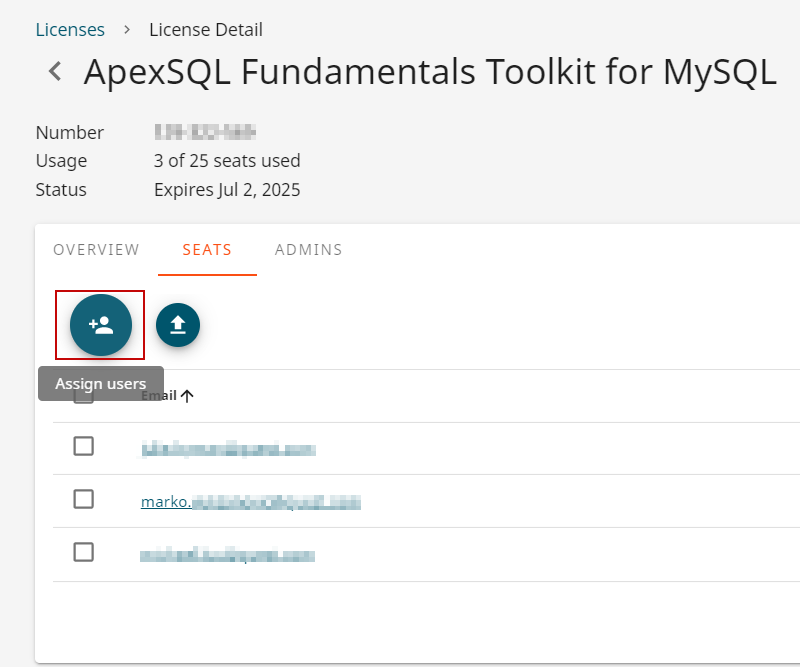
The new page will be opened, click the Assign users button:
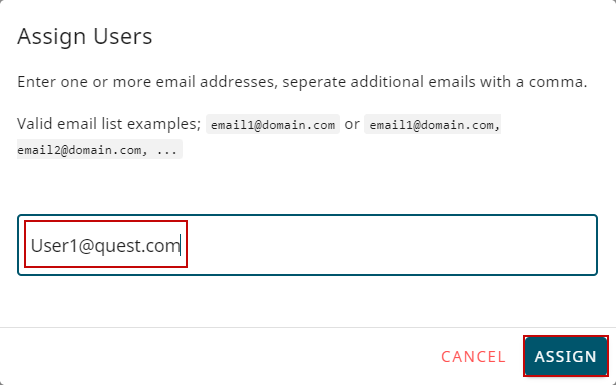
The Assign users pop up will be shown, in the text field type the user’s email and click the Assign button:
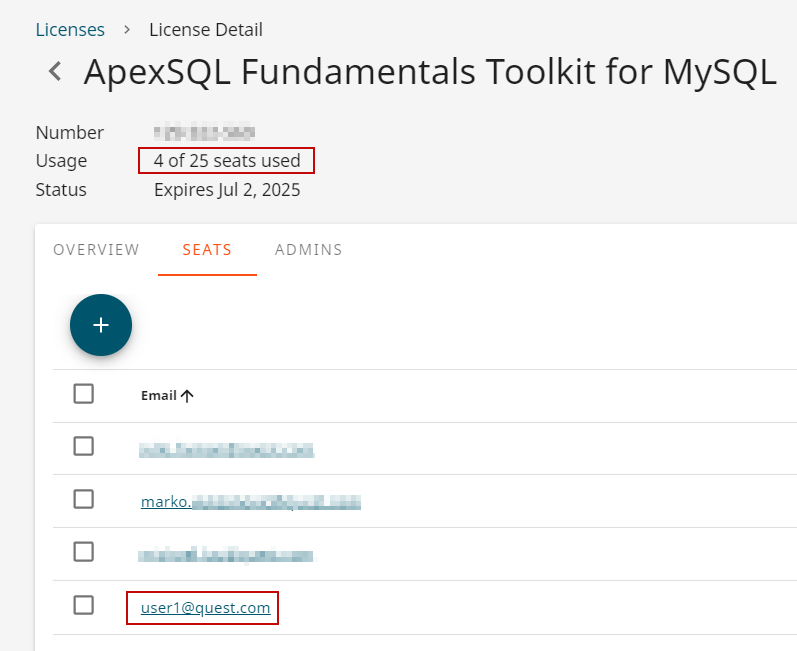
On the License detail page, the newly added user will be shown, and the new state of seats:
It is good to note that there is a possibility of adding multiple users at the same time
- Adding multiple users using comma (,) between two user emails
- Adding multiple users using CSV file (Bulk upload)
Adding multiple users using comma (,) between two user emails:
When the desired product is selected and the Seats tab is opened, click the Assign users button:

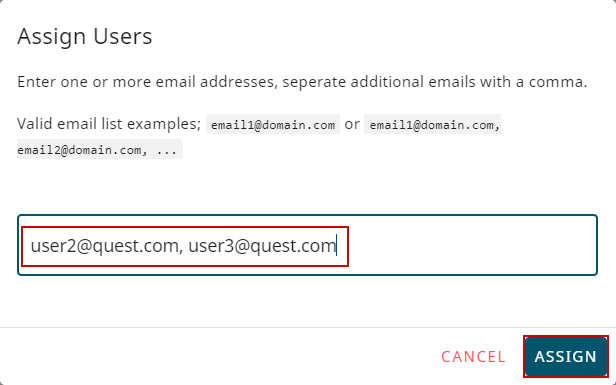
The Assign users pop up will be shown, in the text field type the user’s emails (for example: user2@quest.com, user3@quest.com ) and click the Assign button:
As shown in the image below, the newly added users will be assigned, and the new state of seats will be shown:

Adding multiple users using CSV file (Bulk upload)
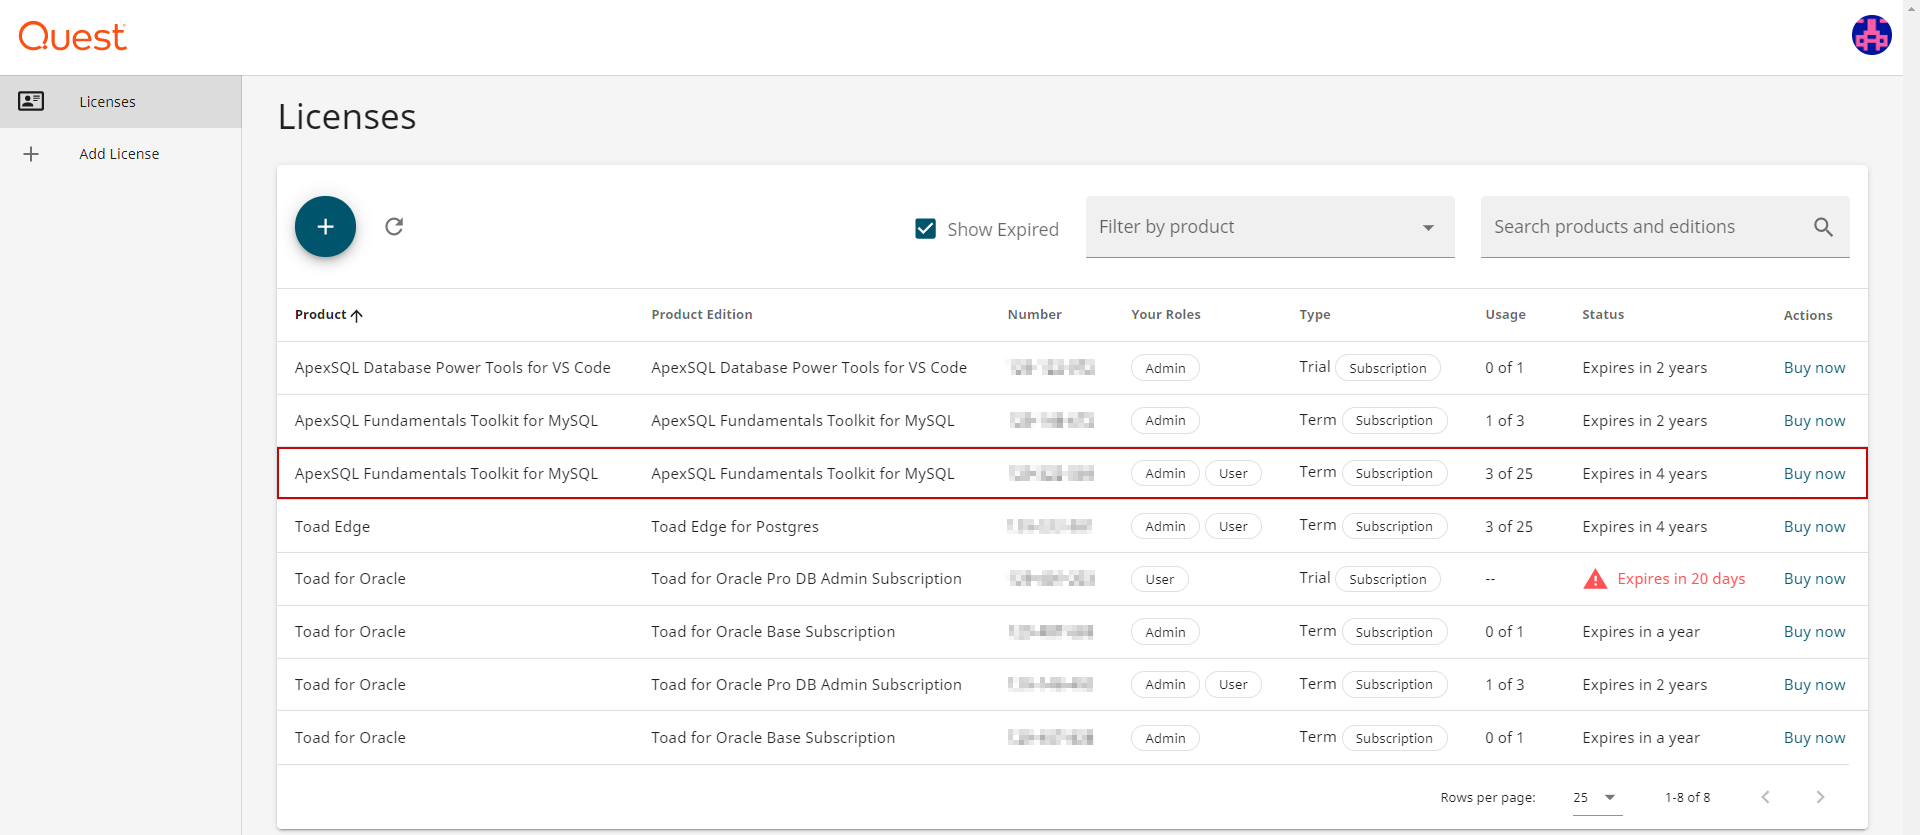
In this example, the ApexSQL Fundamentals Toolkit for MySQL will be used for the demonstrative purpose to show how to add multiple users using a CSV file.
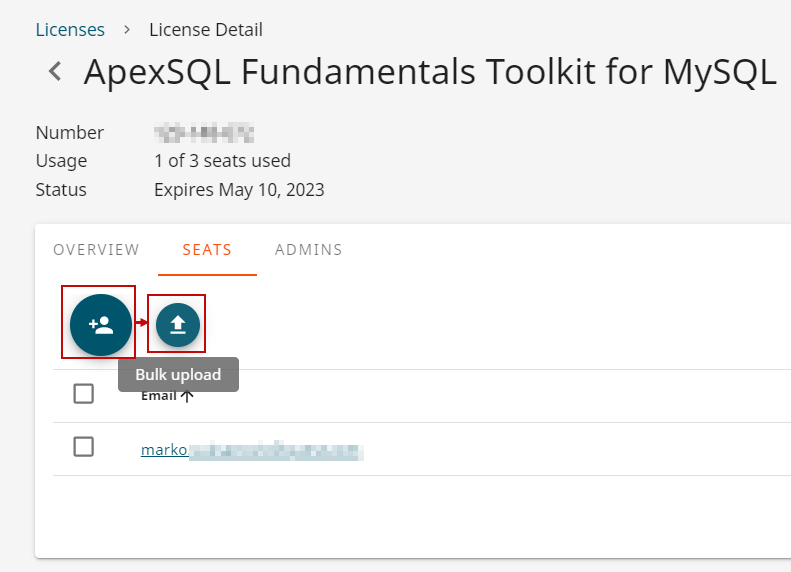
When the License detail page is shown, hover the mouse over Assign users and the Bulk upload button will be shown, click on it:
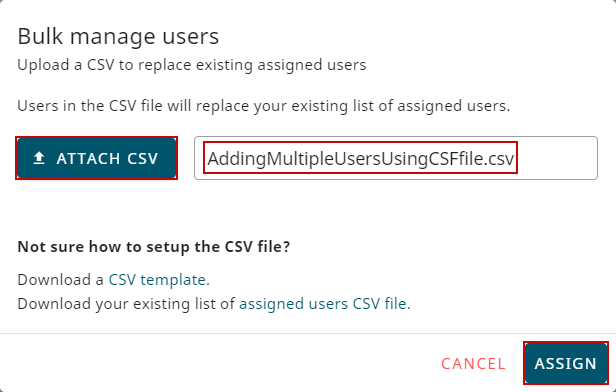
When the Bulk Manage users pop up is opened click on the ATTACH CSV file, select desired CSV file, and click the ASSIGN button:
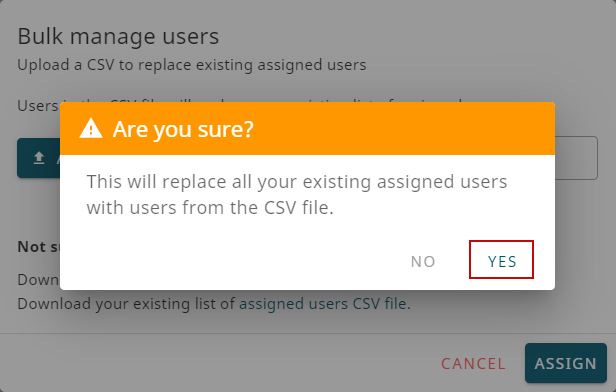
- NOTE: All previously assigned users will be removed using this option to assign multiple users, click the YES button to continue with the process of assigning new users:
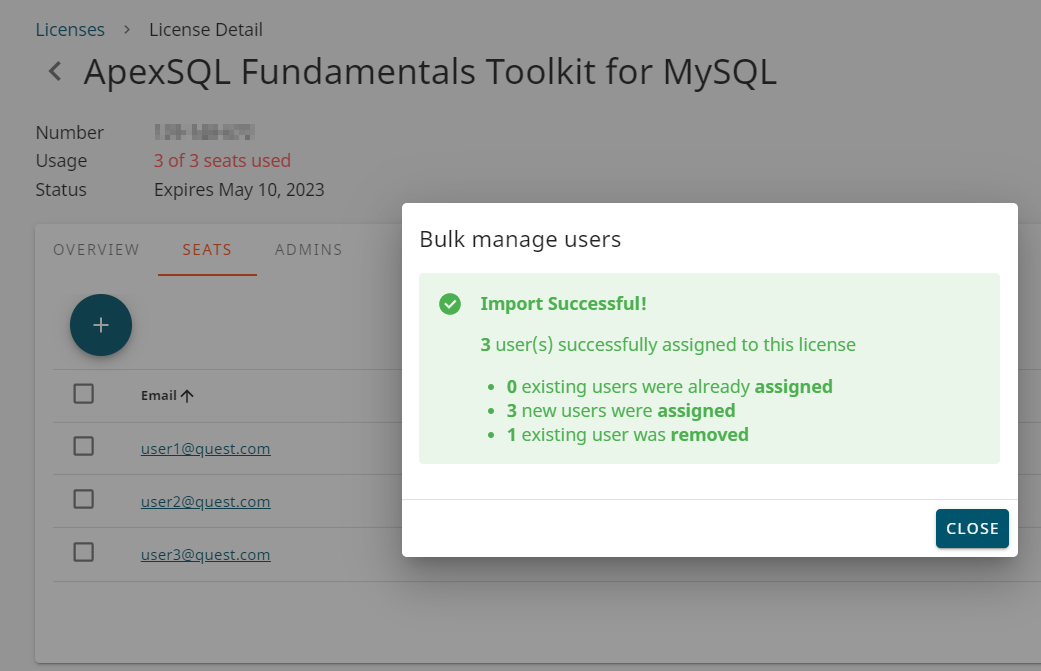
Import Successful message will be shown, and there will be additional information with the results of this action:
Check for updated license AKA Refresh license
When the new license is added on the site, and the application was already started, the Check for the updated license must be used. This way the application will establish a connection with the server and the newly added license will be loaded. After that, the ApexSQL tools can be used again.
If the application isn’t already running, the license will be automatically refreshed when the application is launched.
How to activate the subscription
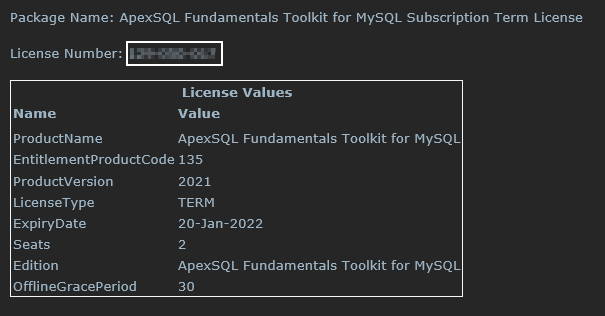
When the license was purchased, an email notification will be sent to the purchaser, that contains all the needed information for activating tools.
From the received email copy the License number:
And use it with this website or from the tools, like previously explained.
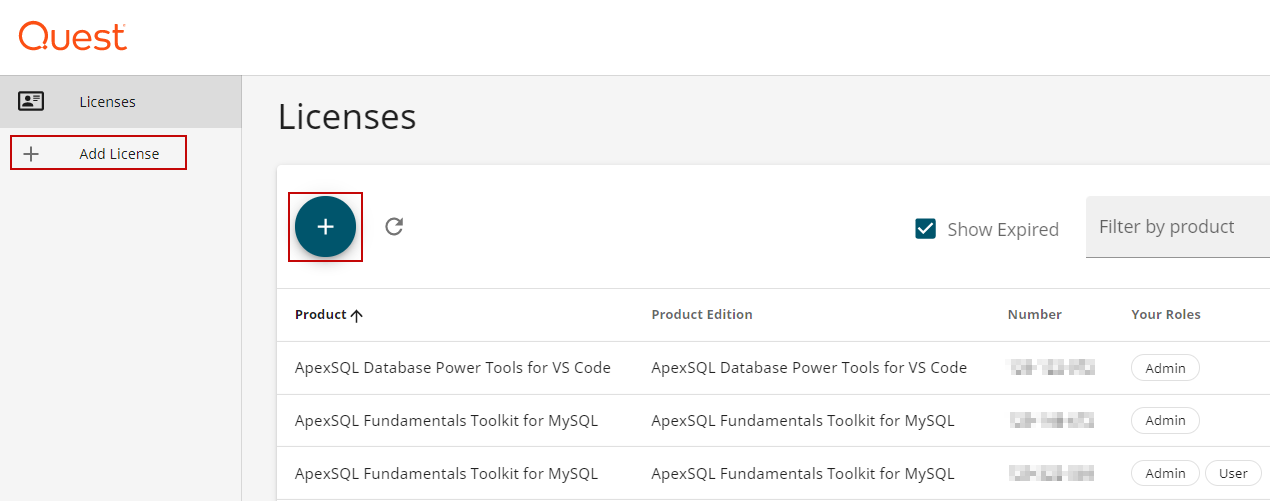
Start the application, and if not already logged with the Quest account, the Quest login window will be opened. The same credentials which are used to register on the Licensing portal can be used here as well. When the login process is finished, from the account drop list, select Manage your licenses online, to open the website. Once the site is loaded, click the Add license:
The Add License page will be shown, in the License number field paste the copied license number, or type it in, and click the ASSIGN button:

- Note: If there are any issues with the license, send an email to License@quest.com
Now when the license (subscription) is activated, launch the tool and on the top of the tool on the right side the account name, for which the subscription is added, will be shown:

FAQs
Q: Can I activate the product offline?
A: No, this is not supported right now
Q: What is the offline grace period?
A: Since the subscription required a connection with the license server, the offline grace period provides our customers to work without a connection to the internet for periods of 7 days for MySQL products, and 30 days for MSSQL products.
When the offline grace period expires, the following dialog will appear when the tool is started:
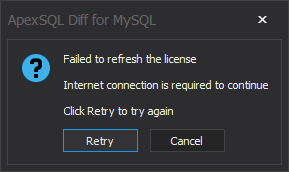
Establish a connection with the internet and click the Retry button.
The application will establish a connection with the License Server and the application can be used again.
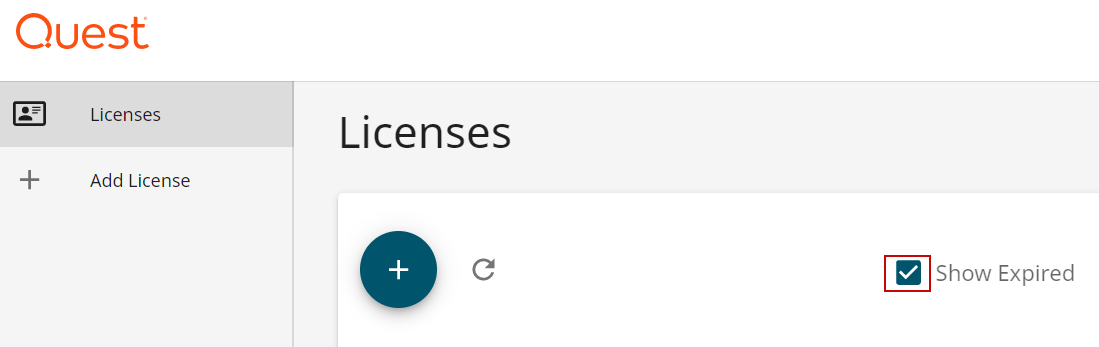
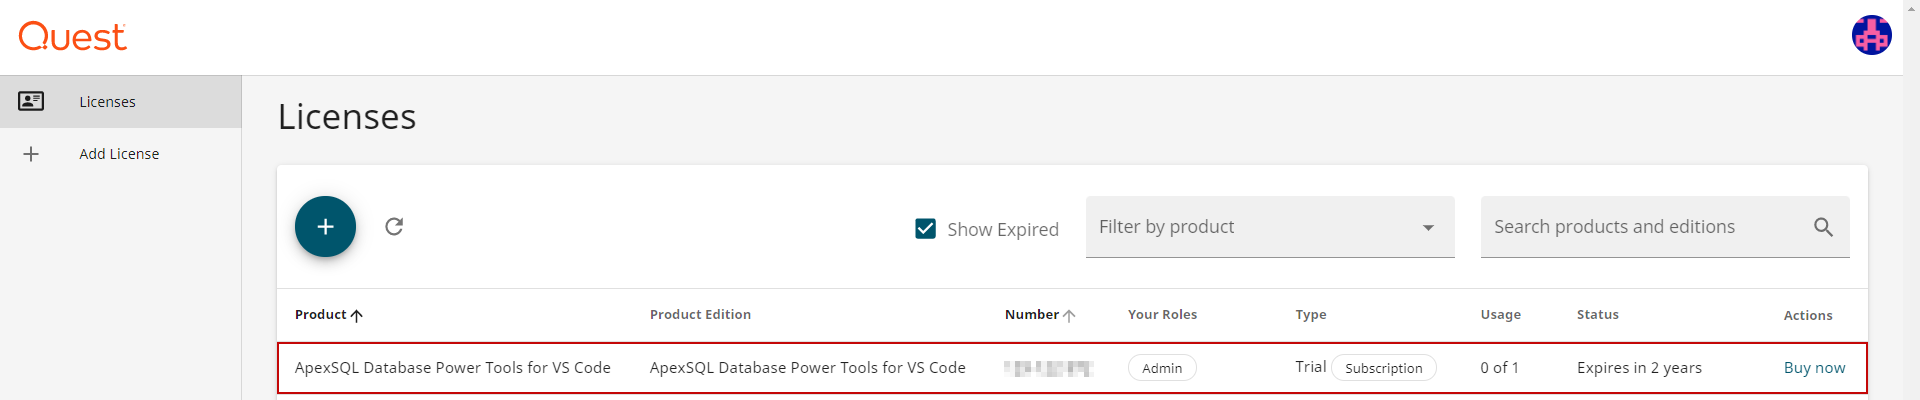
Q: Can I remove the expired license from the site?
A: No, but there is an option to show/hide expired licenses by checking/unchecking Show Expired check box:
Q: Can I use the application without logging into MSSQL/MySQL tools?
A: No. To work in all MSSQL/MySQL tools, logging is mandatory
Q: Can I extend the trial period?
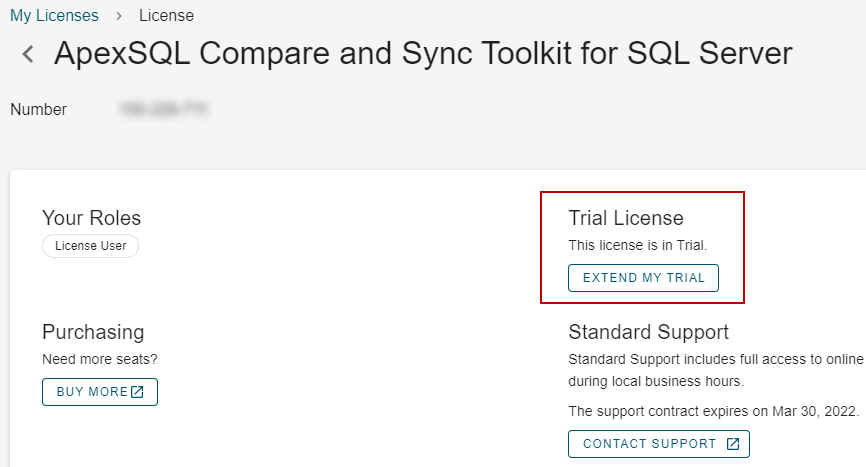
A: Yes, the trial period can be extended
Q: Who should I contact to extend my trial period?
A: To extend the trial period please contact Sales.CustomerSupport@quest.com or go to My Licenses > License on Licensing Portal and use the “Extend my Trial” option.
Q: How can I extend the trial period?
A: When the user receives an email with the license key, go to the Licensing portal site, click the Add license, type the license number and click the ASSIGN button:

The newly added license will be shown on the site:
Q: Why do I receive ”Invalid CSV template” information when trying to assign multiple users using the Bulk manage feature?
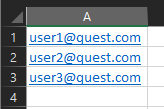
A: The CSV file must contain an “Email” header to work correctly:

Q: Can I download a list of all assigned users?
A: Yes, this can be done from the Bulk manage users pop up, by clicking on the “Download your existing list of assigned users CSV file.”
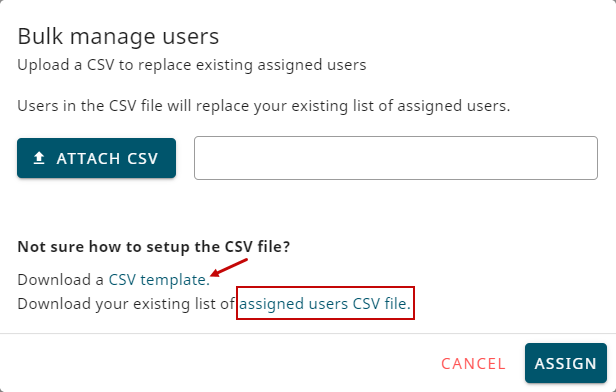
- NOTE: As shown in the image above there is a possibility to download a CSV template
Q: Which types of subscription can be used for ApexSQL tools?
A: For MySQL products, our customers will be able to buy ApexSQL Fundamentals Toolkit for MySQL Subscription Term License initially
For MSSQL products our customers will be able to buy ApexSQL Compare and Sync Toolkit for SQL Server Subscription Term License, ApexSQL DevOps Toolkit for SQL Server and ApexSQL DevOps Plus Toolkit for SQL Server.


