


Applies to
Summary
This article will explain how to mask SQL Server data using the predefined generator from the substitution mask.
Description
This data masking tool is using substitution masking to replace a selected amount of original data with some synthetic data. The substitution mask is one of two types of masks that can be used in the ApexSQL Mask. This type of masking is using generators for replacing the original data.
When creating a new substitution rule to mask SQL Server data, the ApexSQL Mask offers several types of generators that will be used for masking data. One of them is the Predefined generator, which allows data substitution with some predefined and categorized values (Business, Geography, Product, etc.), and this article will explain how to mask sensitive data with this type of generator.
Connect to the database with sensitive data
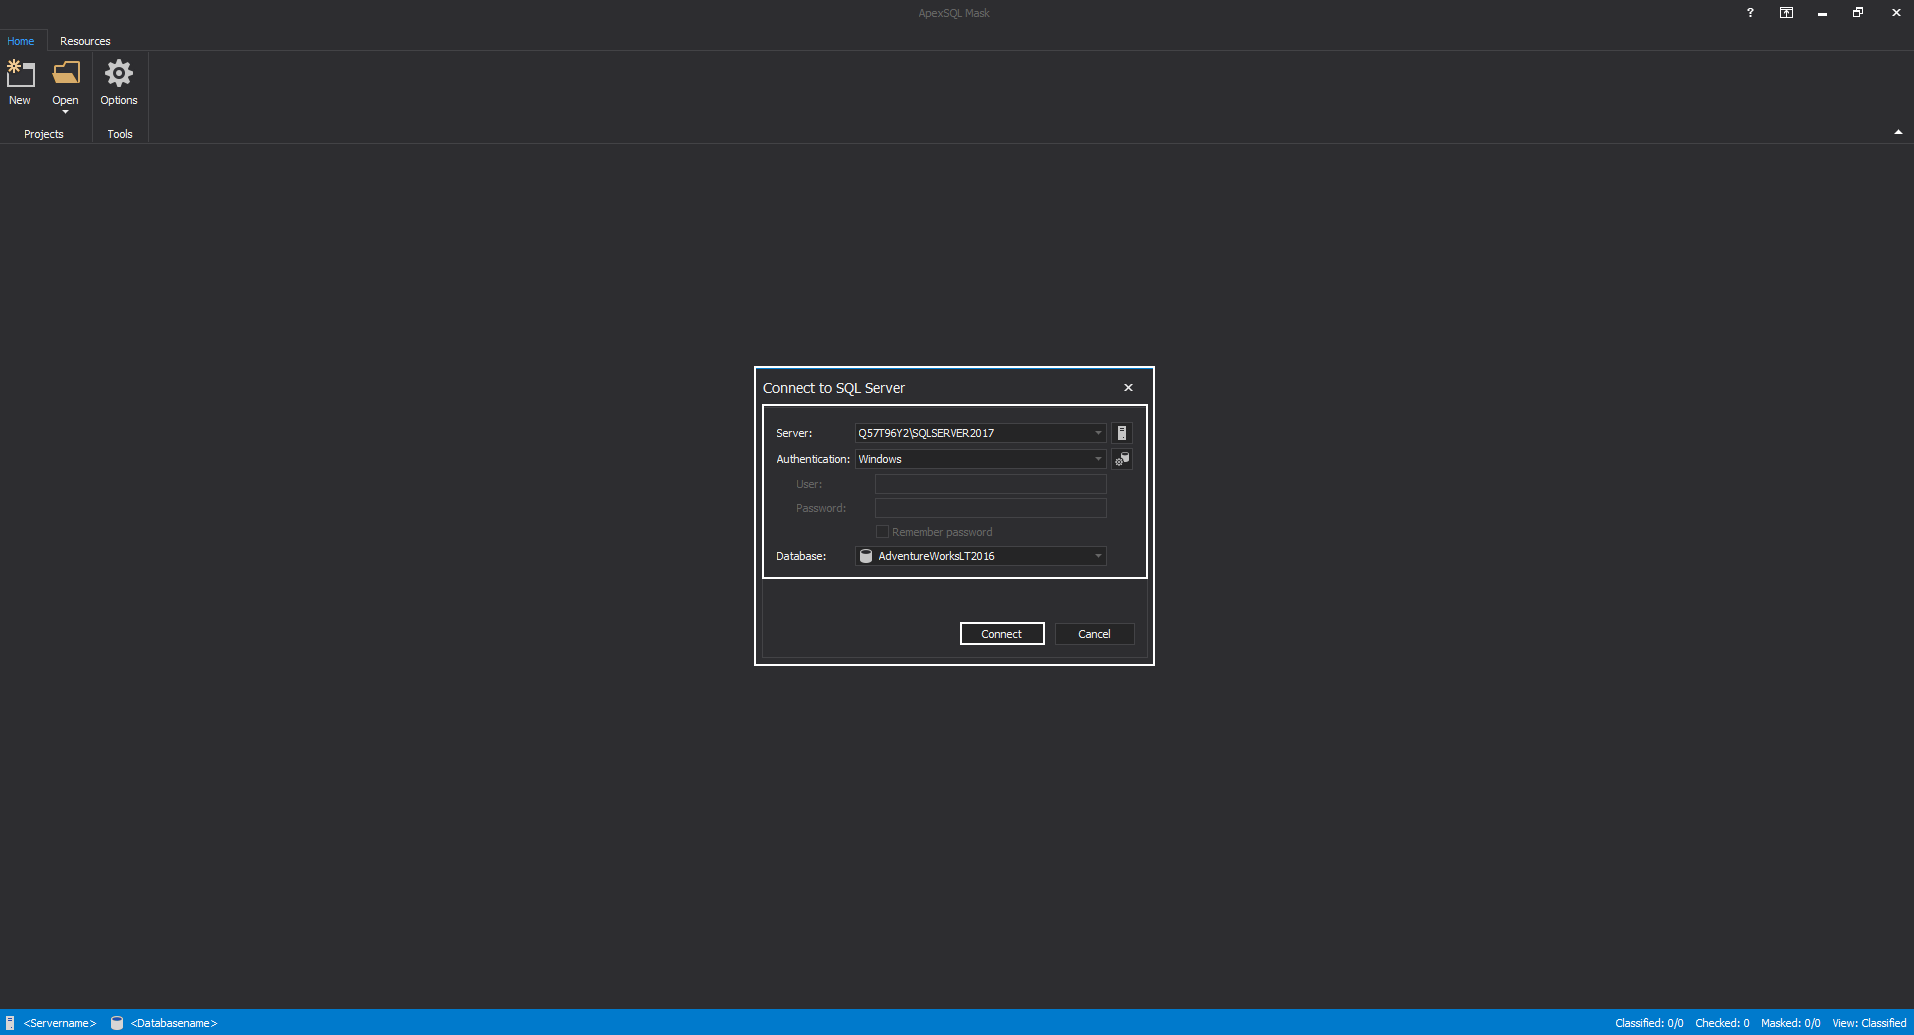
When the ApexSQL Mask is started, the Connection to the SQL Server window will be opened. From that window, the Server, type of Authentication, and the targeted Database should be chosen. When all is set, click on the Connect button and ApexSQL Mask will be connected to the specified database:
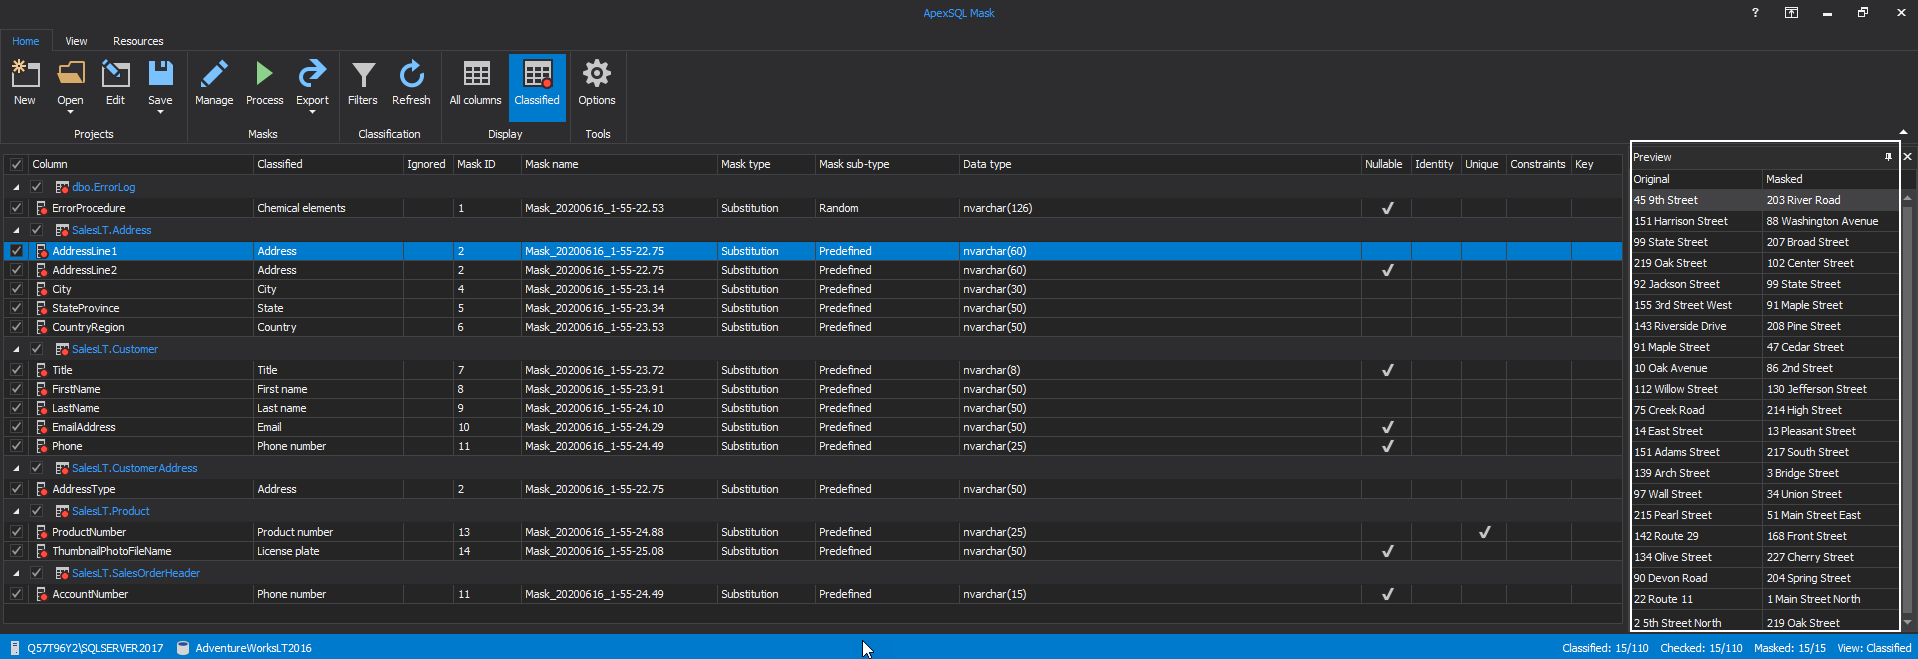
In the main window of the ApexSQL Mask on the left side, the grid panel with classified columns with sensitive data will be shown with the intended type of mask. The Preview window will be shown in the panel on the right side, which will present the original data and what the data will look after masking:
Besides the masks already offered, a new mask can be created and applied to the new or existing columns with sensitive data.
Creating the Substitution mask with the predefined generator
To create the new substitution mask with the predefined generator, click on the Manage button in the Home tab:

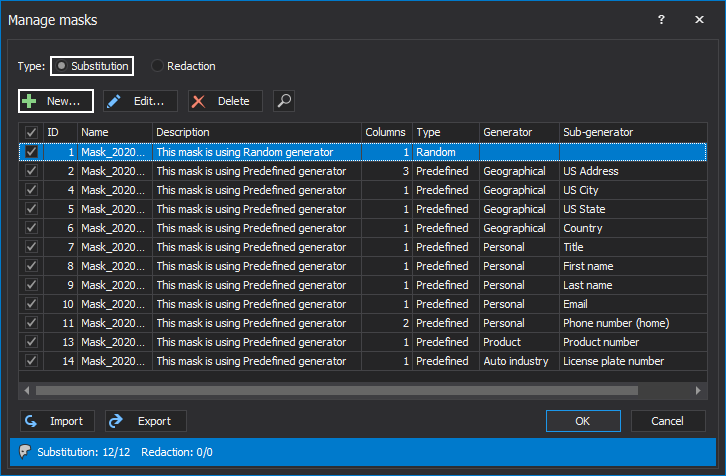
The Manage mask window will appear, where the Substitution type of the mask is selected by default, and which will contain the list of automatically assigned masks. To introduce a new mask, click on the New button from this window:
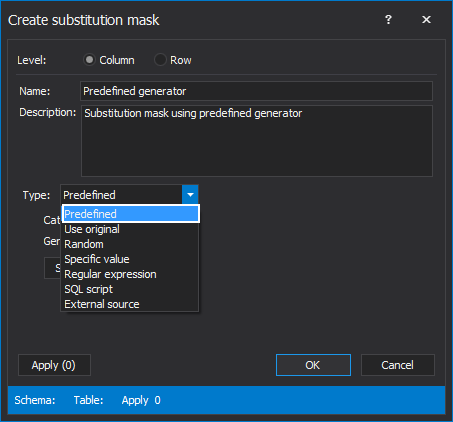
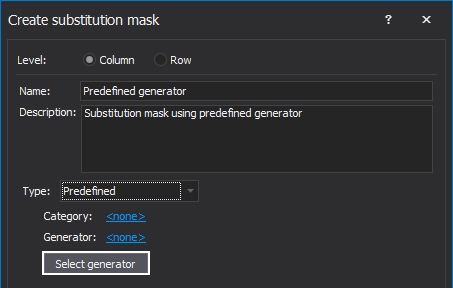
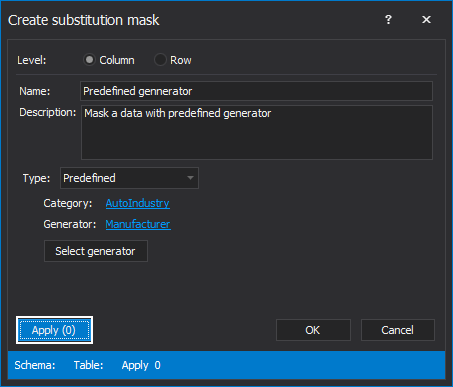
The Create substitution mask dialogue will appear and from the Type drop-down list choose the Predefined type:
When the Predefined type is selected, click on the Select Generator button:
The Select generator window will be shown:
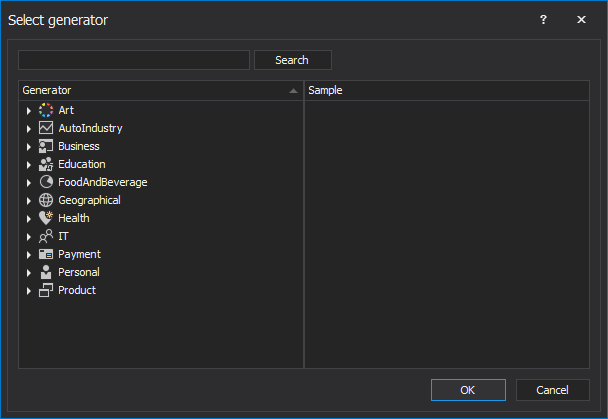
The Select generator window is divided on the two panels, Generator filter panel and Sample panel.
In the Generator filter panel, on the left side, tree view shows a list of common terms grouped by their usage:
- Art
- AutoIndustry
- Business
- Education
- FoodANdBeverage
- Gegraphical
- Health
- IT
- Payment
- Personal
- Product
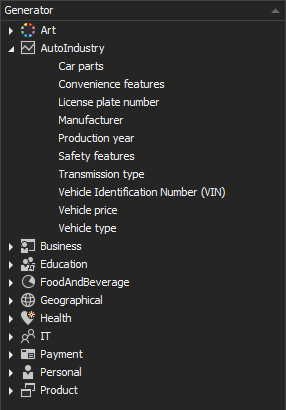
By expanding every branch in the tree view, numerous generators (which are closely related to the title of the branch) will appear. Data from those generators can be used to mask SQL server data:
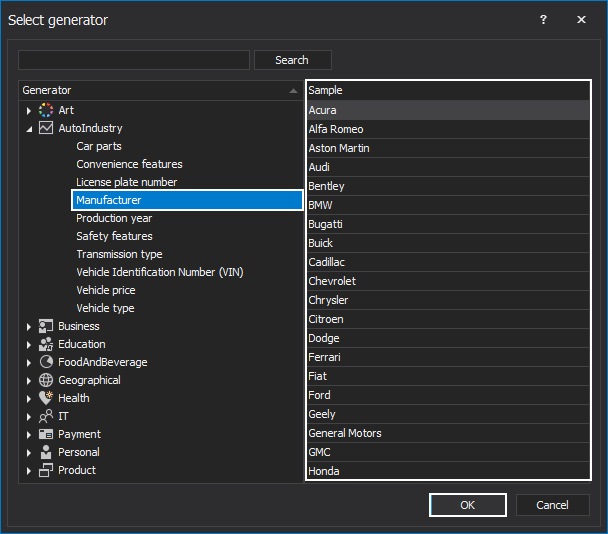
When clicking on the specific generator in the Generator filter panel, in the Sample panel, examples of information that will be used for replacing the original data can be seen. For example, the AutoIndustry category will show the names of automotive manufacturing brands as substitution values. When a generator to mask SQL Server data is chosen, click on the OK button:
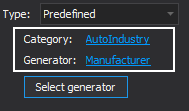
This will return the view back to the Create substitution mask window again, which now will be filled with information – the Category of the predefined generator and the name of the selected Generator which data will be used for masking original data:
After choosing the right predefined generator, click on the Apply button from the Create substitution mask window:
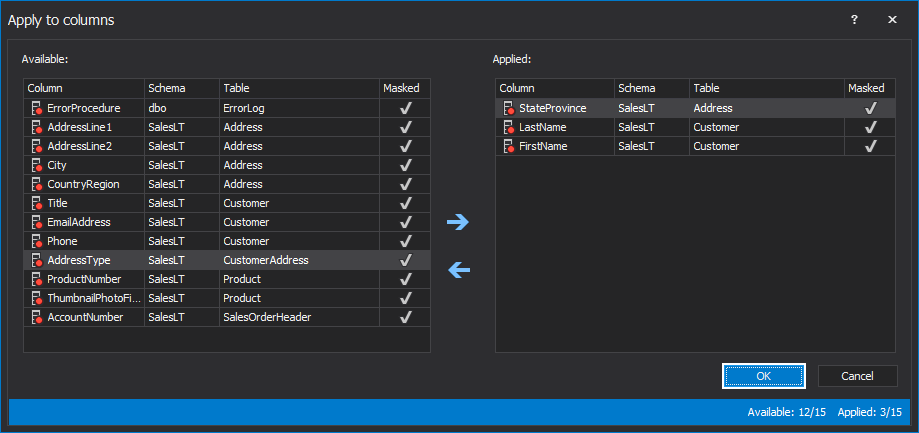
The Apply to columns window will be shown, where the columns could be selected for masking. These are the columns that the new mask, with a predefined generator, will be applied to. When columns for masking are chosen, click on the OK Button:
The view will return to Create substitution mask window, where the Name of the mask, if not exist, must be typed in. When clicking on the OK button, the new substitution mask with the predefined generator will be created and appeared in the Manage mask window.
By clicking on the OK button from the Manage mask window, the process of creating the predefined substitution mask will be finished, and the focus will return to the main window.
The scope of chosen columns in previous steps and their assigned predefined mask generator will appear in the primary grid, where the result of the mask SQL Server data with predefined substitution mask can be seen in the Preview panel (shows how the original data values will be replaced with the chosen scope of predefined values):

In the examples above, the procedure of masking data with the predefined generator is explained. The predefined generators used for mask SQL Server data cover a wide range of data with which the original data can be changed, like art,auto-industry, health, etc..


