


Applies to
ApexSQL Data Diff, ApexSQL Diff, ApexSQL Diff for MySQL, ApexSQL Doc, ApexSQL Log, ApexSQL Script, ApexSQL Trigger
Summary
This article explains how to use a project file in the CLI.
Description
Instead of setting the value of switches directly in the CLI, setting up a project file through the GUI with the desired options pre-set, saves time, because it requires only one switch to be used in the CLI.
Creating a project file
In this example, we’ll use ApexSQL Data Diff, but for other products it is similar. Run ApexSQL Data Diff and open the New project dialog, from the Home tab in the top menu.

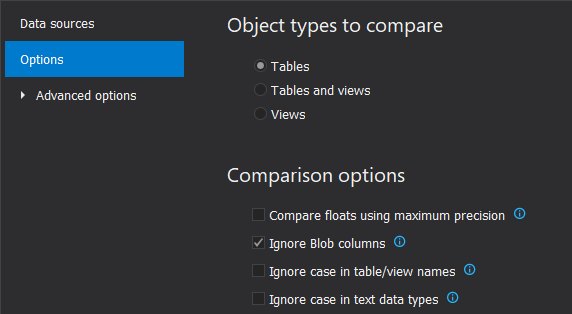
After setting up the source and destination, various comparison and synchronization options can be set. Furthermore, objects could be filtered and mapped, depending on the user preferred options:
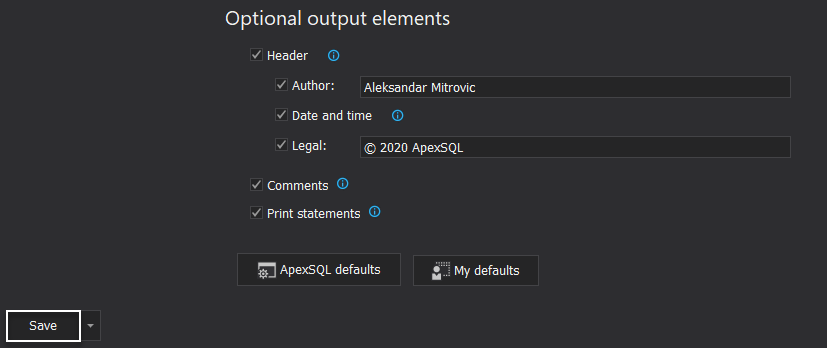
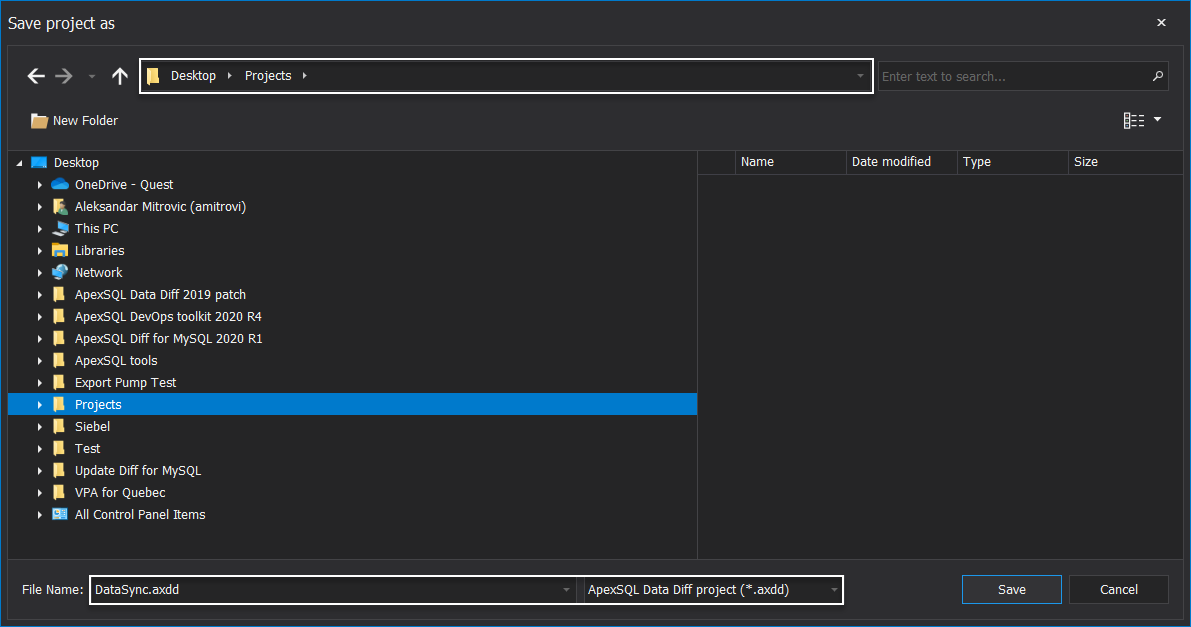
When all options are set, the project can be saved by clicking on the Save button, in the bottom left corner of the New project dialog.
Name the project and set the path where it will be saved, in this example it’s saved to C:\Users\UserName\Desktop\Projects\DataSync.axdd
|
Quick tip: Using a project file is particularly recommendable for repeated processes which have the same setup |
Using a project file in the CLI
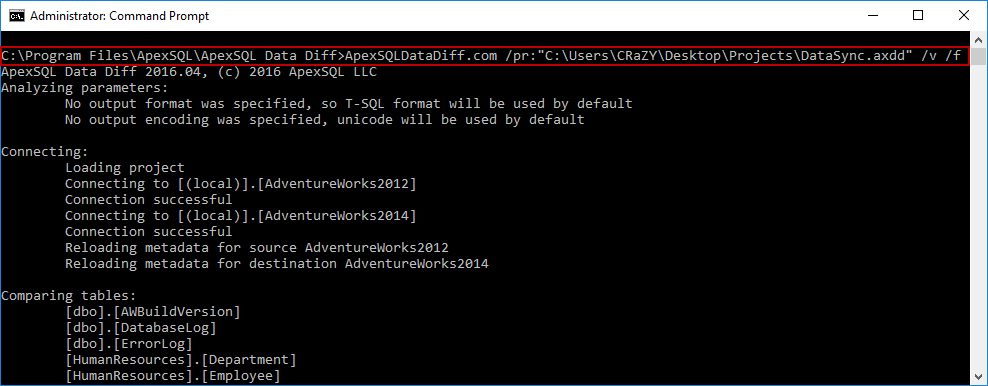
Run the Command Prompt as Administrator, and set the exact path to the installation directory of the app. e.g. ApexSQL Data Diff. To load a project file, use the switch /project or it’s alias /pr, and if it’s saved outside of the installation directory for the mentioned tools, specify the path where it’s located. For the above example, it’s:
C:\Program Files\ApexSQL\ApexSQLDataDiff\ApexSQLDataDiff.com
/pr:C:\Users\UserName\Desktop\Projects\DataSync.axdd
In this example, the project file is located in:
C:\Users\UserName\Desktop\Projects\DataSync.axdd
The extension .axdd has to be specified, so that a project file could be loaded correctly.
|
Quick tip: If any of the folders, used in the project’s path, has spaces in its name, double quotation marks must be used for the whole path of the project file to be loaded successfully |
Extensions:
ApexSQL Data Diff: .axdd
ApexSQL Diff: .axds
ApexSQL Diff for MySQL: .axdm
ApexSQL Doc: .axdp
ApexSQL Log: .axlp
ApexSQL Script: .axsc
ApexSQL Trigger: .axap
|
Quick tip: The full path of a project file, along with the project file extension e.g. .axds, has to be defined, so that command could be correct |
The only switches that are added, besides the /pr switch, is the /v switch, to display all messages on the processed operation and the /f switch to overwrite any existing files:
|
Quick tip: Specified settings saved in the project file can be overridden if you add the appropriate switch, without the need to change the project file itself |
Top FAQs about using the project file in the CLI
-
Q: Can the same project file be used in all ApexSQL applications?
A: No, because each application has some settings that are specific only for it, and they cannot be used in other ApexSQL applications. The difference is made with specific extensions of the Project file for each application as listed above in the article.
-
Q: Can the Project file be modified?
A: Yes. The project file can be modified from the GUI and then saved with the changes made to replace the existing project file or under a new name.


