Applies to
Summary
This article provides insight into the process of cloning and modifying the predefined health check rules when creating custom ones to run against a desired SQL Server instance.
Description
The SQL manage instance tool has a list of the predefined rules that are sorted by categories. Each category consists of patiently chosen SQL Server health check rules that are perfectly describing the category itself as well as its purpose and function.
Below is explained the process of using the default health check rules as a template base when creating new custom rules.
Clone default rules
To perform a health check analysis on any SQL Server in the SQL manage instance tool, one must first make a connection between the application and the desired instance.
To do so, please visit the How to discover SQL instances, SSRS, SSAS and SSIS services across the network article.
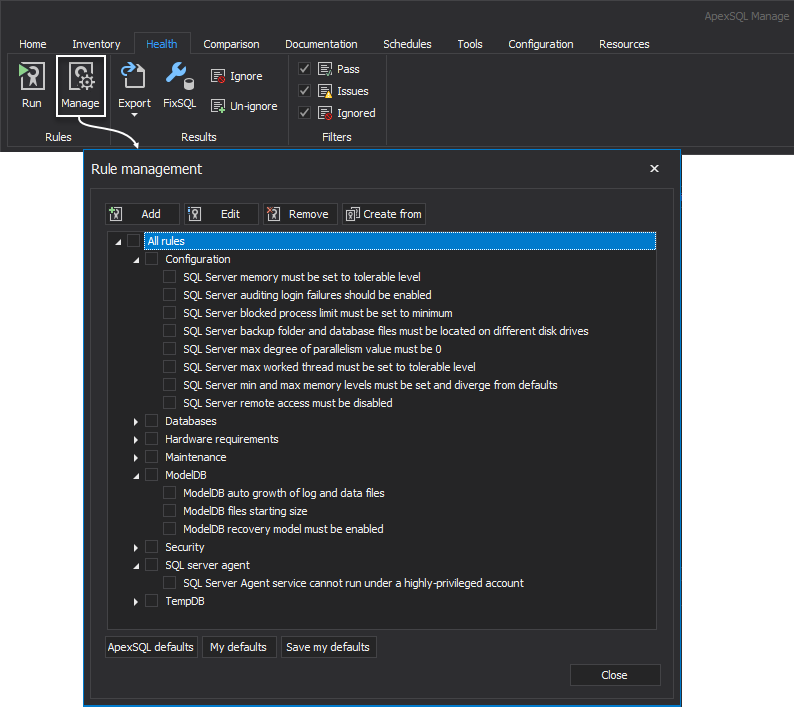
Once the desired SQL Server instance is added, head over to the Health tab and click the Manage button. This action will open the Rule management window:
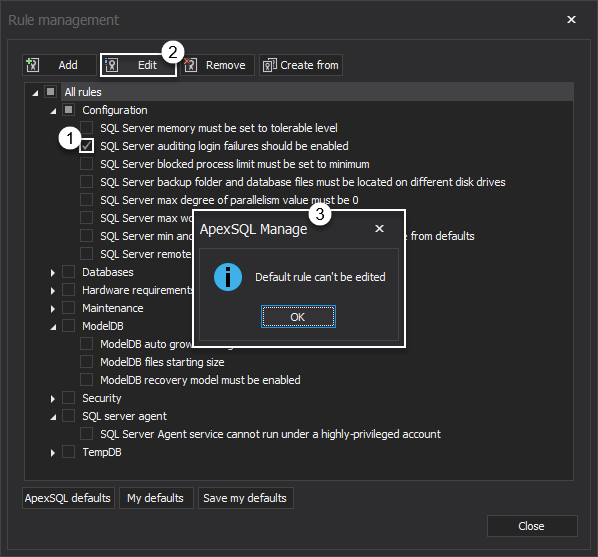
Editing any of the predefined health check rules is prohibited, so for that purpose, the appropriate message is displayed:
|
Quick tip:
Additionally, removing any of the predefined health check rules from the All rules list is also forbidden
|
To clone and modify a default rule, choose if from its category and click the Create from button:
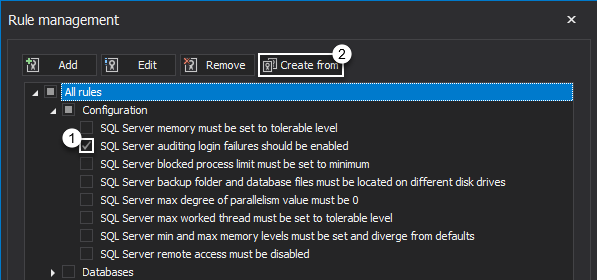
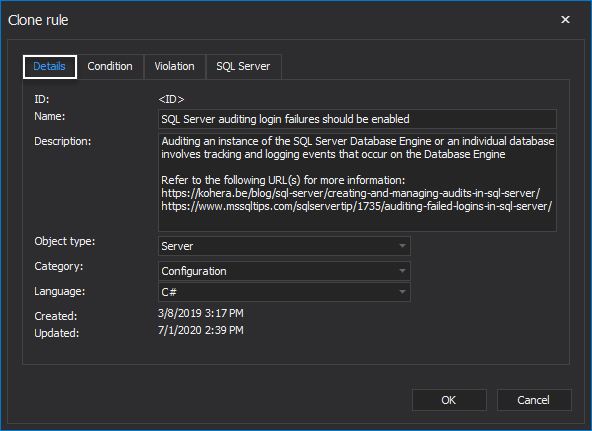
This action summons the Clone rule window. In the Details tab, the following information is displayed:
- Name – the name of the chosen health check rule
- Description – brief or detailed description of the SQL Server instance rule and its function
- Object type – the type rule is designed to analyze: Server or Database
- Category – the category rule belongs to
- Language – the type of the language rule is written by C# or VB
- The date when the selected rule was created and the date of its last update
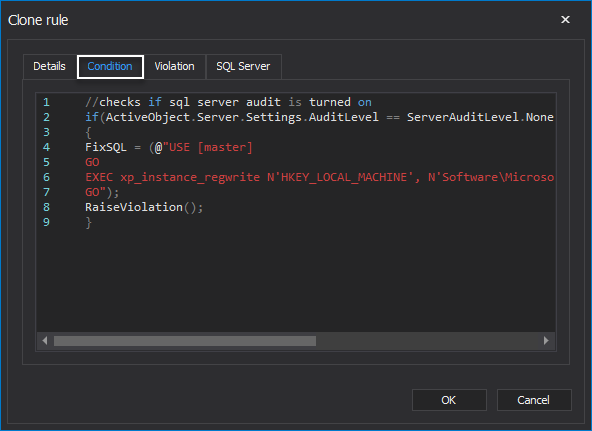
Under the Condition tab, presented is the “heart” of the rule, i.e., a code that checks the condition and state of a SQL instance or its databases:
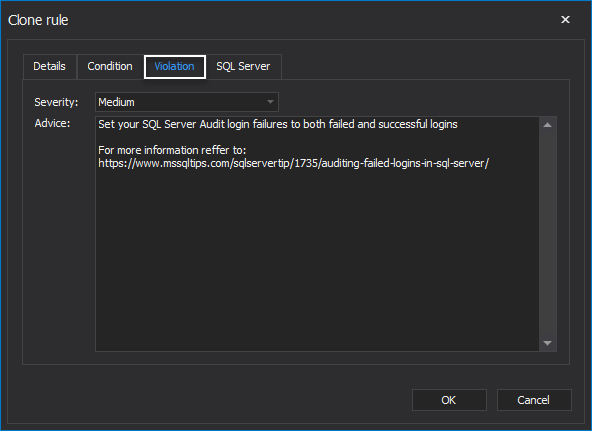
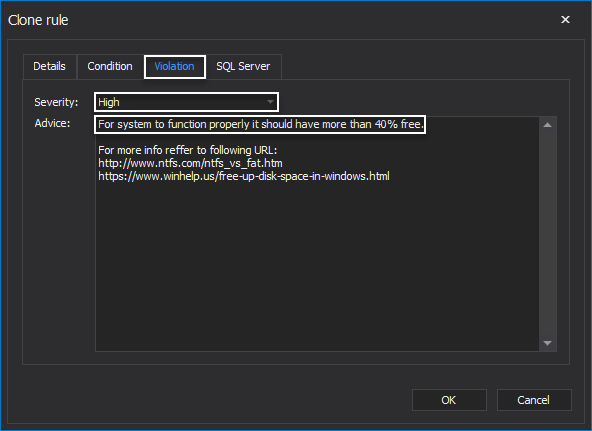
The next tab that will be covered here is the Violation. In here, configure the following:
- Severity – the severity level for the rule: High, Medium or Low
- Advice – the appropriate recommendation is given for the rule
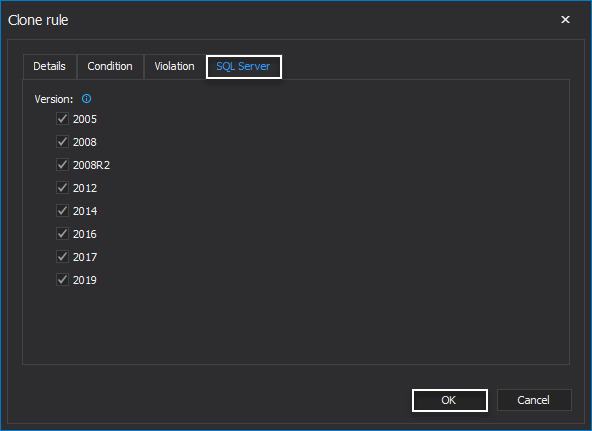
In the SQL Server tab, select SQL Server instance versions to which the rule will be applied. All listed versions are checked by default:
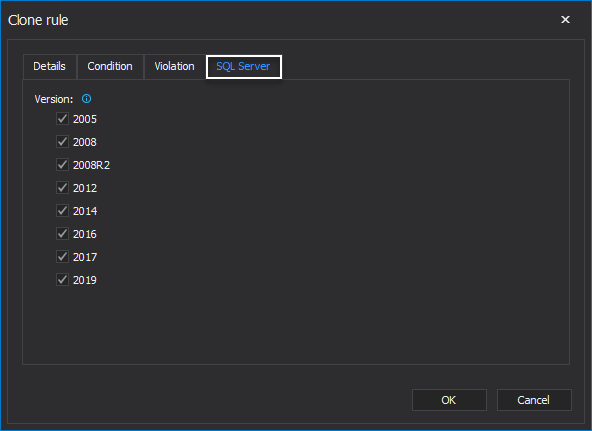
The process of cloning will now be explained through a couple of examples.
Example 1
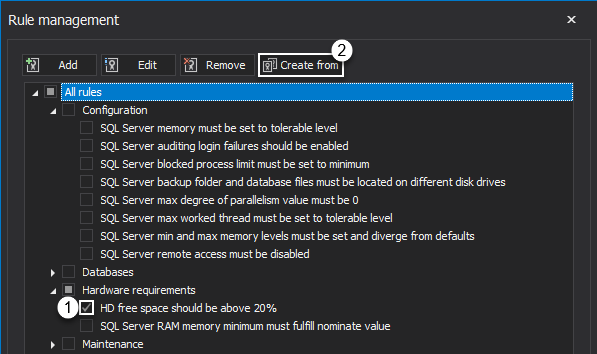
For this example, the HD free space should be above 20% rule is chosen. Let’s, for instance, assume that we are having a fairly small size of our hard drive. If this is indeed our case, then the mentioned health check rule must be slightly modified and give the warning on low disk space earlier.
To accomplish this feat, under the Rule management window, click to expand the Hardware requirements category and check the HD free space should be above 20% SQL Server instance rule. Click the Create from button:
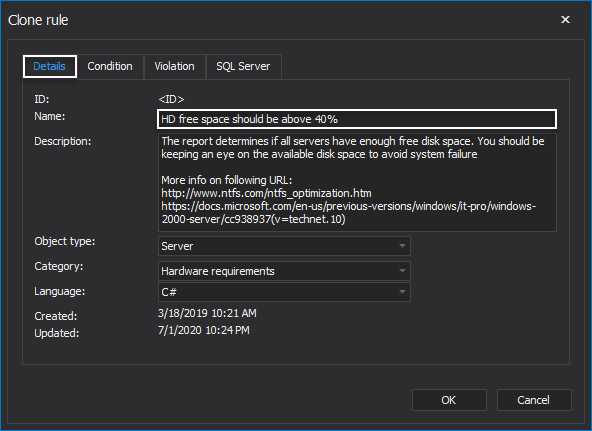
Under the Details tab of the Clone rule window, modify the name of the rule to be HD free space should be above 40%. The Description, Object type, Category, and Language settings should be left intact:
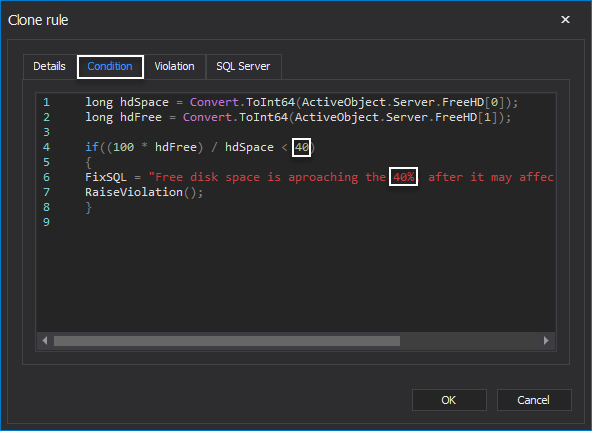
Proceed to the Condition tab and increase the boundary in the code where needed:
In the Voluntary tab, modify the Advice with the new boundary and increase the Severity to High since in assumed environment, it is crucial to have a timely warning that HDD space is running out:
In the last step, move to the SQL Server tab and leave everything as is unless wanted otherwise, i.e., unless there are SQL Server instances, this rule should not apply to. Click OK to finish modifying the predefined rule:
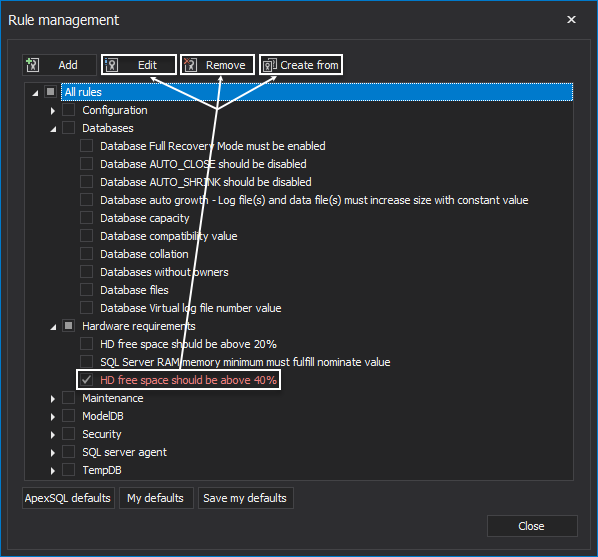
The modified health check rule is now stationed under the Hardware requirements category and colored in red to distinguish itself from the predefined rules. Now, the rule can be further edited, removed, or used as a template base for a new custom rule by choosing one of the corresponding options:
Example 2
Let’s, for instance, assume there is a need to have a rule that will set all SQL Server instance databases to the FULL recovery model. Of course, the SQL manage instance tool is already packed with such a rule that goes by the name of Database Full Recovery Mode must be enabled. However, what if there is a necessity to exclude the system databases from this change. To achieve this endeavor, the code of the mentioned rule has to undergo just one little tweak.
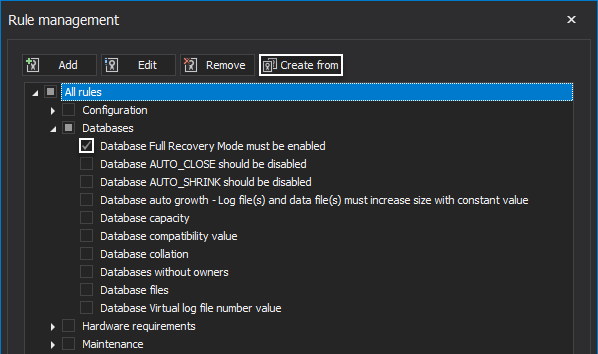
To start this process, check the Database Full Recovery Mode must be enabled rule from the Databases category. Afterward, click the Create from option to start the Clone rule window:
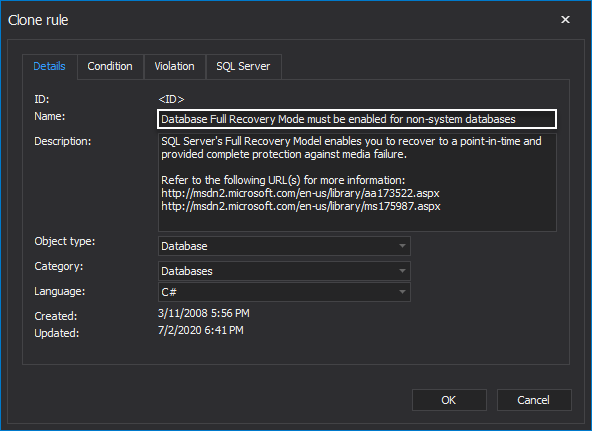
Once in the Details tab of the Clone window, change the name of the SQL Server instance rule to differentiate it with the original. For this guide, the rule name is changed to Database Full Recovery Mode must be enabled for non-system databases. Leave the other settings intact:
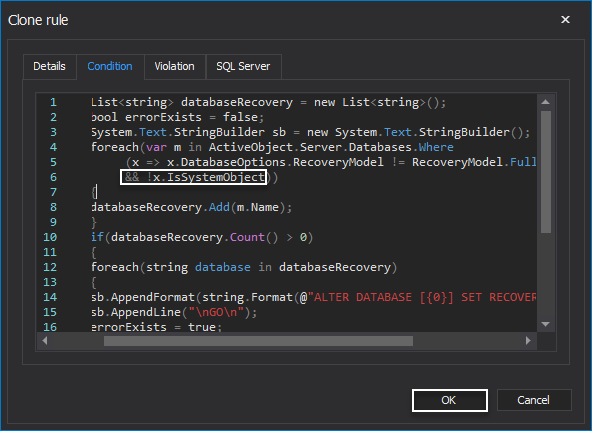
One thing left to be modified here is the code itself. Head over to the Condition tab and at the end of the following line, add the next piece of code: && !x.IsSystemObject.
The original line of code:
foreach (var m in ActiveObject.Server.Databases.Where(x =>
  x.DatabaseOptions.RecoveryModel != RecoveryModel.Full))
The modified line of code:
foreach (var m in ActiveObject.Server.Databases.Where(x =>
 x.DatabaseOptions.RecoveryModel != RecoveryModel.Full && !x.IsSystemObject))
Click OK to create the new SQL Server instance rule:
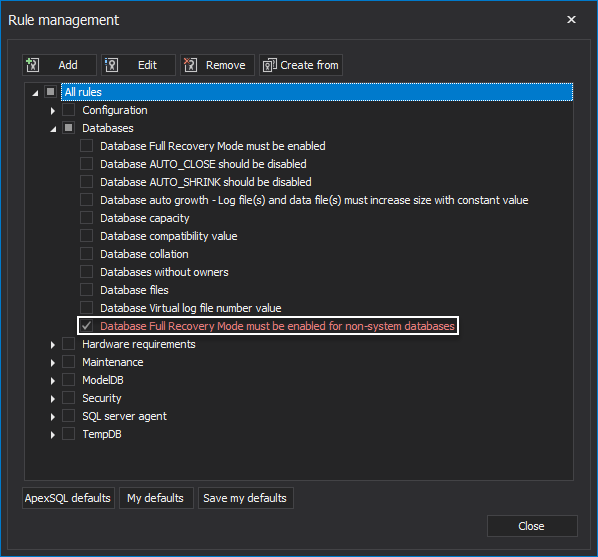
The rule is now shown under the Databases category of the All rules list:
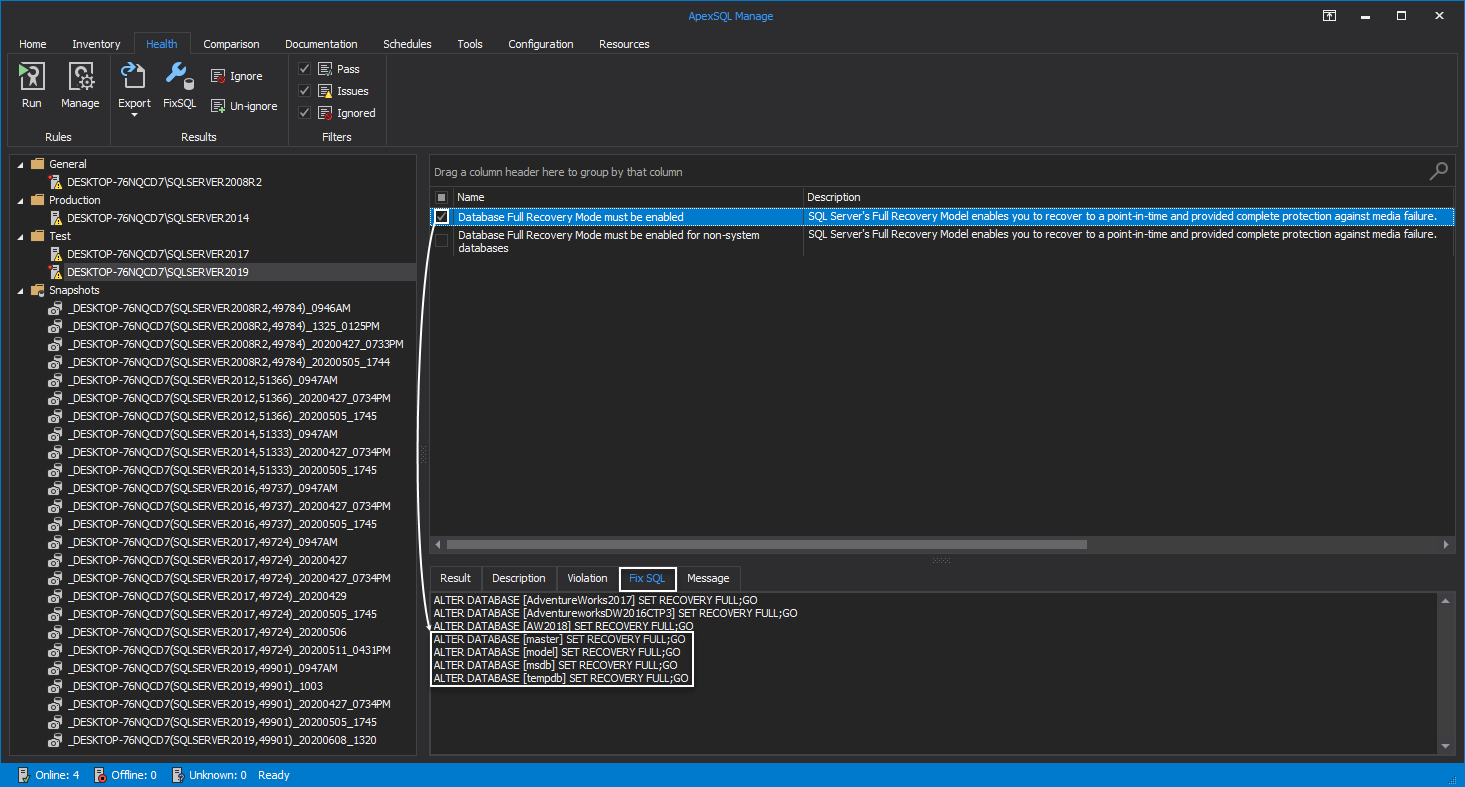
Lets quickly compare the FixSQL code of the original and now the new modified rule. The following is the example of original health check rule with the FixSQL code that will switch recovery mode to FULL for system databases as well:
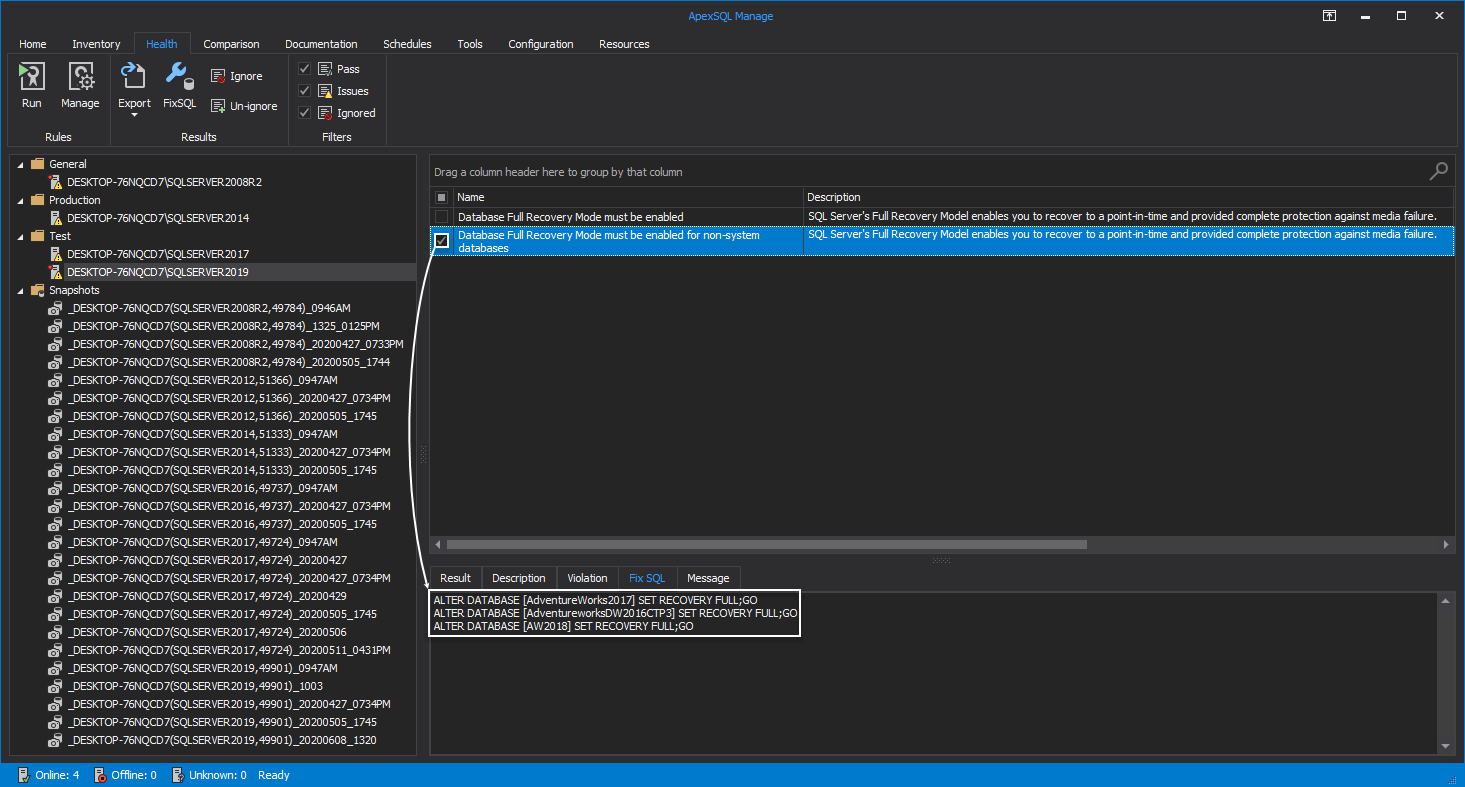
In the second picture, the FixSQL code will change recovery mode from SIMPLE to FULL for non-system databases only:


