Applies to
ApexSQL Doc
Summary
This article explains how to set up the SQL database documentation process using ApexSQL Doc, a SQL Server documentation tool.
Description
Connecting to server
To set up the SQL database documentation process, the user needs to connect to SQL server first. After the application is started there are several ways to connect to SQL server instance:
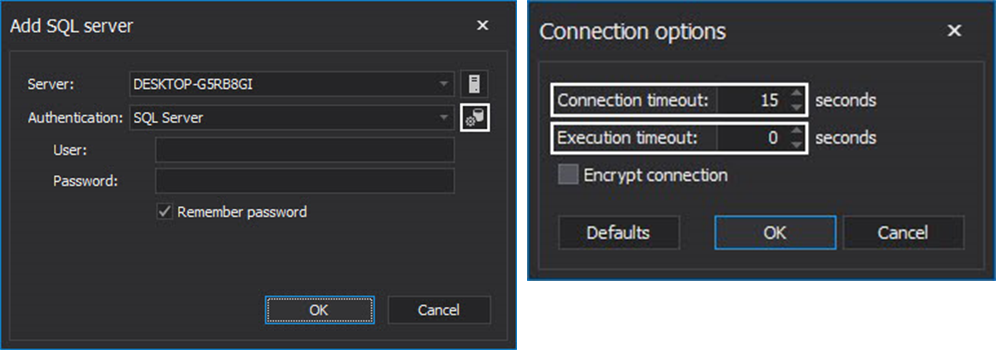
With a click on any of the option selected above, the Add SQL Server dialog will appear.
|
Quick tip: Documenting SQL database from a remote server with slow connection can be improved by increasing the Connection timeout value and the Execution timeout value |
The default values can be increased in the Connection options dialog as shown below:
|
Quick tip: Documenting large SQL databases, or multiple databases from multiple SQL servers at once is recommended with the increased values for the Connection timeout, and Execution timeout |
Selecting the databases
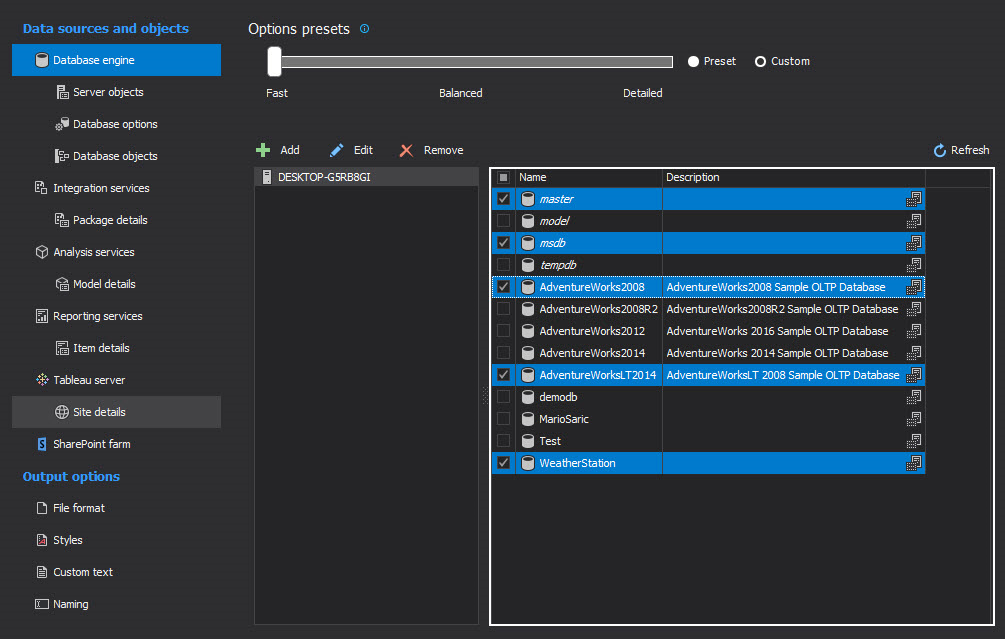
The list of connected SQL Servers will be shown in the SQL Servers section, and the list of the databases for the selected SQL servers will be shown in the Databases section to the right.
|
Quick tip: At least one database must be selected in order to proceed with setting up the documentation process |
SQL Server documentation settings
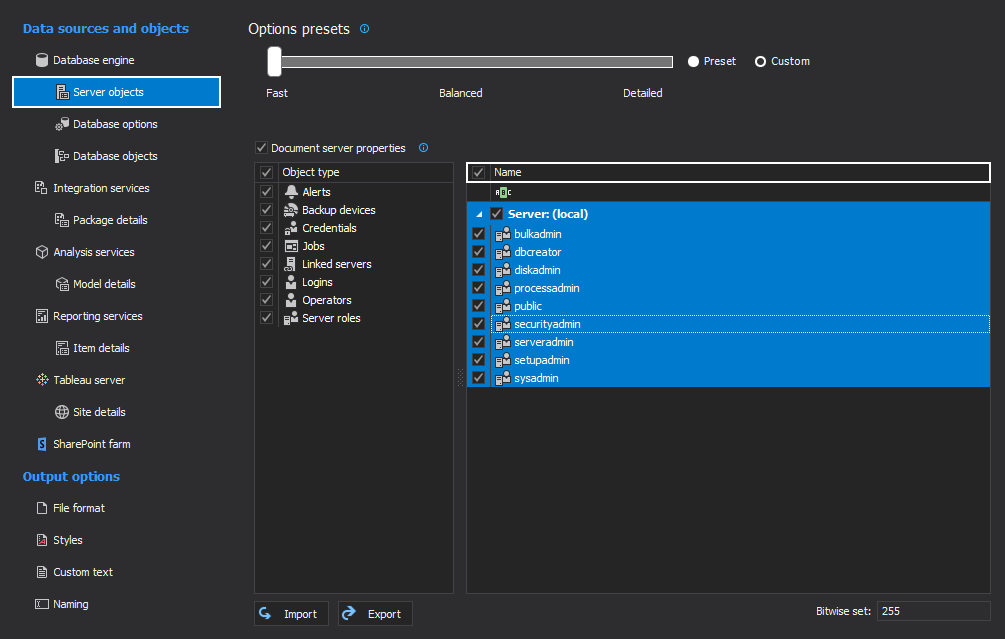
The documentation about SQL server can be included, and its objects can be filtered in the same way as the database objects using the Object filter option. For the selected combination of server objects included those filtered, the Bitwise set combination will be generated, and it can be used to include the same combination using the Command Line Interface (CLI):
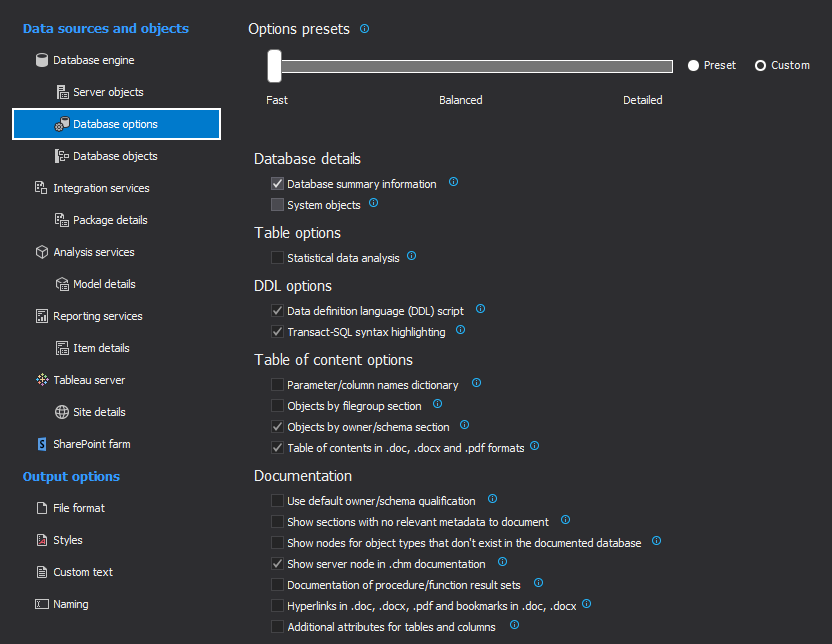
Clicking the Database options tab from the Data sources and objects pane to the left, will open the additional documentation settings at the database level. Using these options, the user can include/exclude system objects or highlight SQL code in the documentation. The Table of contents section can be formatted by grouping the database objects or including the objects by owner/schema section. The extended properties can be included in the documentation checking the Include extended properties option:

|
Quick tip: The options with clock displayed in the tooltip icon means that this is a performance intensive option, and if enabled, it can slow down the documenting process |
For more detailed documentation, there are additional options that allow adding system objects, including graphical dependencies, syntax highlighting for SQL code in the generated documentation. Depending on the number of options enabled, and number of database objects included, it can slow down the SQL database documenting process:
Adding database objects
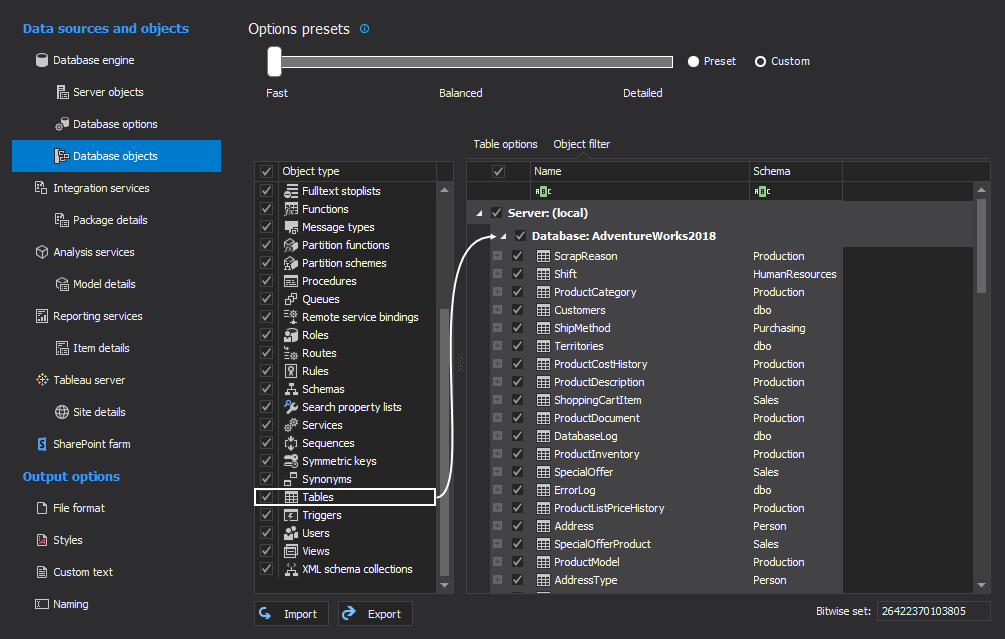
Clicking the Database objects option to the left opens a list of all database object types. The user needs just to select the checkbox by the objects that needs to be included in the SQL database documentation. As for the server objects, the database objects can be filtered in the same way, enabling the Filter option. For the selected database object, its attributes will be shown in the Object options section to the right, and the user can include/exclude any of the object option selecting the appropriate checkbox as shown below:
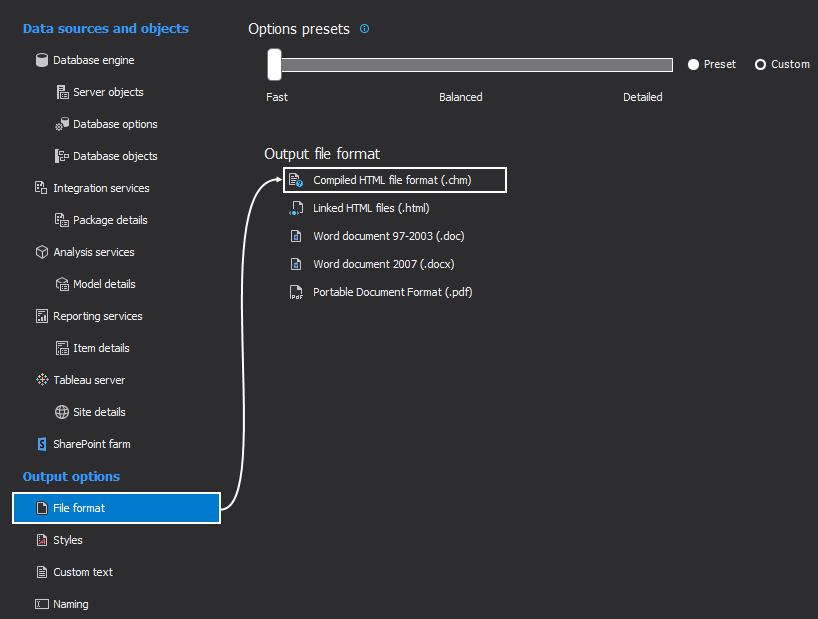
After adding database and server objects, and setting up the documenting options, the user can choose the output format, and modify the output style. All of this can be set up from the Output options pane:
|
Quick tip: It is strongly recommended not to use doc/docx output format for large databases, or when documenting multiple databases at once |
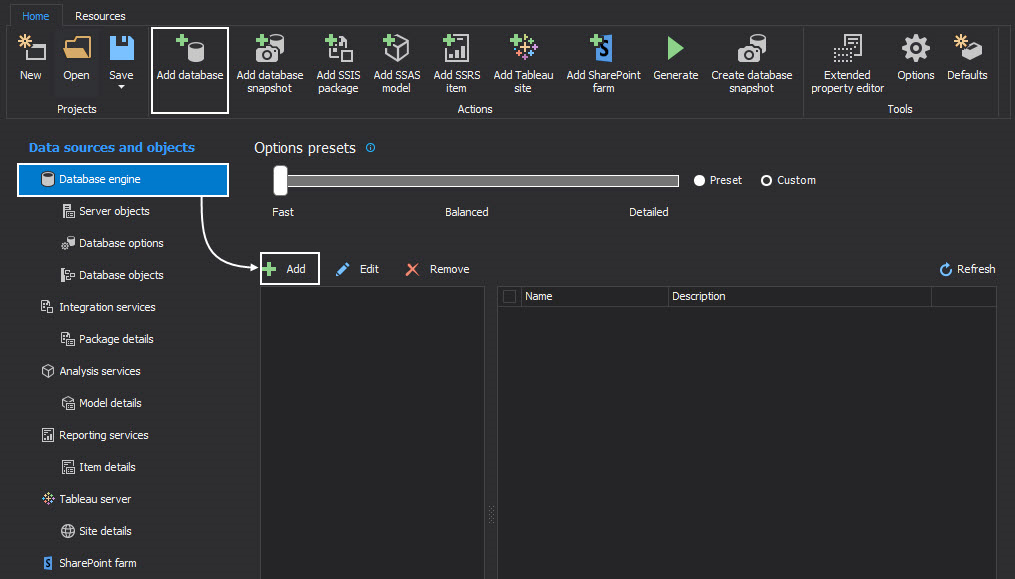
After all options are set, the database documenting process can be started by clicking the Generate button from the Home tab as shown below:

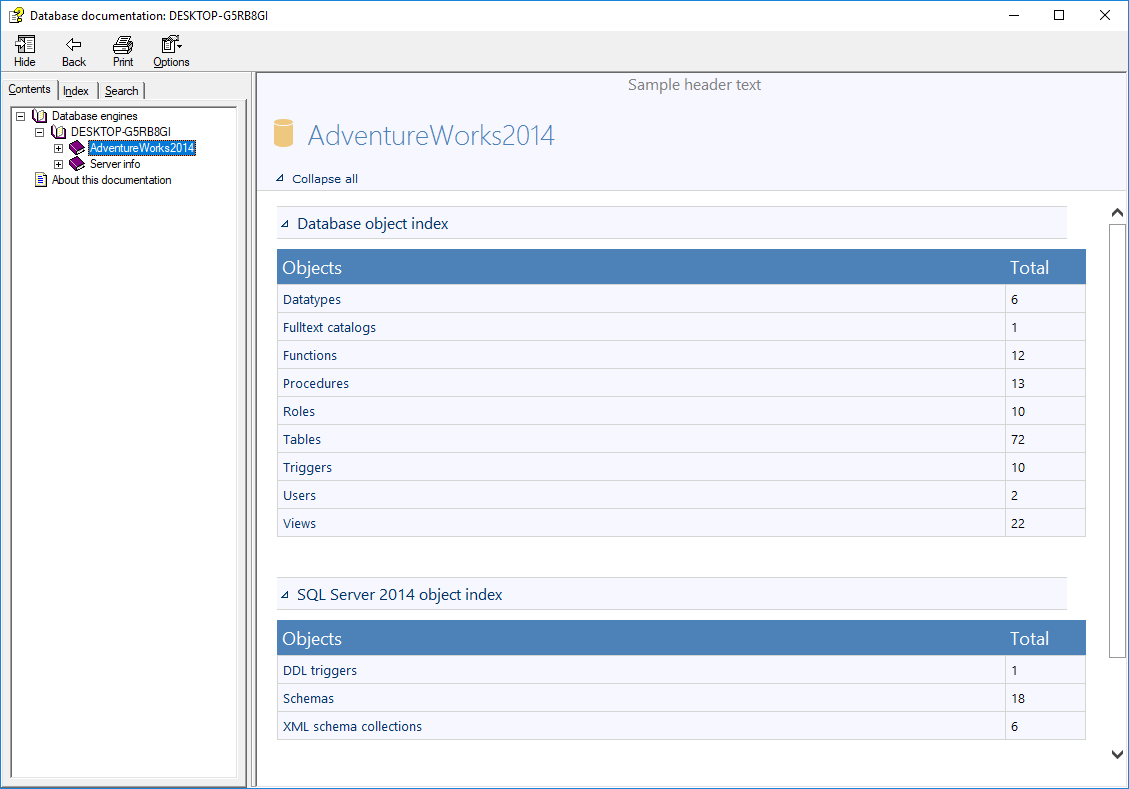
After the documenting process is complete, the result of the documentation looks like this: