Applies to
Summary
This article explains how to document SQL Server Reporting Services (SSRS) from the file system using an SSRS documentation tool.
Description
Using ApexSQL Doc various SQL Server Report Services can be documented:
- Project file system
- Native web service
- Share point web service
Project file system
Create a new project
When ApexSQL Doc is started, the blank main window will be shown. To create a new project, click on the New button from the Home tab in the Projects section:
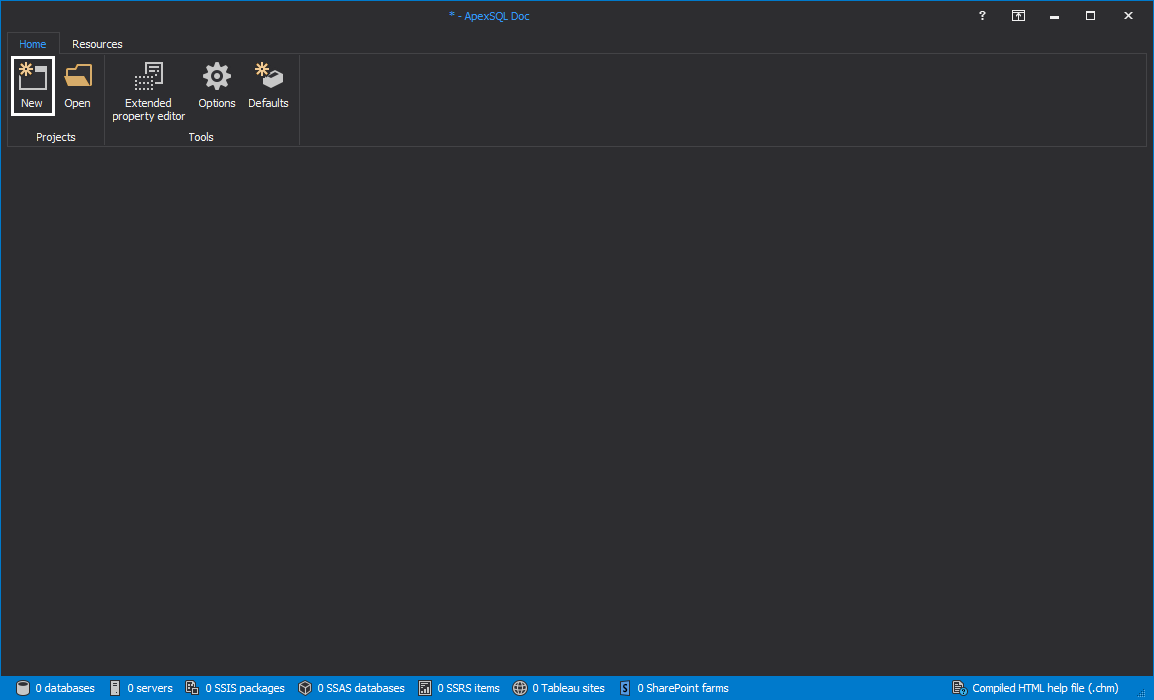
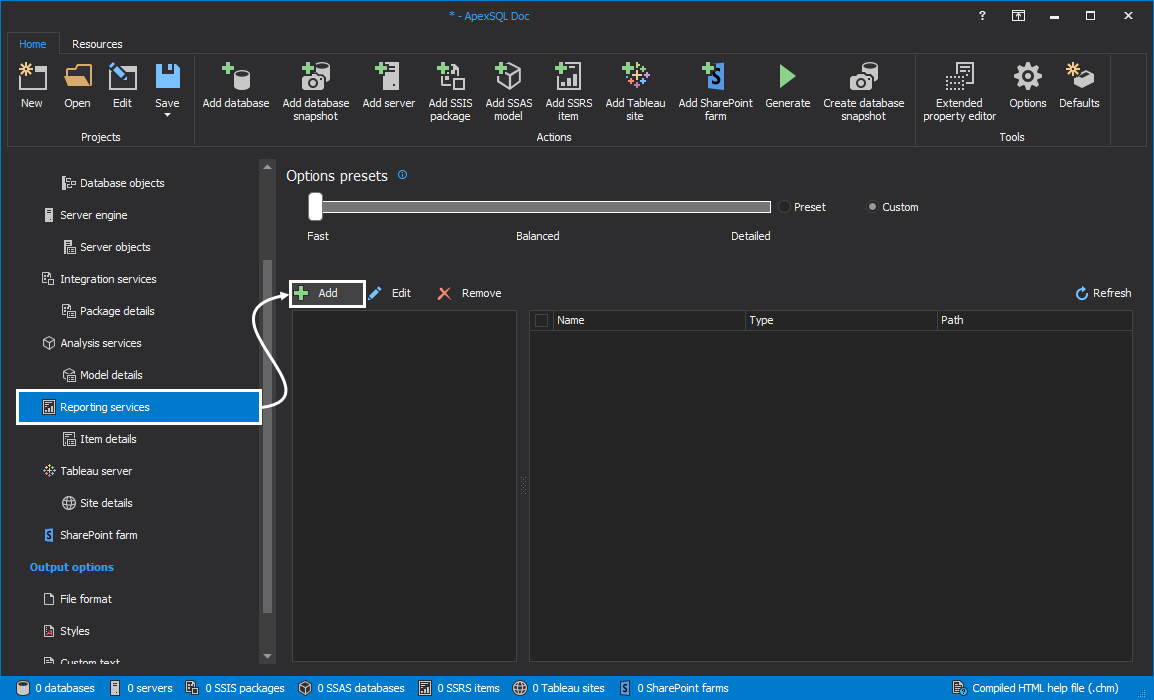
Data sources will be shown on the left side of the main window. The Data sources contains Database engine, Server engine, Integration Services, Analysis Services, Reporting Services, Tableau Server and Share Point farm. To generate SSRS documentation, select Reporting services, then click on the Add button:
The Add Reporting services items window will be shown:
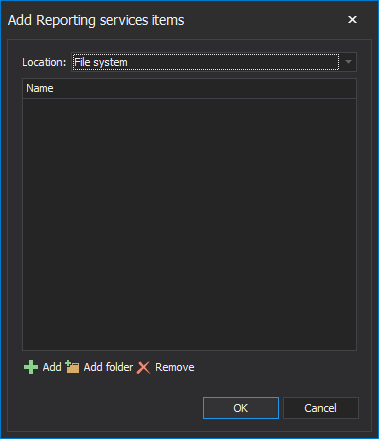
The same process can be done by clicking on the Add SSRS item button from the Home tab in the Actions section:
The File system will be selected by default. From the drop-down menu, other locations can be selected such as Native web service and SharePoint web service:
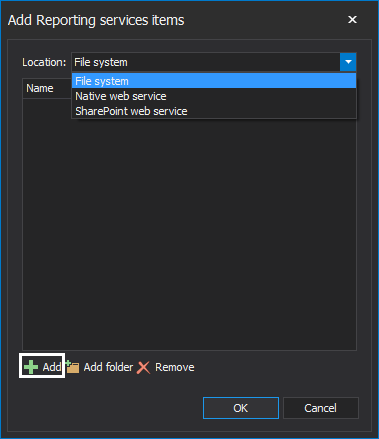
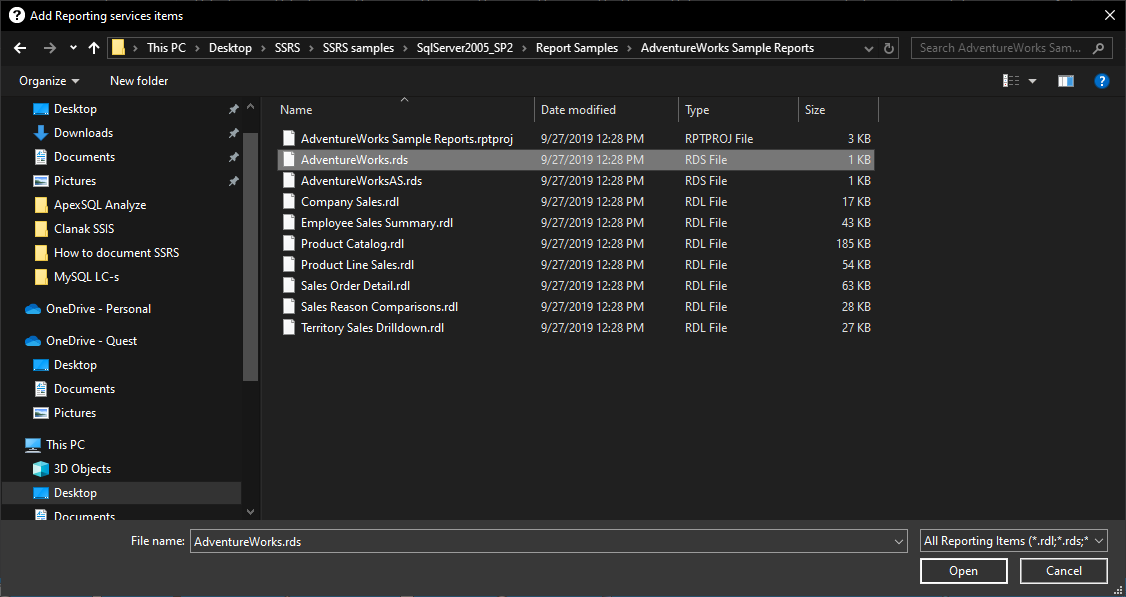
When the Add button is clicked, the Add reporting service items window will be shown. Select the folder which contains SSRS project items, then add SSRS project items from the selected folder and click on the Open button:
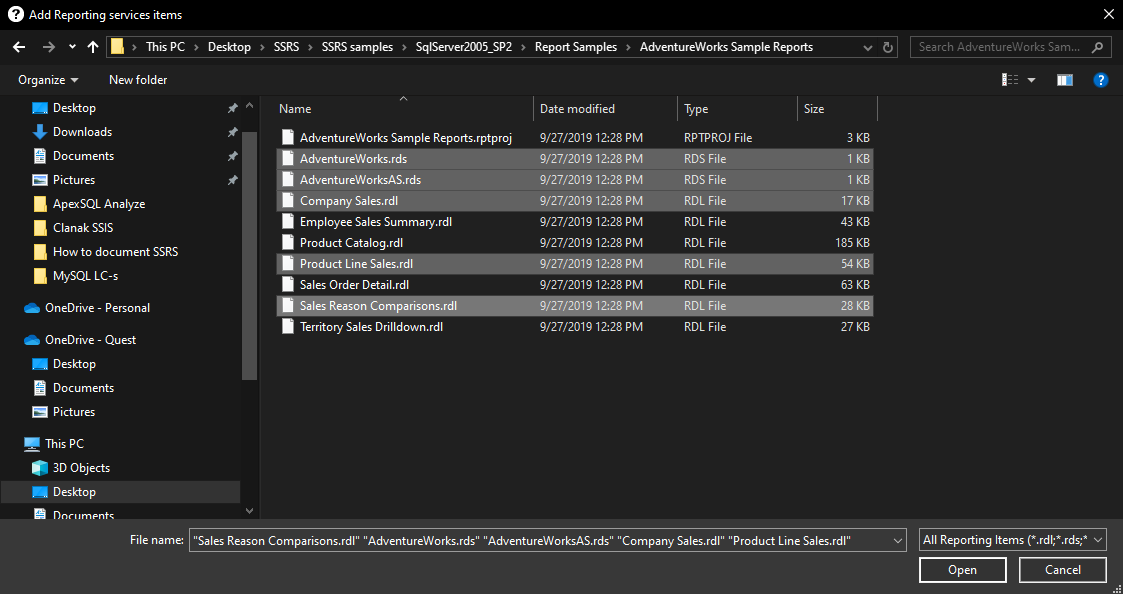
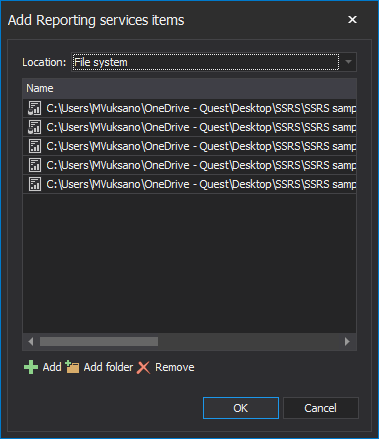
One or more reporting items can be added at the same time in the SSRS documentation tool:
When the Open button is clicked, only selected reporting items will be shown in the Add Reporting services items window:
The Add folder button is used to add all reporting items which are stored in one folder:
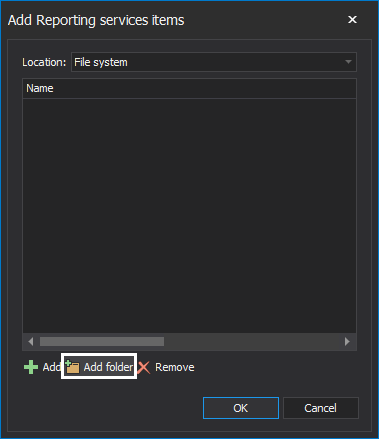
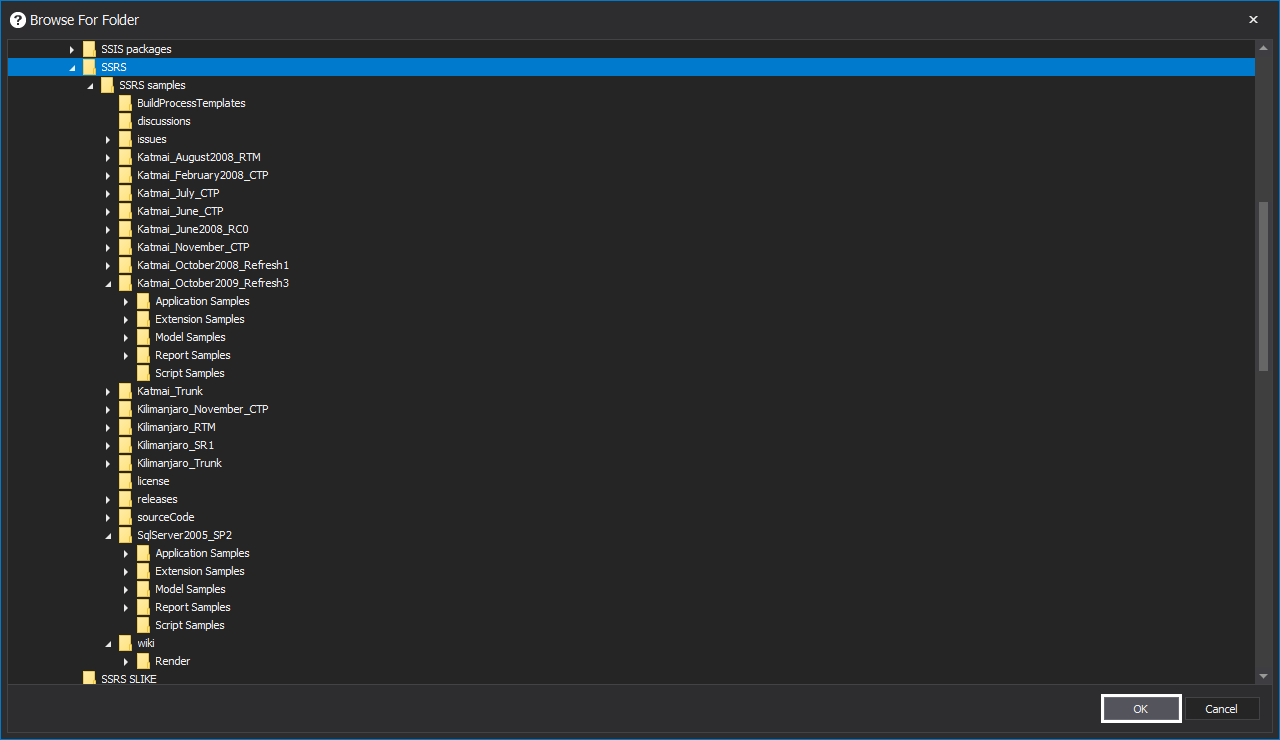
When the Add folder button is clicked, the Browse For Folder window will be shown. Select the targeted folder which contains reporting items and click on the OK button:
The Add Reporting services items window will be shown which contains selected reporting items (reporting items can be removed by clicking on the Remove button):
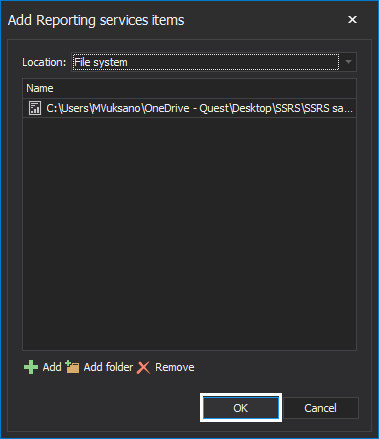
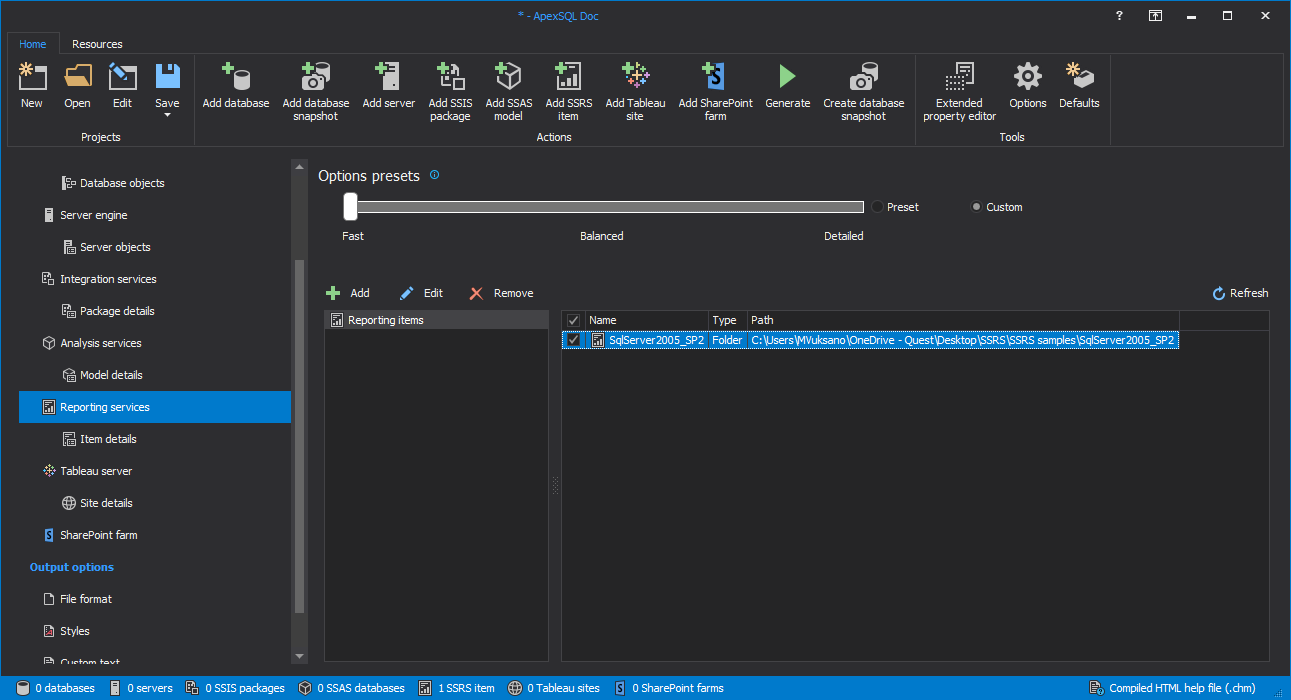
When the OK button is clicked, the selected reporting item will be displayed on the right side of the main window:
Item details
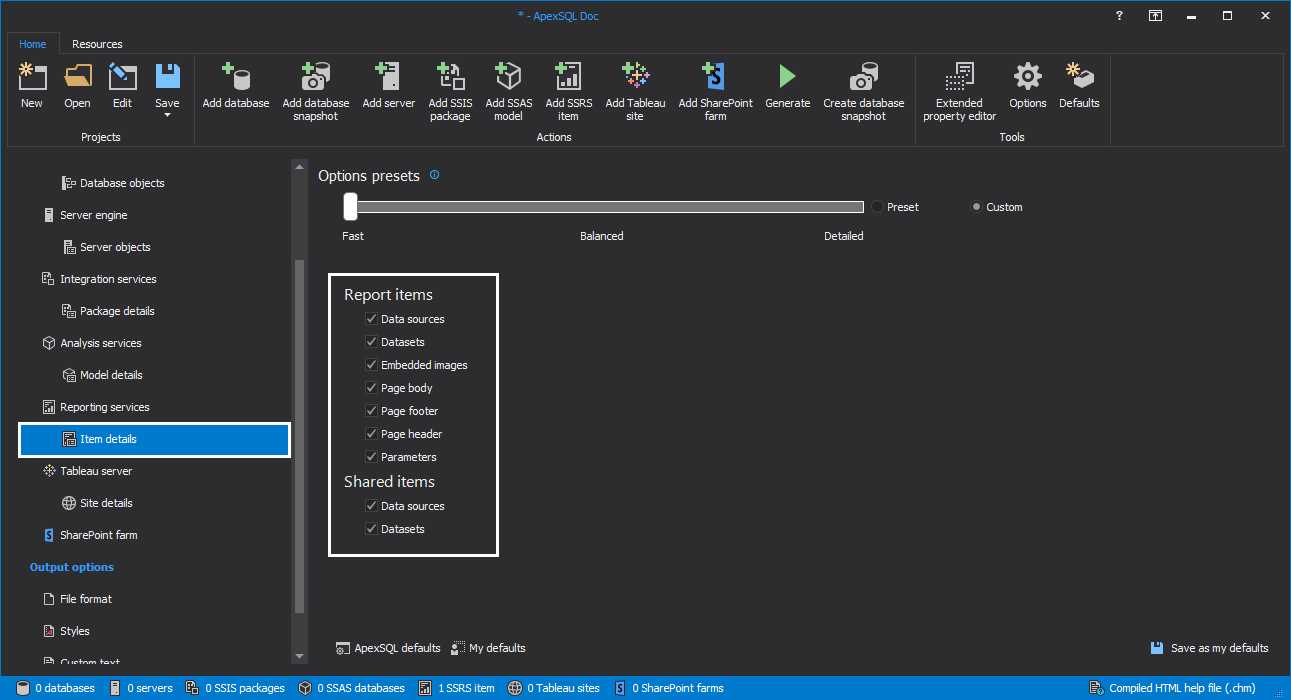
The item details that will be included in the documentation can be adjusted in the Item details section.
Everything will be checked by ApexSQL defaults. These settings can be user-customized and saved as My defaults (unchecked details will not be included in the documentation).
Item details contains:
- Report items:
- Data sources
- Datasets
- Embedded images
- Page body
- Page footer
- Page Header
- Parameters
- Shared items:
- Data sources
- Datasets
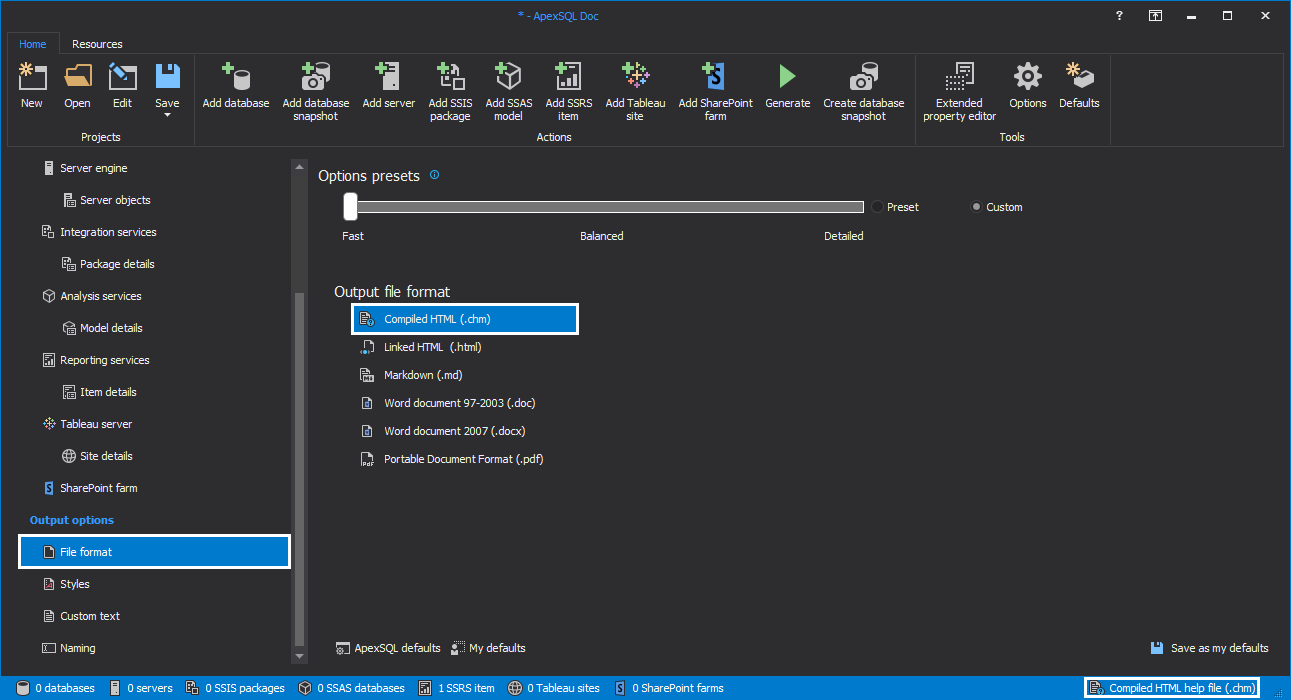
The next step before creating documentation is to set a File format. Supported file formats to document reporting services using the SSRS documentation tool are:
- CHM (Compiled help .chm)
- Linked HTML (.html)
- Markdown (.md)
- DOC (Word document 97 – 2003)
- DOCX (Word document 2007 – 2013)
- Portable Document Format (.pdf)
To select a file format, click on File format from Output options and select a wanted format (at the bottom right side of the main window, the selected file format will always be shown):
Generate documentation
To generate reporting items using the SSRS documentation tool, click on the Generate button from the Home tab in the Actions section:
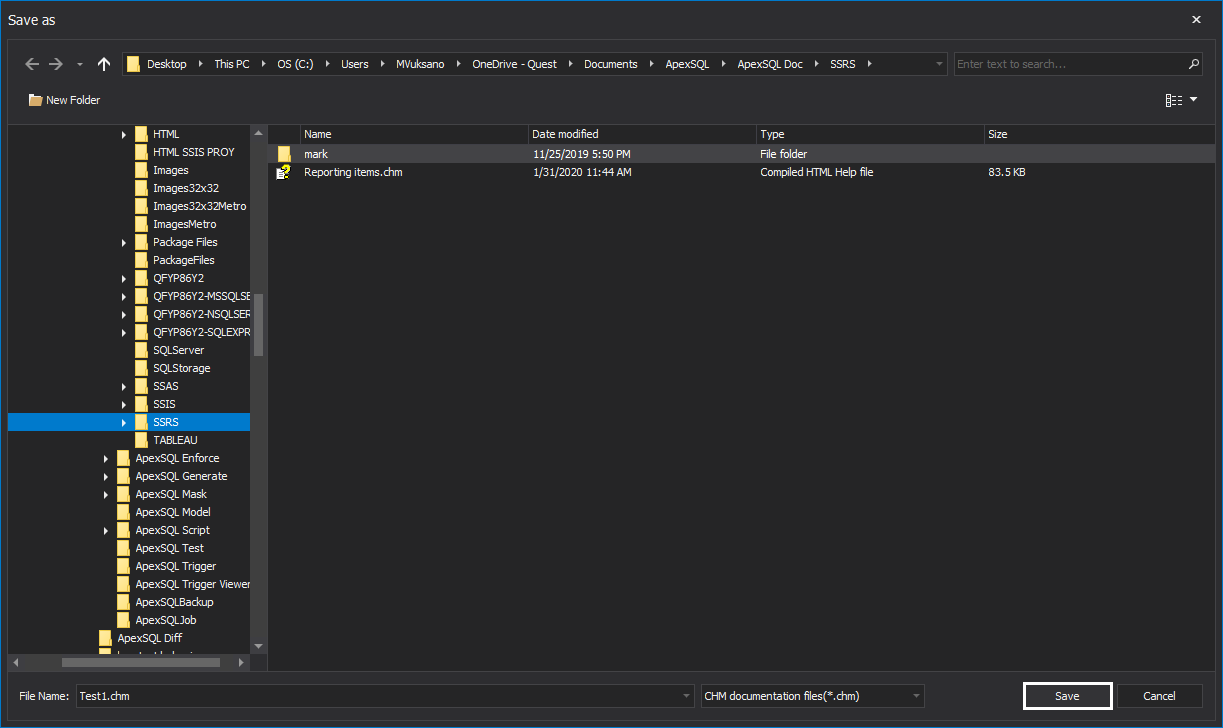
When the Generate button is clicked, the Save as window will be shown. Choose a wanted folder to save documentation:
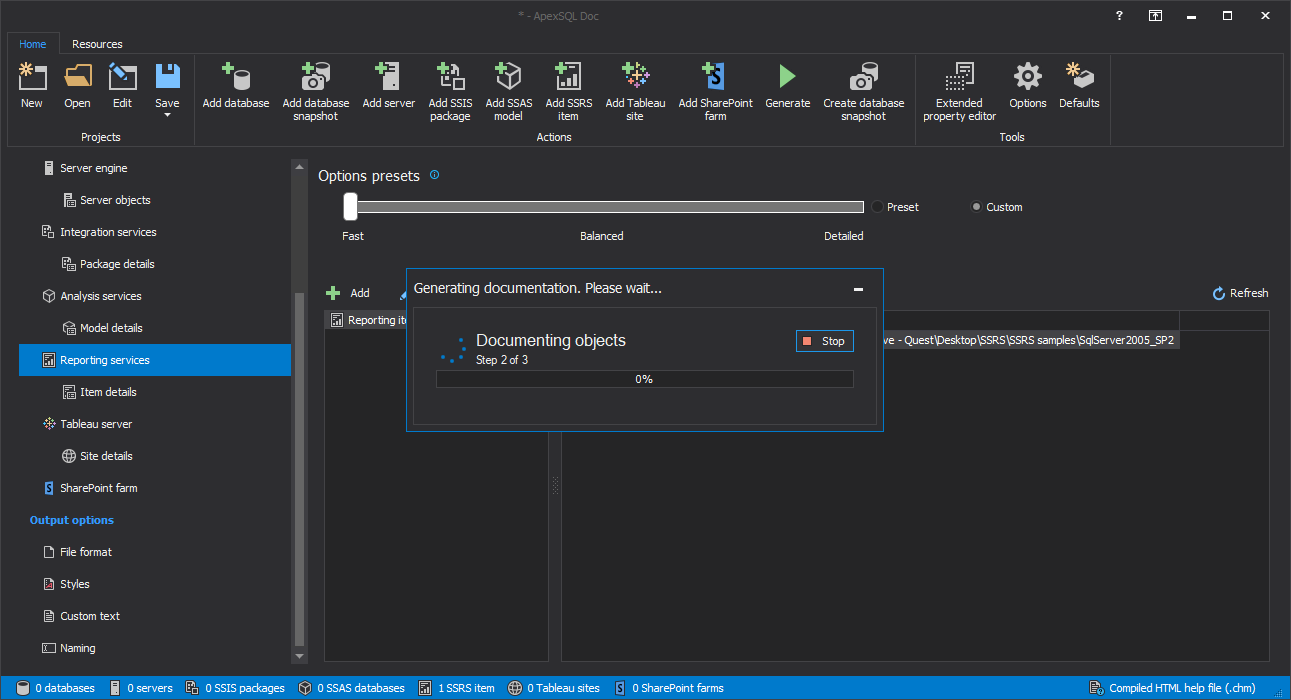
When the Save button is clicked, generating documentation process will start and a pop-up message will be shown (Generate documentation. Please wait…). The process of the generating document can always be stopped by clicking on the Stop button:
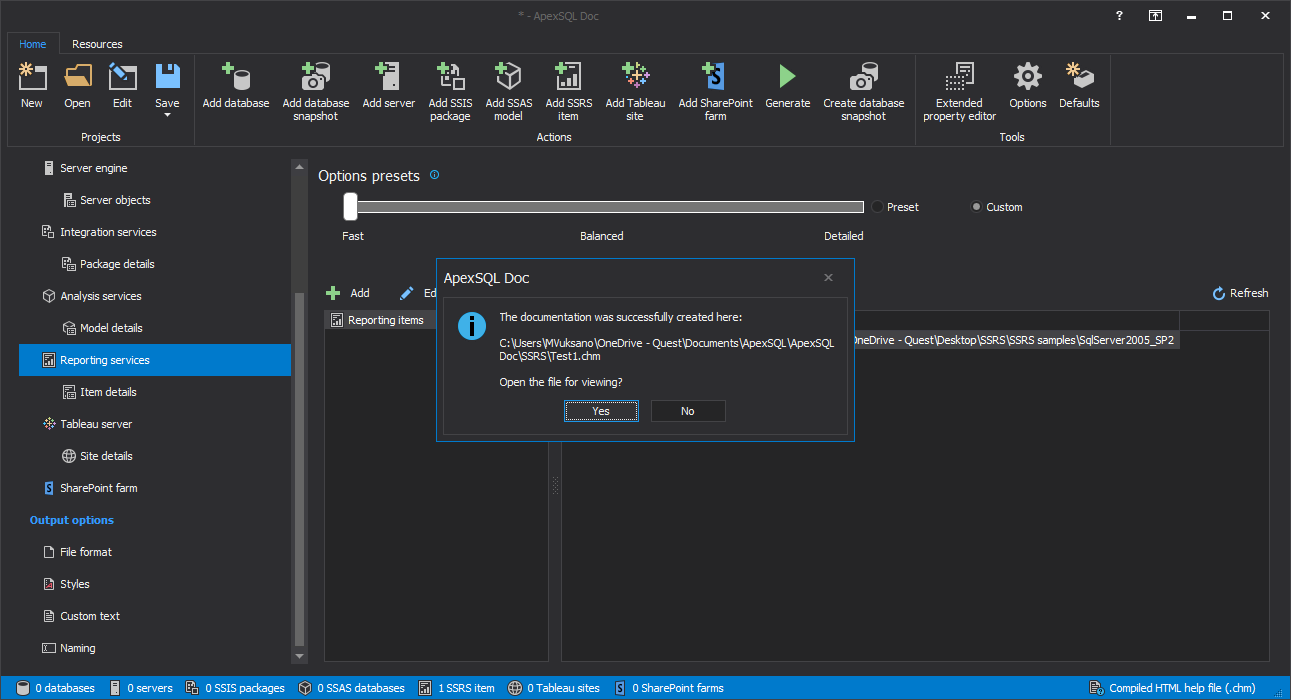
When the documentation is created, the info pop-up window with a message will be shown (The documentation was successfully created here:). Clicking on the Yes button will open generated documentation:
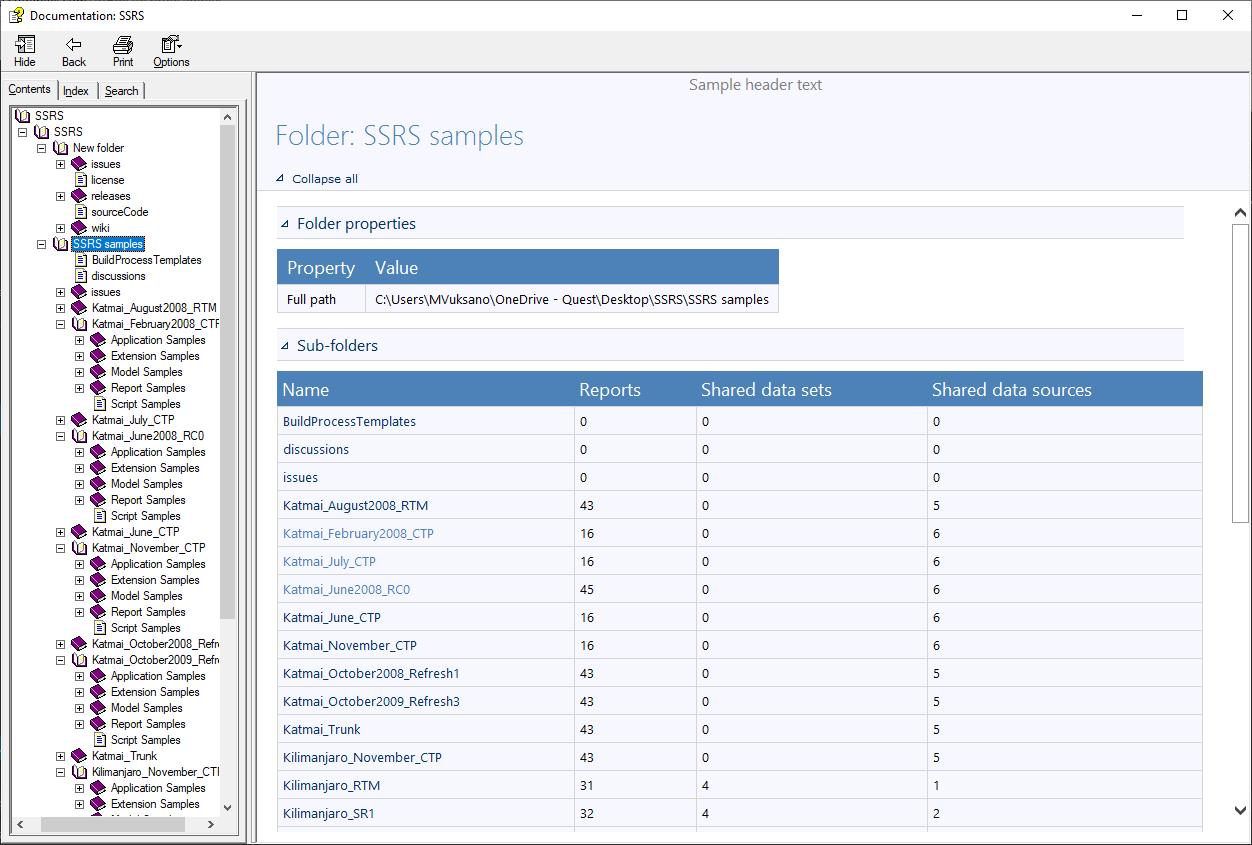
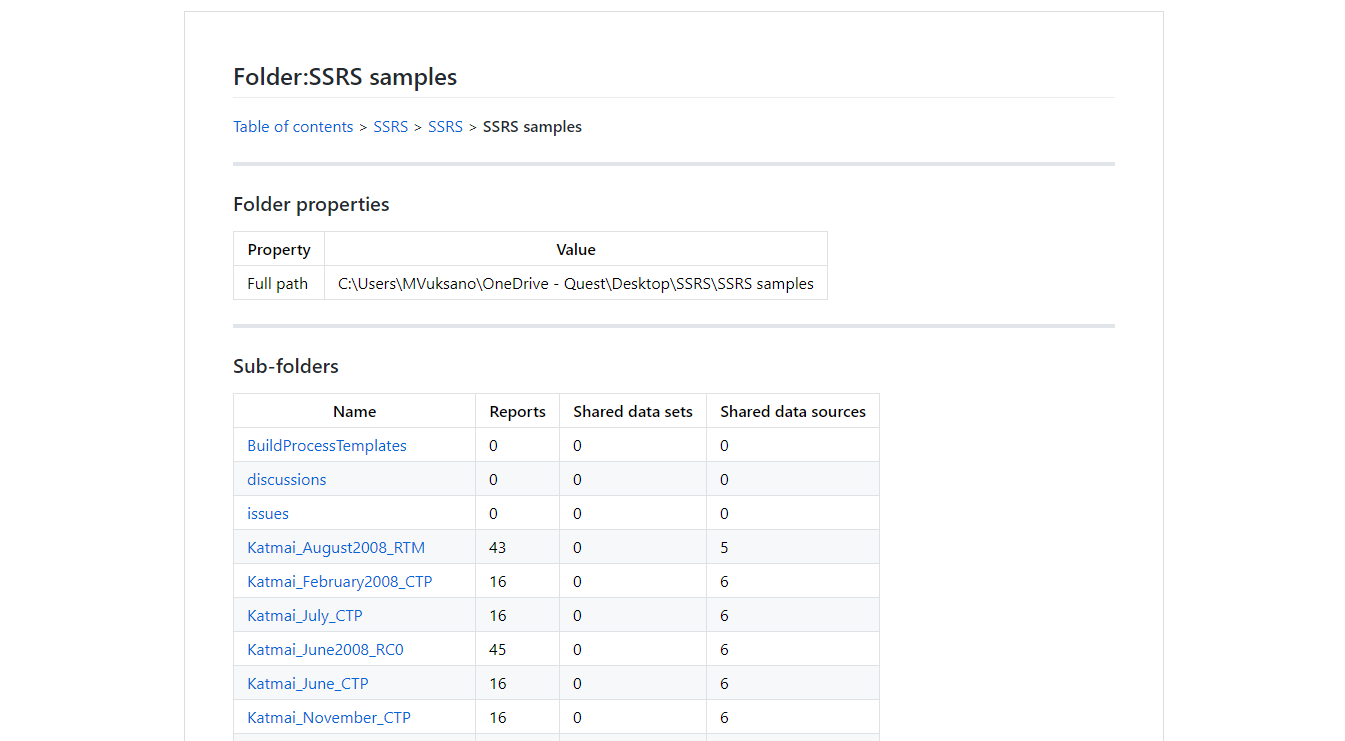
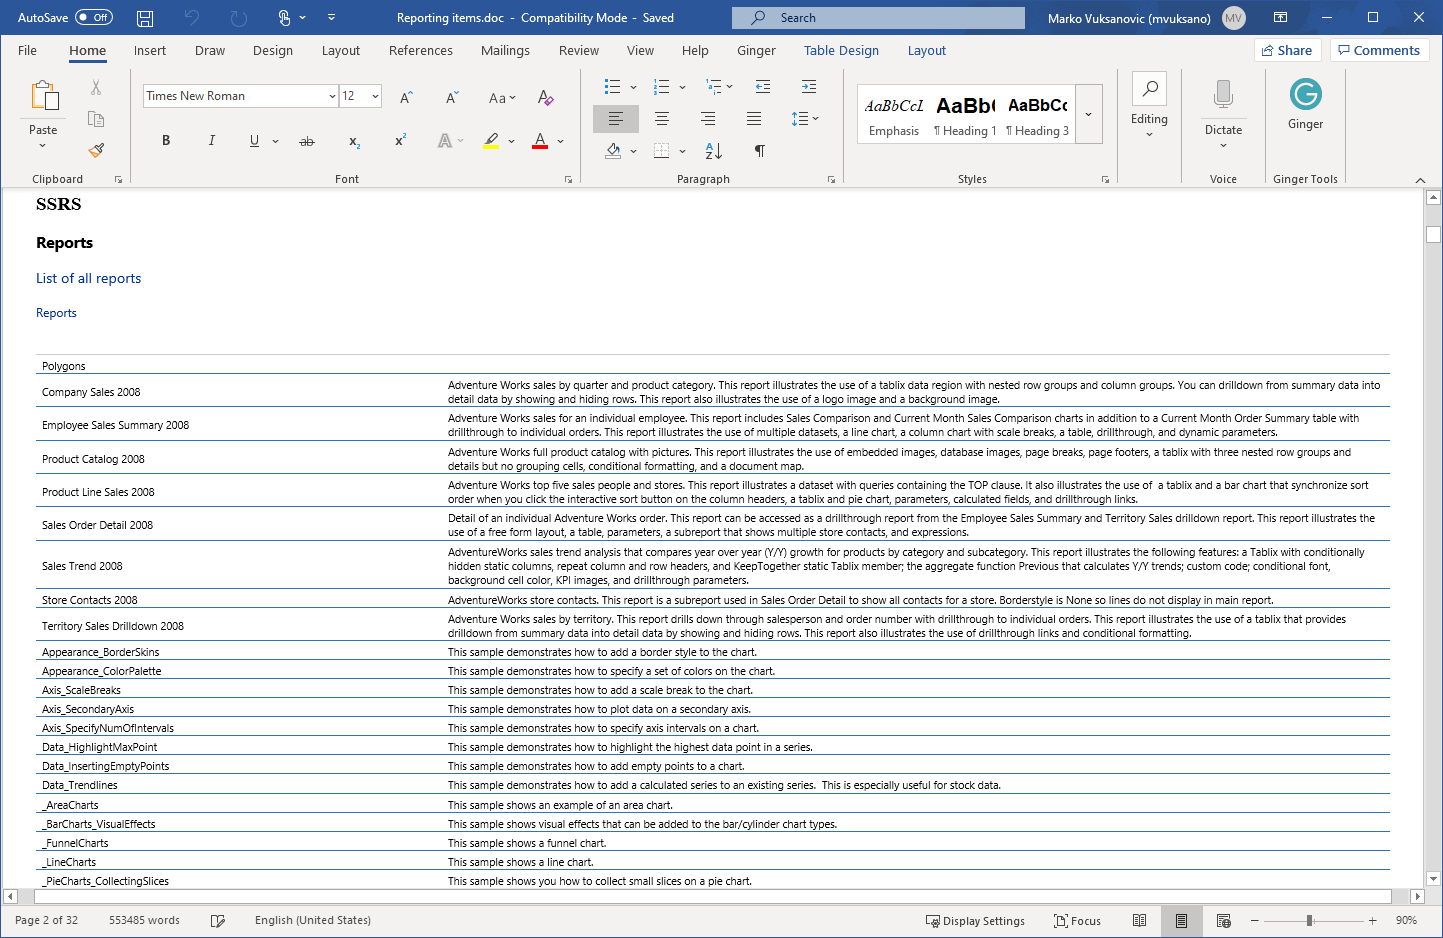
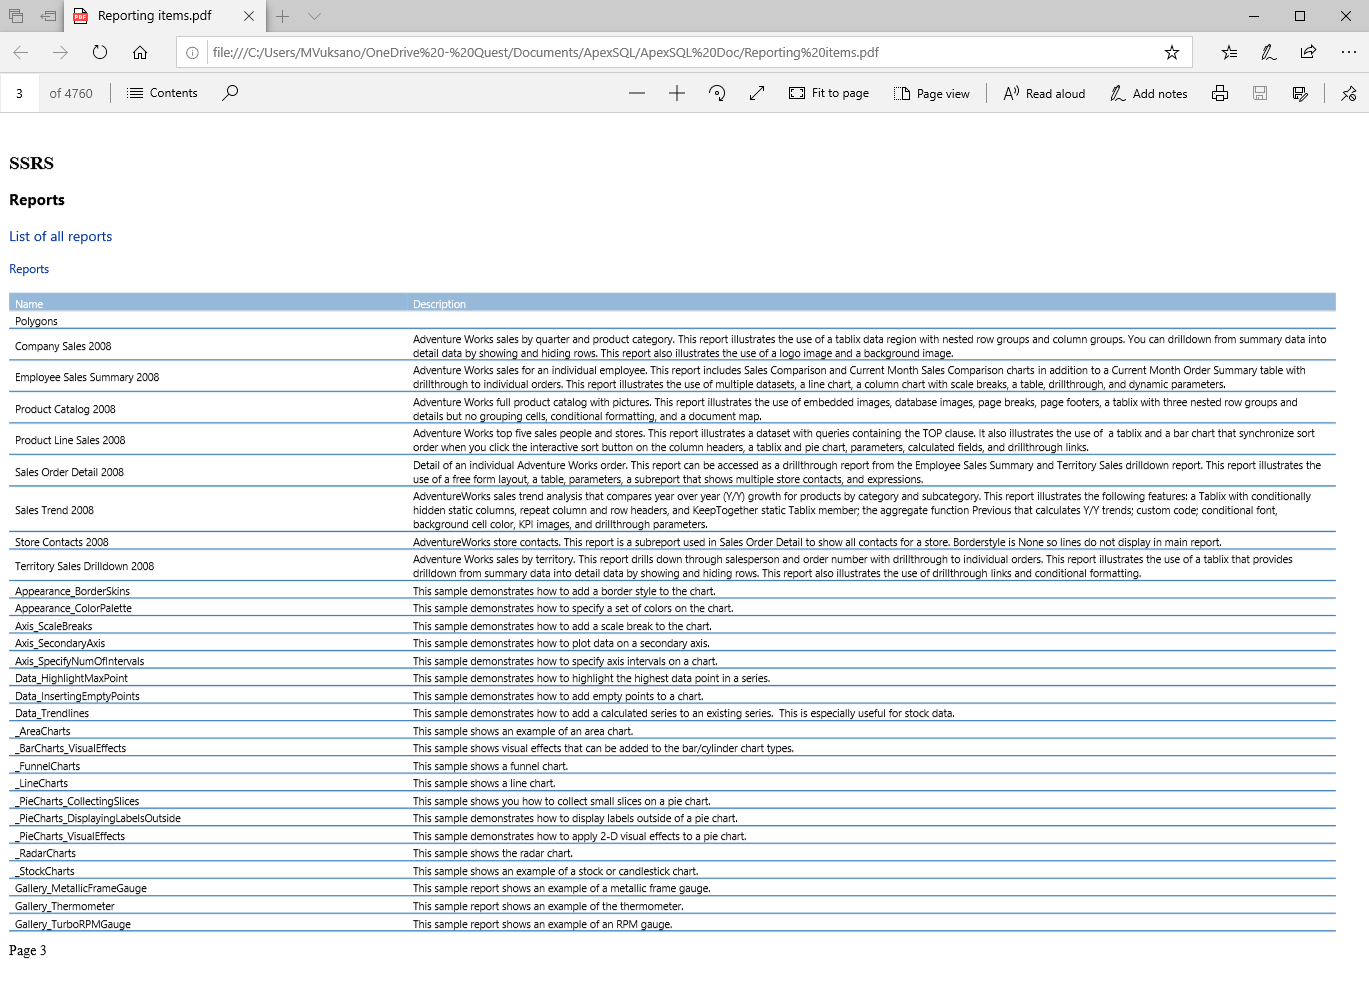
This is an example of the created documentation using the SSRS documentation tool:
-
Compiled HTML (.Chm) file format:
-
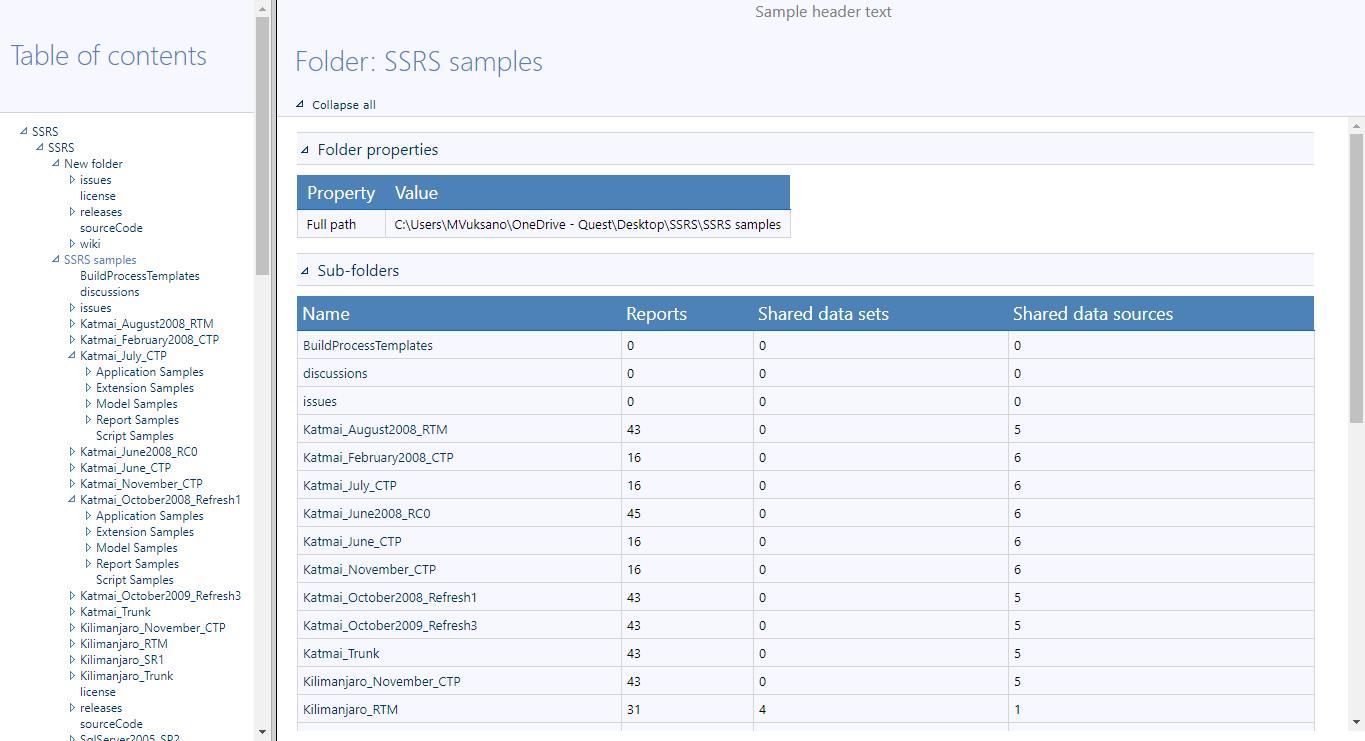
Linked HTML (.Html)
-
Markdown (.MD)
-
Word document 2007 (.Docs)
-
Portable Document Format (.PDF)


