


Applies to
All ApexSQL tools
Description
This article explains how to configure remote access on a SQL Server instance and connect to a remote SQL Server instance with ApexSQL tools
Configuring remote access on a SQL Server instance
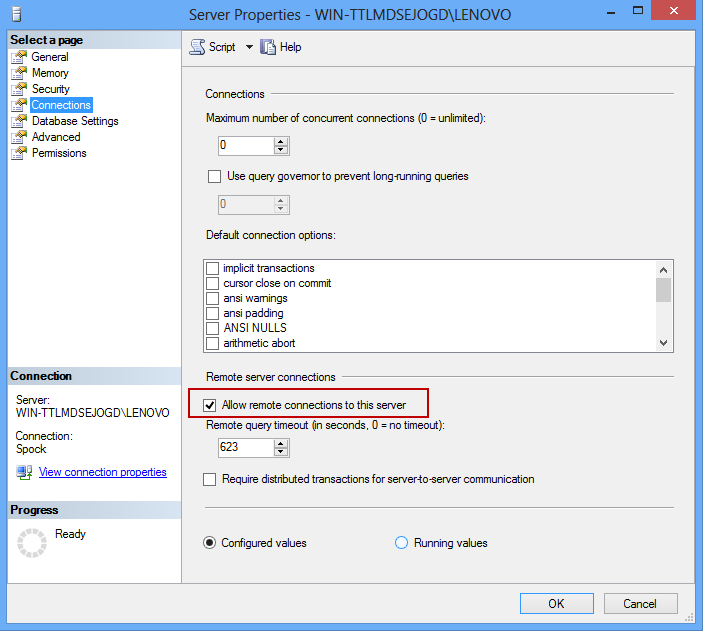
To enable remote connection on SQL Server right – click on the server and select the Properties option. In the Server Properties dialog under the Connections tab check the Allow remote connections to this server option:
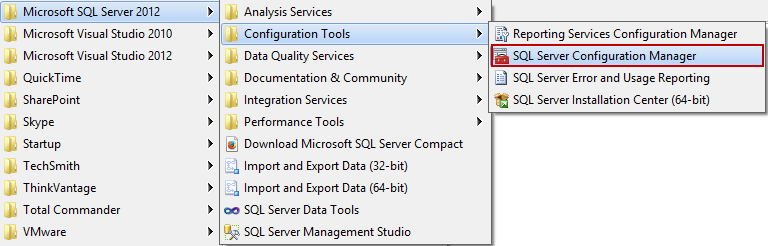
Go to Start->Programs->Microsoft SQL Server 2005/2008/2012 ->Configuration Tools and select the SQL Server Configuration Manager:
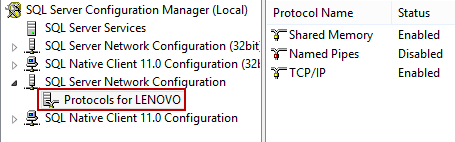
Under the SQL Server Network Configuration select Protocols for <your server name>:
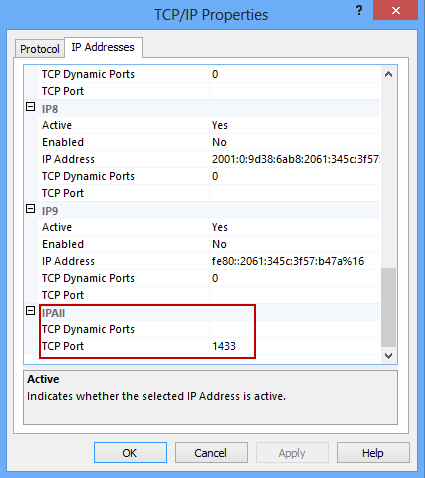
Make sure that TCP/IP protocol is enabled and right click on TCP/IP and select the Properties option. In the TCP/IP Properties dialog select the IP Addresses tab and scroll down to IPAII. If the TCP Dynamic Ports dialog box contains 0, which indicates that the Database Engine is listening on dynamic ports, delete the 0 and set the TCP Dynamic Ports to blank and TCP Port to 1433. Port 1433 is the default instance that SQL Server uses:
When you click the OK button you will be prompted with a message to restart the service:
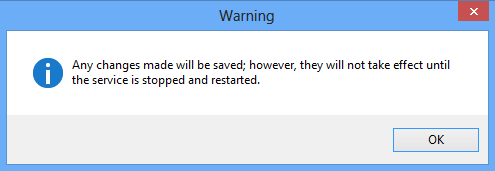
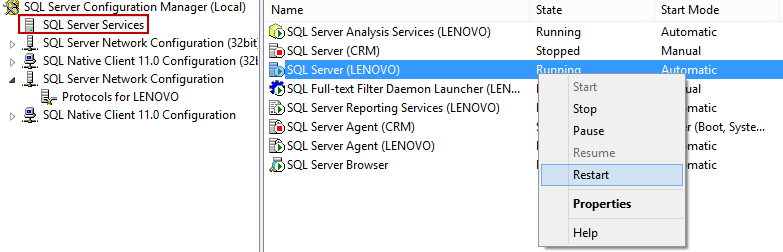
In the left pane of SQL Server Configuration Manager click SQL Server Services, right-click SQL Server<instance_name>, and click Restart:
|
Quick tip: If you’re using firewall you need to add an exception for the 1433 port to allow TCP/IP traffic on Port 1433 |
Configure a Windows Firewall for Database Engine Access
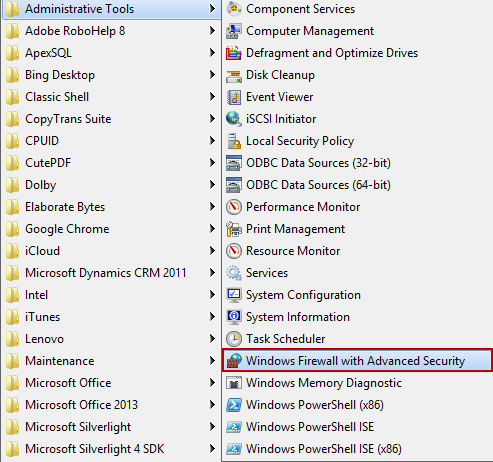
To add a firewall exception for the 1433 port go to Programs -> Administrative Tools select the Windows Firewall with Advanced Security option and follow the steps:
-
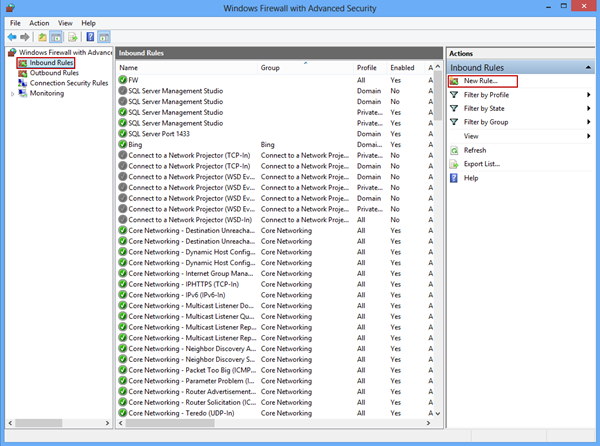
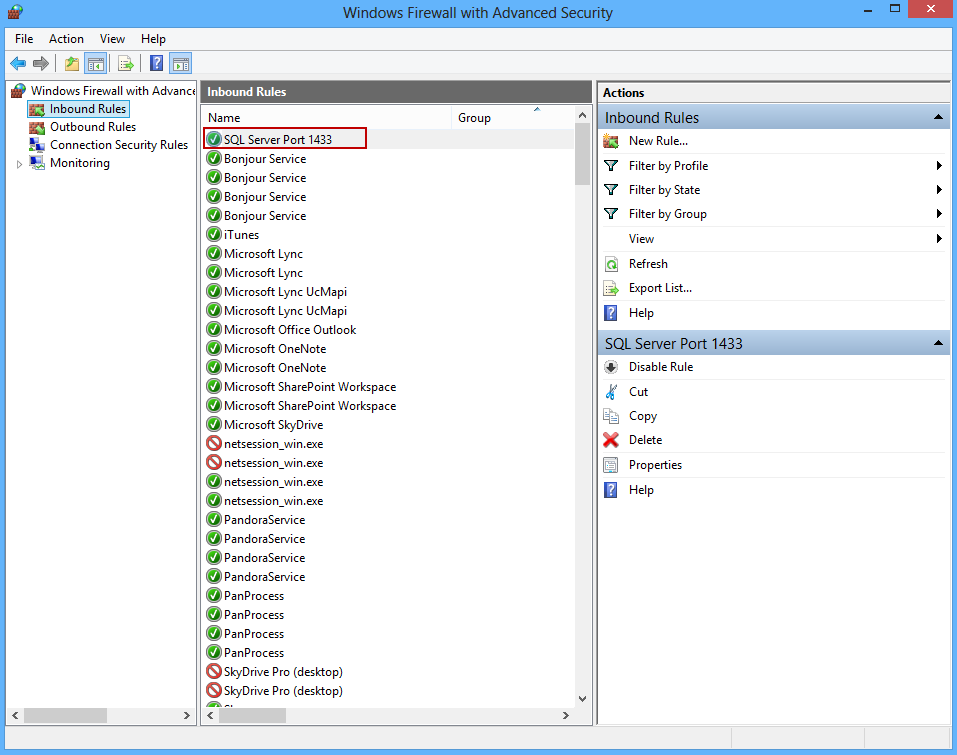
In the Windows Firewall with Advanced Security dialog click on the Inbound Rules option and select the New Rule command:
-
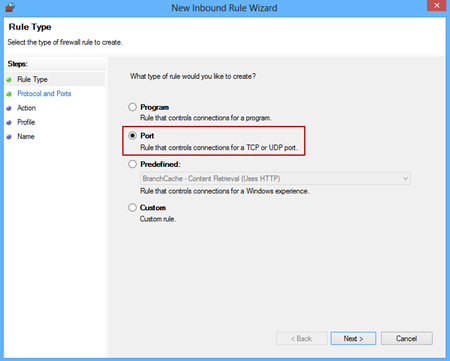
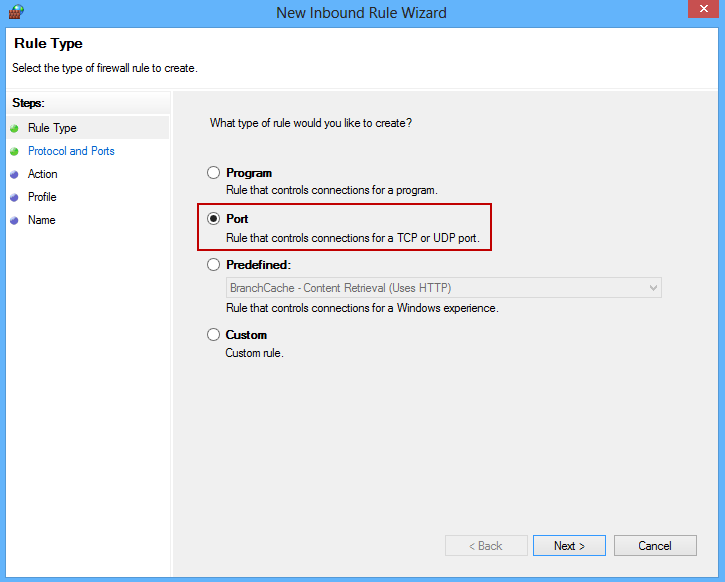
In the New Inbound Rule wizard select the Port option and click Next:
-
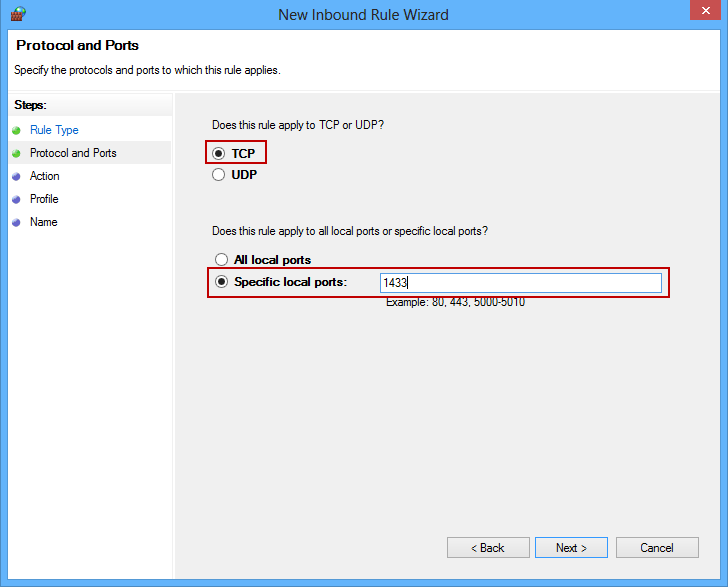
In the Protocols and Ports window specify the protocols and ports to which a rule applies. Select the TCP option, in the Specific local ports text box enter the 1433 port, and click Next:

-
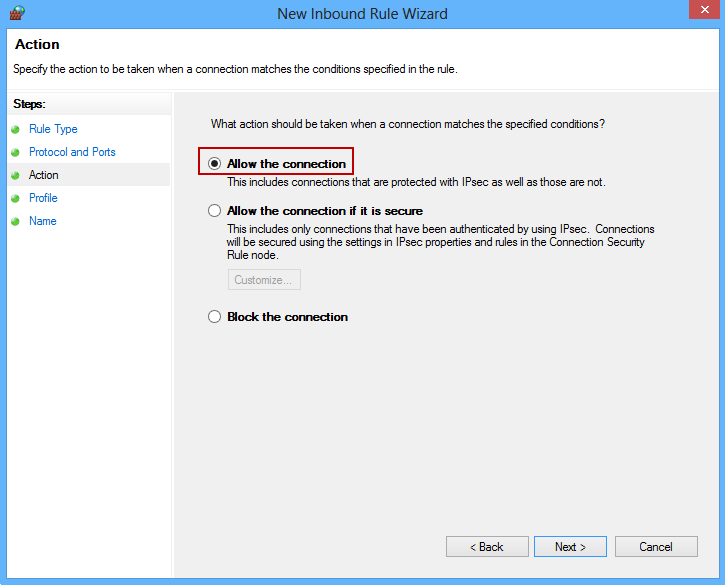
In the Action window select the Allow the connection to specify the action to be taken when a connection matches the conditions specified in the rule:

-
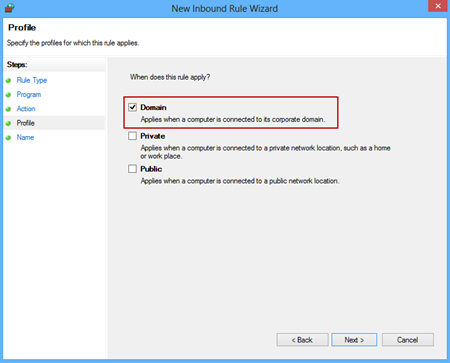
Specify the profiles for which the rule applies in the Profile window, and click Next:
-
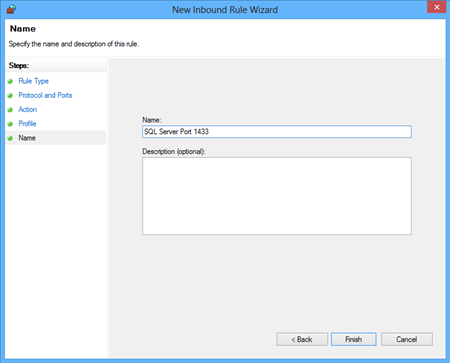
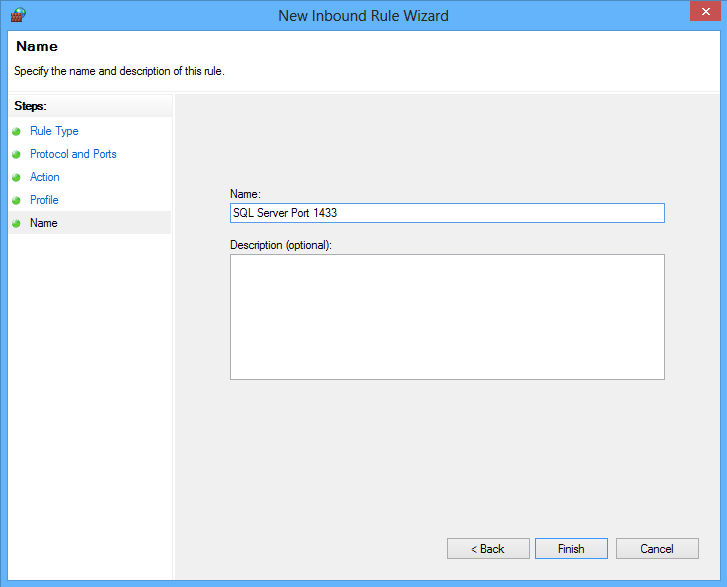
In the last window specify the name of the created rule and click the Finish button:


You can now see the created rule in the list of inbound rules:
Configuring remote access on a named instance of SQL Server
If you using a named instance of SQL Server there are specific things you need to do to allow clients to access the SQL database remotely. As already stated, the default instance that SQL Server listens is port 1433. For a named SQL Server instance, the ports that are used to talk to the SQL Server are by default dynamic.
When a client makes a connection to a named instance of SQL Server, it sends a SQL Server Resolution Protocol (SSRP) UDP packet to the server machine User Datagram Protocol (UDP) port 1434.
To set up remote access to a SQL Server named instance go to Start->Programs->Microsoft SQL Server 2005/2008/2012 ->Configuration Tools and select the SQL Server Configuration Manager.
In the TCP/IP Properties dialog select the IP Addresses tab and scroll down to IPAII. Set the TCP Dynamic Ports to blank and TCP Port to 1434, and restart the SQL Server<server name> service.
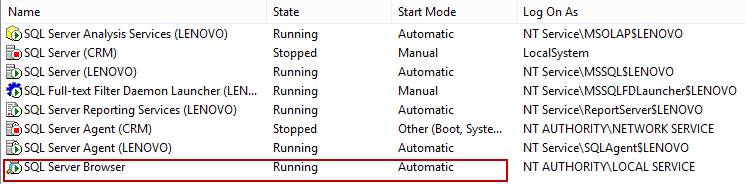
When connecting to a SQL Server named instance SQL Server Browser claims the UDP port 1434. In the SQL Server Configuration Manager make sure that the SQL Server Browser is set to Automatic and Running:
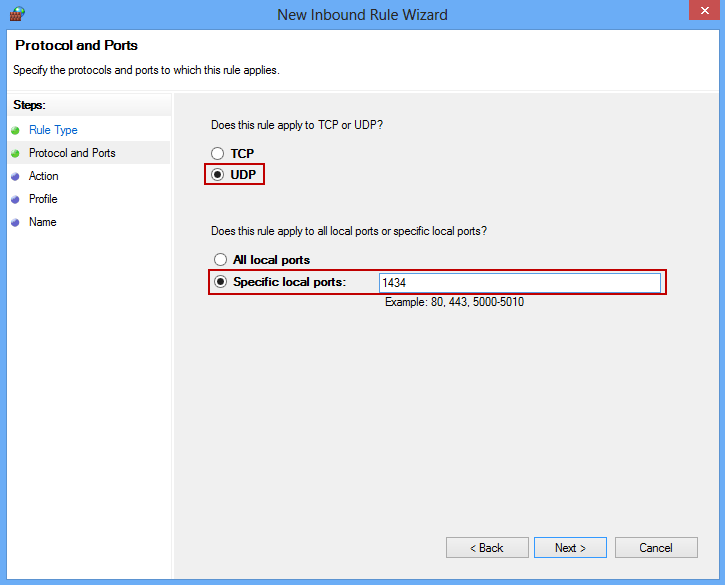
In the Programs -> Administrative Tools -> Windows Firewall with Advanced Security add a firewall exception for the 1434 port and UDP in the Inbound Rules:
Connecting to a remote SQL Server instance with ApexSQL tools
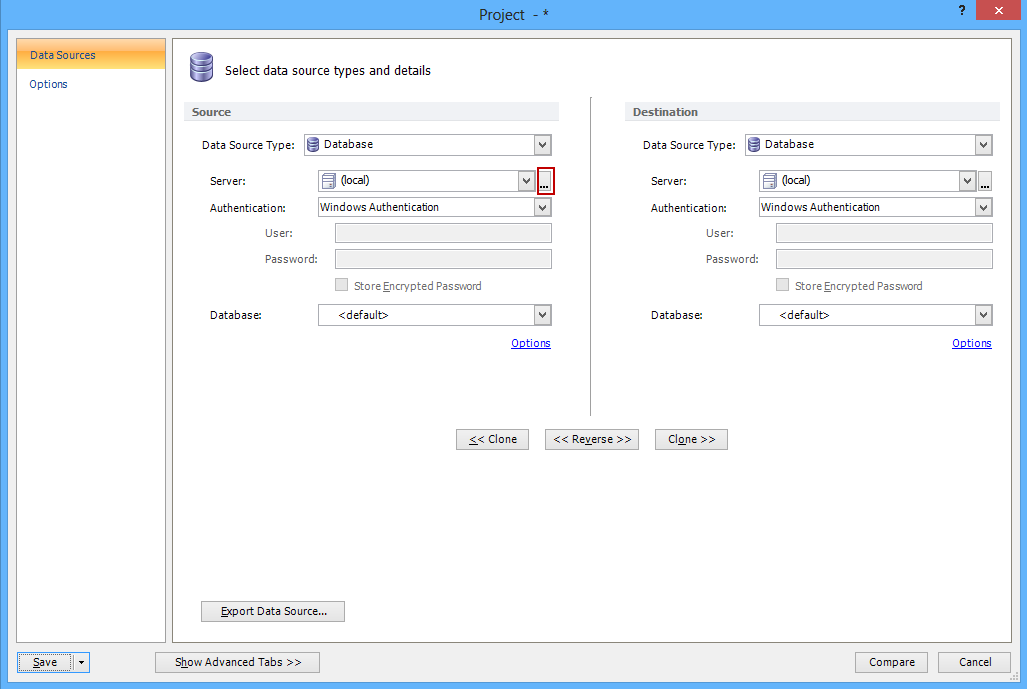
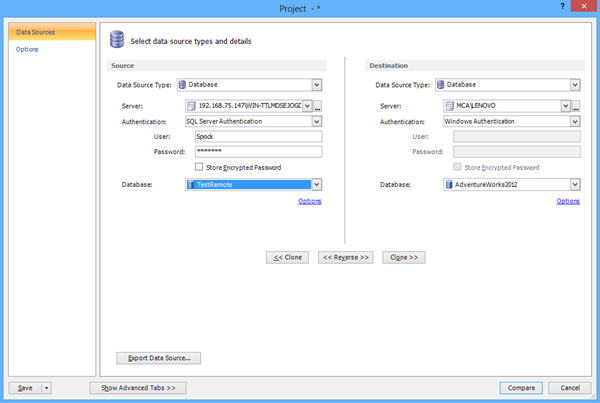
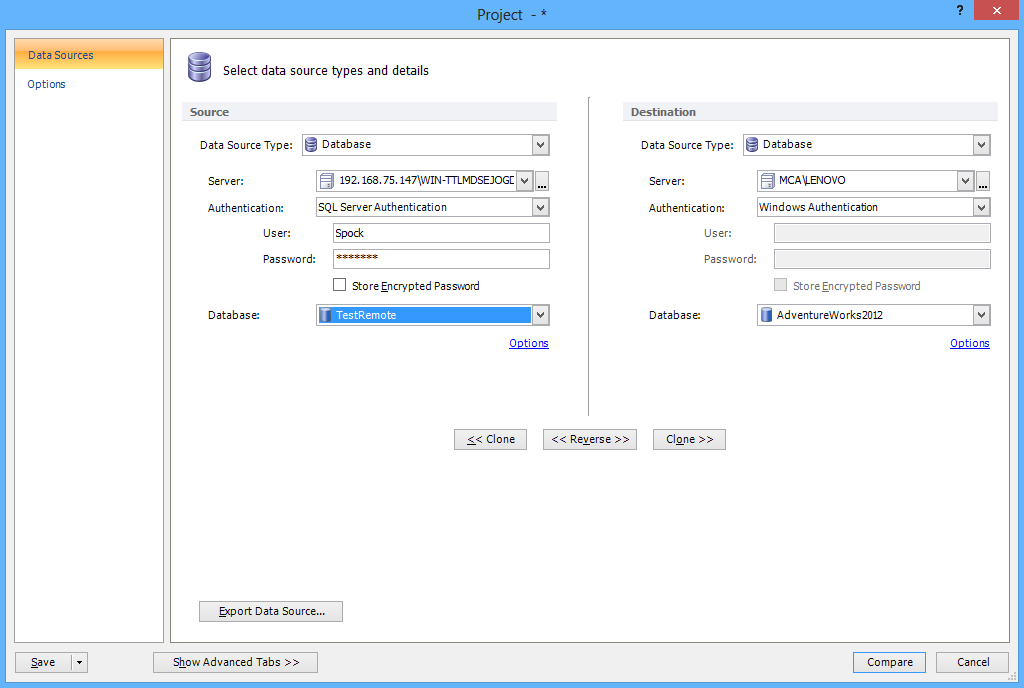
We will show connecting to a remote SQL Server instance in an example of ApexSQL Diff. When the new project is started you need to connect to a source and destination server.
To connect to a remote server open the Server List Manager by clicking on the button “…” next to the Server drop down list:
In the Server List Management dialog click the Add new button:

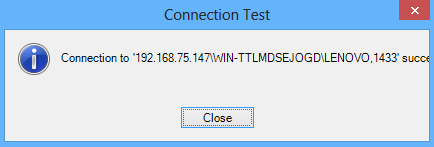
If you’re using the default port 1433 in the Add Server dialog enter the SQL Server instance name in the format: <your ip address>\<server name>,Port. Click the Test connection button:
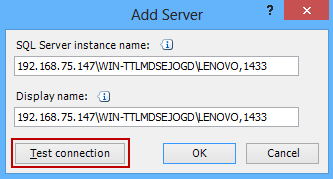
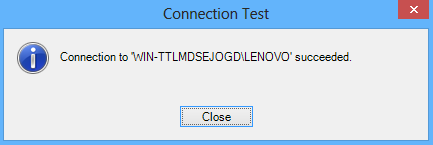
For a SQL Server named instance just type the SQL Server instance name:

Issues with Windows Authentication
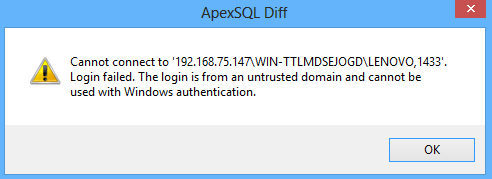
When you try to connect to a remote server using the Windows Authentication you may encounter the following error:
|
Quick tip: There are a few workarounds for this issue:
|
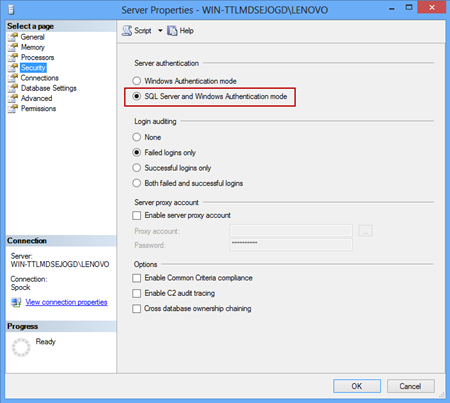
We will show the tip to resolve this issue by using the SQL Server Authentication to login to the server:
-
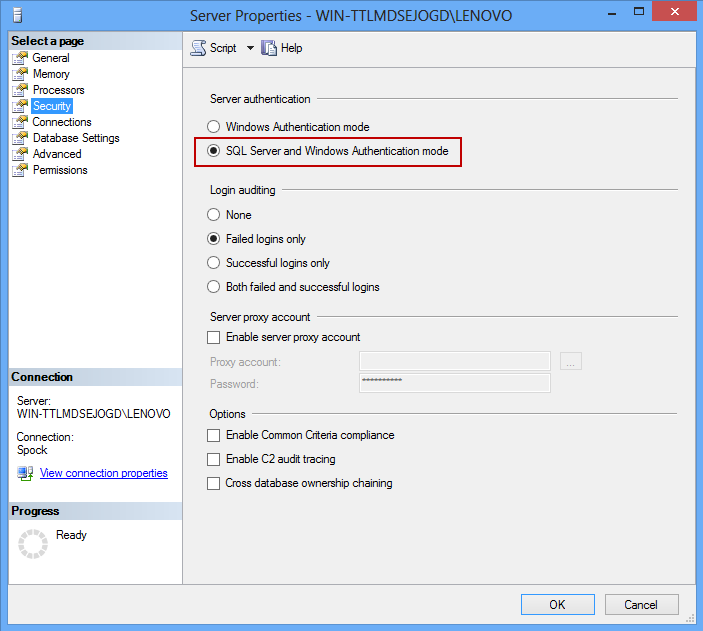
In the server properties under the Security tab set the Server authentication to SQL Server and Windows Authentication mode
-
Create a new login:
CREATE LOGIN YourLogin WITH PASSWORD='yourpass'
GO
ALTER LOGIN sa WITH PASSWORD='yourpass',
CHECK_POLICY=OFF
GO
ALTER LOGIN sa ENABLE
GO
-
Grant the needed rights to the created user to access the database and to use ApexSQL tool. In this example for ApexSQL Diff the minimum permissions required are:
For both source and destination databases:
- Public role membership
- CONNECT and VIEW DEFINITION rights
For a destination database:
-
CONTROL has to be granted to execute the synchronization script
Useful resources:
How to: Configure a Server to Listen on a Specific TCP Port (SQL Server Configuration Manager)
Configure the Windows Firewall to Allow SQL Server Access
SQL Network Interfaces, error: 26 – Error Locating Server/Instance Specified


