


Applies to
ApexSQL Monitor, ApexSQL BI Monitor, ApexSQL VM Monitor
Summary
This article describes how to install ApexSQL monitoring tools and all their components.
Description
Permissions and requirements
All ApexSQL monitoring tools require Windows administrator permissions and SQL Server CREATE ANY DATABASE permission for installation.
Configuration
In the Configuration step, provide credentials sufficient to create a database on the selected local SQL Server instance.

If repository database name should be changed or repository database data files should be stored on a drive different than the default SQL Server drive:
-
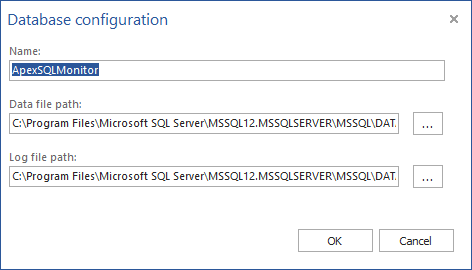
Press the Change button to open the Database configuration dialog
-
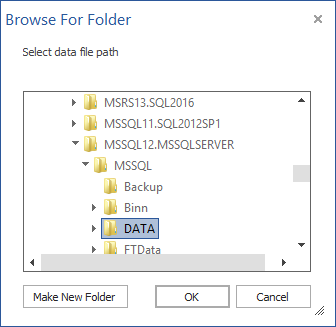
Optionally, type the new repository database name in the Name field if a new name should be used and/or select the new paths for the Data file and Log file by clicking on the “…” buttons
-
Select new paths for Data file and Log file and press OK
Web server configuration
The Web server configuration dialog allows configuring the regular http web server as well as the secure https web server. By default, the HTTP web server is selected
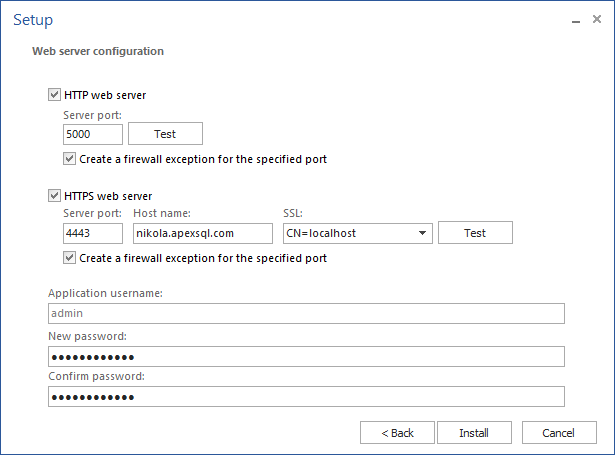
Default HTTP server port for ApexSQL Monitor is 5000. ApexSQL BI Monitor uses port 5005 and ApexSQL VM Monitor port 5010. These port numbers can be changed according to specific needs. If left selected, the Create firewall exception for the specified port option will create a new inbound TCP firewall rule to allow communication through the specified port number.
To use HTTPS web server, select the checkbox that will display the secure web server configuration
- Default HTTPS server port for ApexSQL Monitor is 4443, while ApexSQL BI Monitor and ApexSQL VM Monitor use ports 4444 and 4445, respectively. The same as HTTP server ports, these port numbers can be changed as well
- Enter the name of the host server that will be used for the HTTPS access, i.e. nikola.apexsql.com
- Select the available SSL certificate from the SSL dropdown menu. Installer will browse and list all available certificates. If no certificates are listed, please install the CA certificate and then try again
- Use Test button to confirm that HTTPS web server is configured properly
Finally, enter the password for the built-in admin used. This is the required step.
Press the install button to complete the installation. Afterwards, the application will be able to successfully collect and store the metrics
Installation FAQs
Q: Which permissions are required for the windows account provided in the configuration step?
A: The account must have CREATE ANY DATABASE permissions
Q: Are there any other permissions required for installing ApexSQL monitoring tools?
A: The account provided in the configuration step must have the Windoes Log on as a service permission in order to run the monitoring tool’s service and collect data.
To learn more details about required permissions, see the Permissions and requirements articles for ApexSQL Monitor, ApexSQL BI Monitor or ApexSQL VM Monitor.
Q: How can I add the Log on as a service right permission to my account?
A: If the account doesn’t have this right, use to following steps to add it:
- Click Start | Run, or Ctrl+R in Windows 8
- Type secpol.msc
The Local Security Policy window is opened - Expand the Local Policies
- Double-click User Rights Assignment
- In the right pane, find Log on as a service and double-click it
The properties dialog will be opened - Click Add User or Group and add Windows account
- Click OK


