Applies to
Summary
This article explains how to insert data into SQL table using the Create new table feature.
Description
Along with the basic functionality to insert data into existing SQL tables the application has the capability to use the structure from an existing SQL table, create new one in a SQL database and then insert the desired data into it.
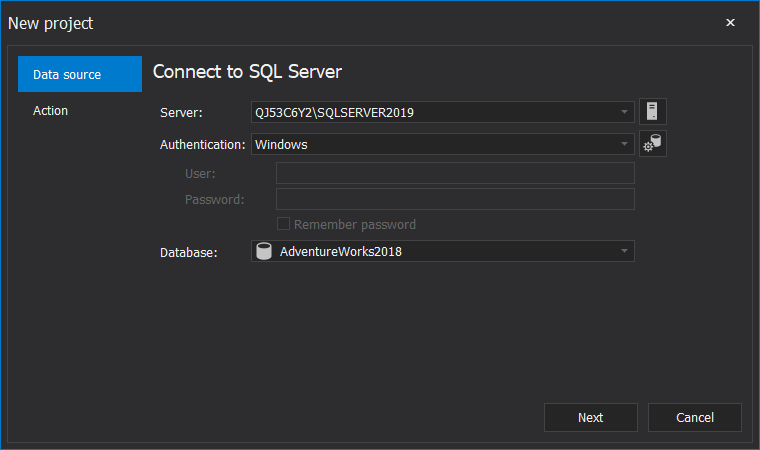
To start with the process, the first step upon starting the application is to set the SQL Server, type of the Authentication and the SQL database in the New project window. For this example will be used SQL Server 2019, Windows authentication type and the AdventureWorks2018 database:
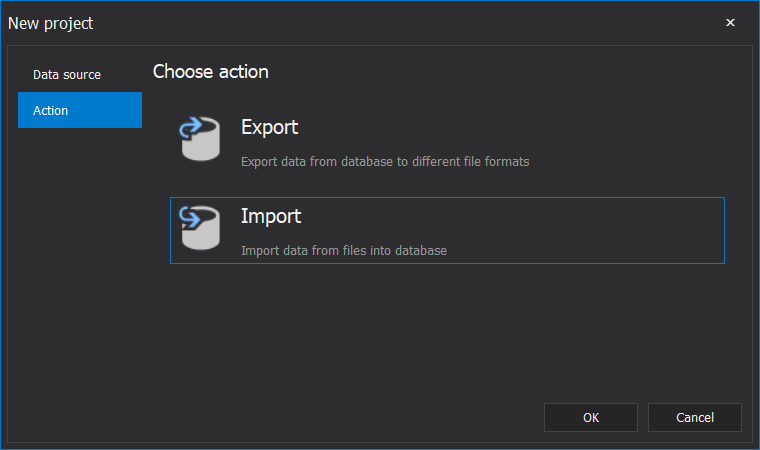
Clicking on the Next button the Action tab will be shown which is the second step to do to be able to insert data into SQL table. Here the Import mode should be selected and clicked on the OK button:
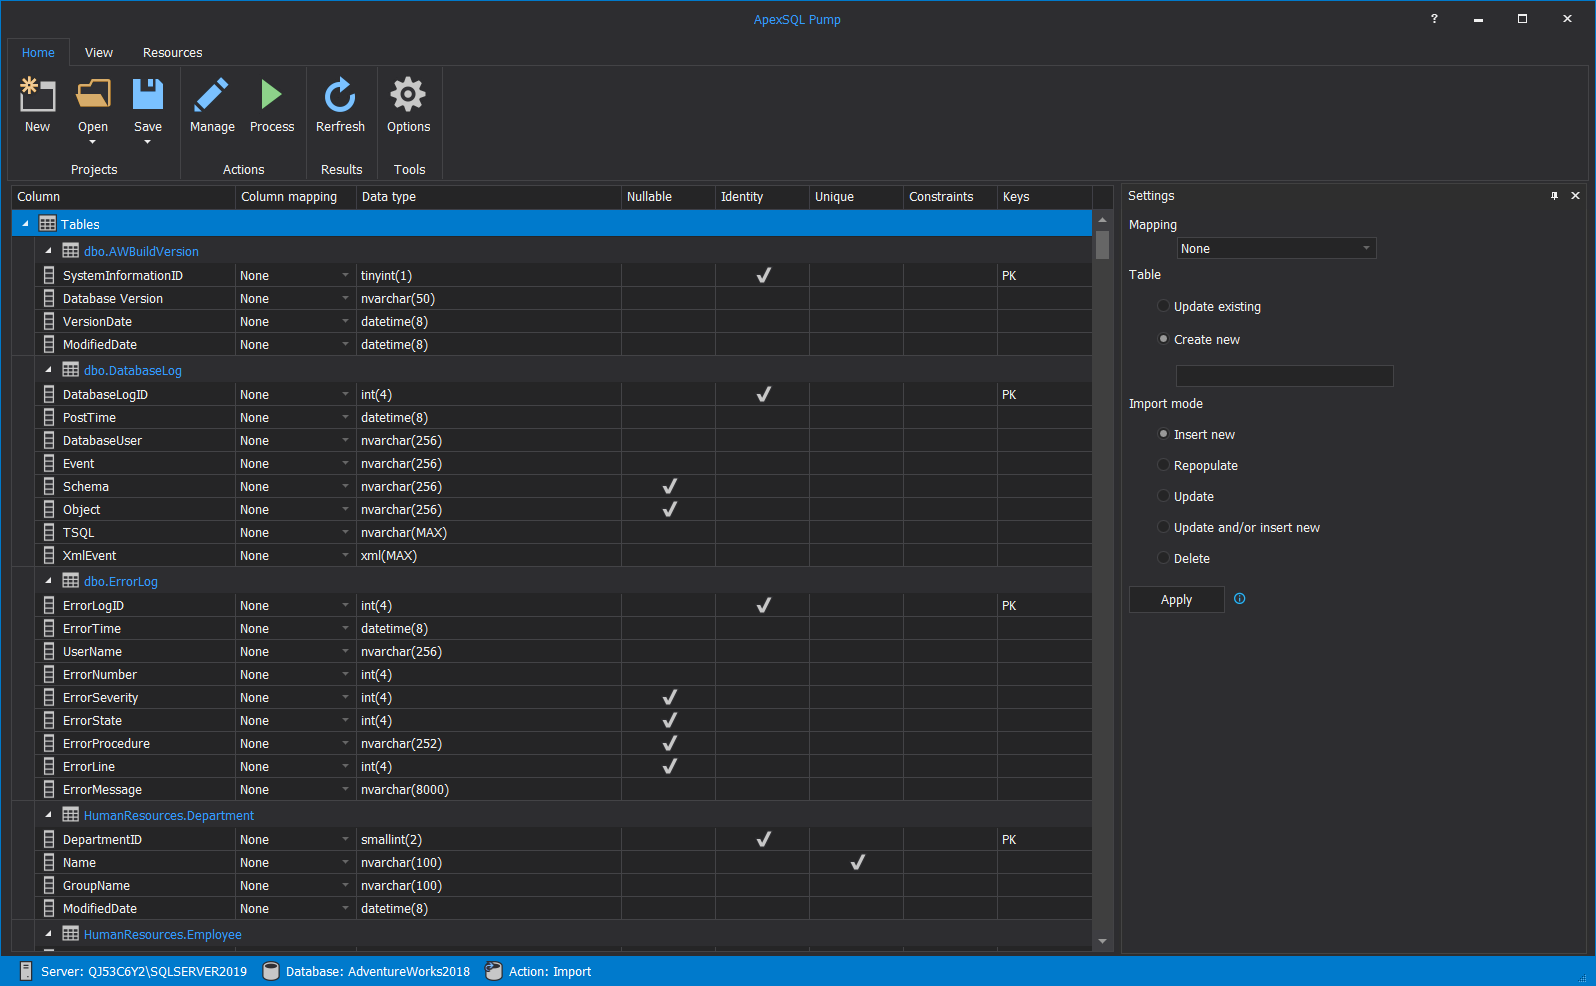
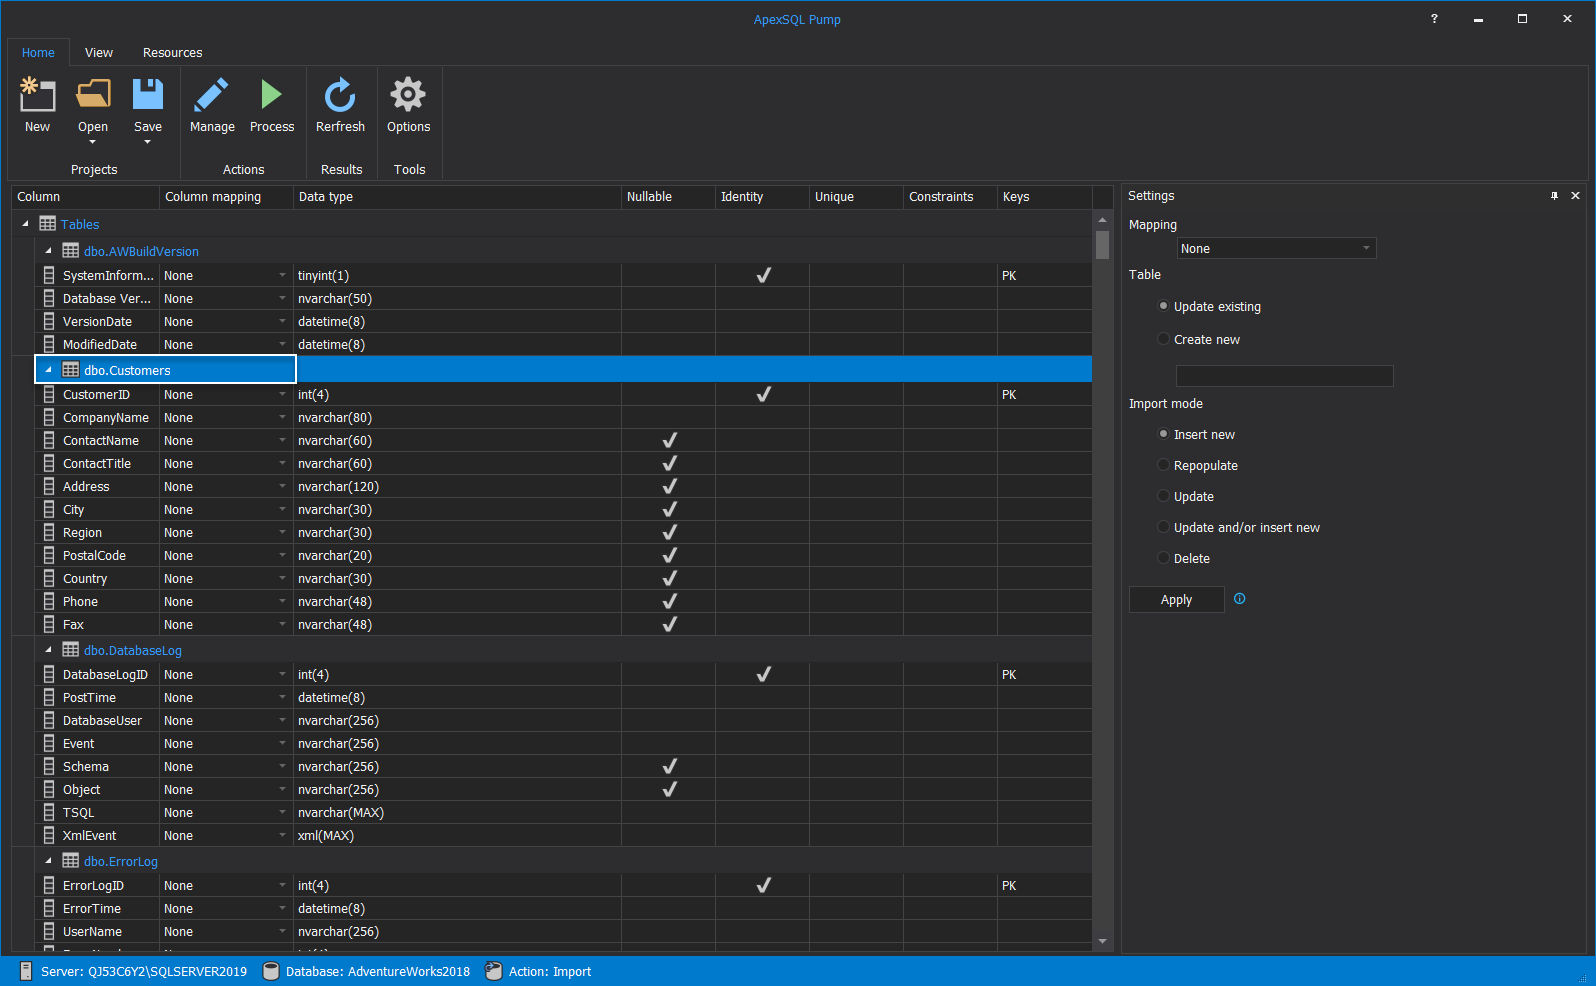
Once these initial steps are done the AdventureWorks2018 database will be loaded into the main grid with the default settings:
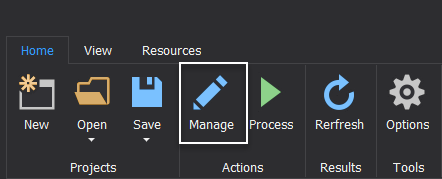
To import and insert data into SQL table that will be created later, the following steps should be taken. Click the Manage button from the Home tab and the Manage import window will be opened:
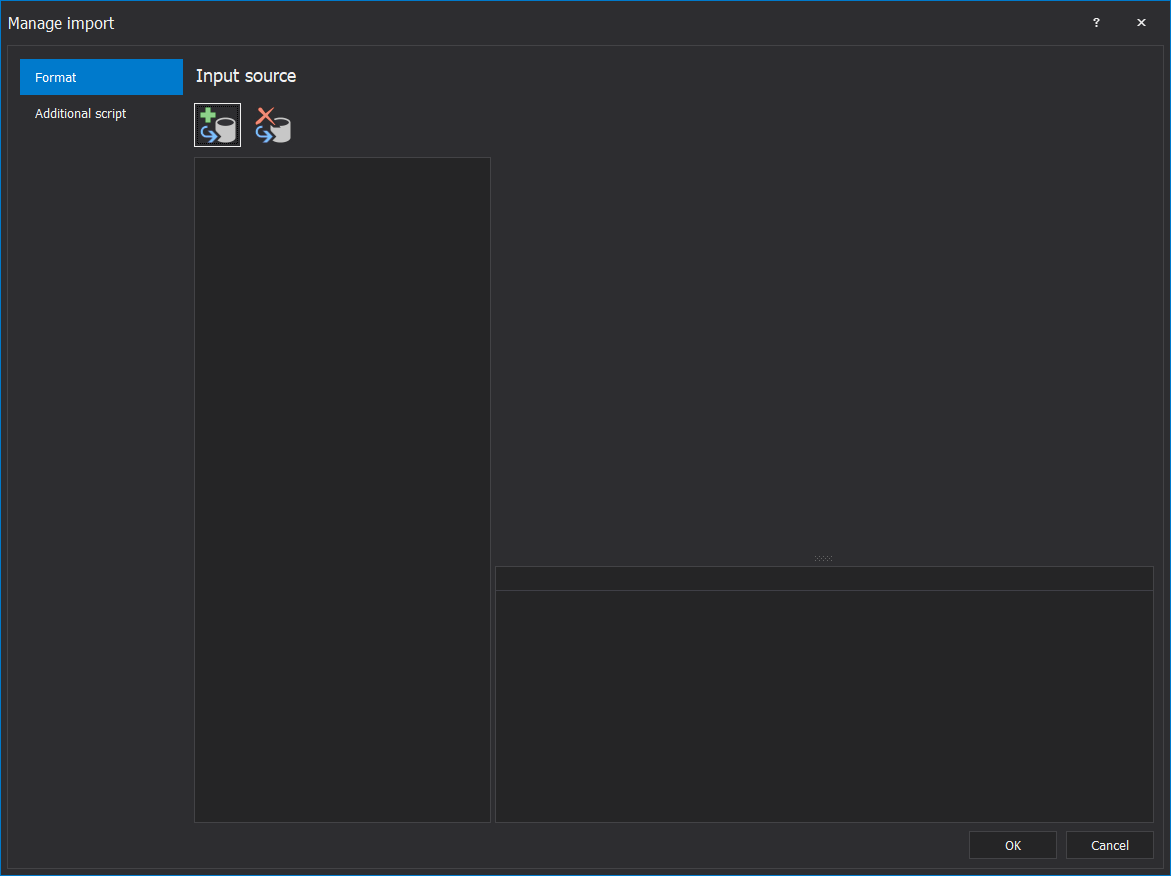
Under that window click the  button to choose the data source. There are two options for data sources, Database and File. For this example the File data source will be used:
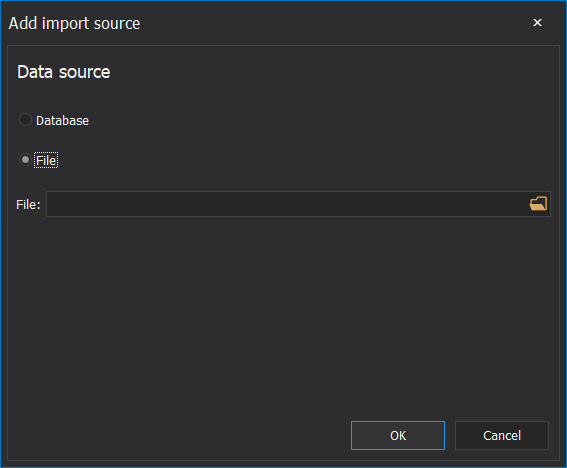
Click the browse button and navigate to the file which will be used to insert data into SQL table, select it and then click the Open button. In this example the Excel file dbo.NewListCustomers will be used:

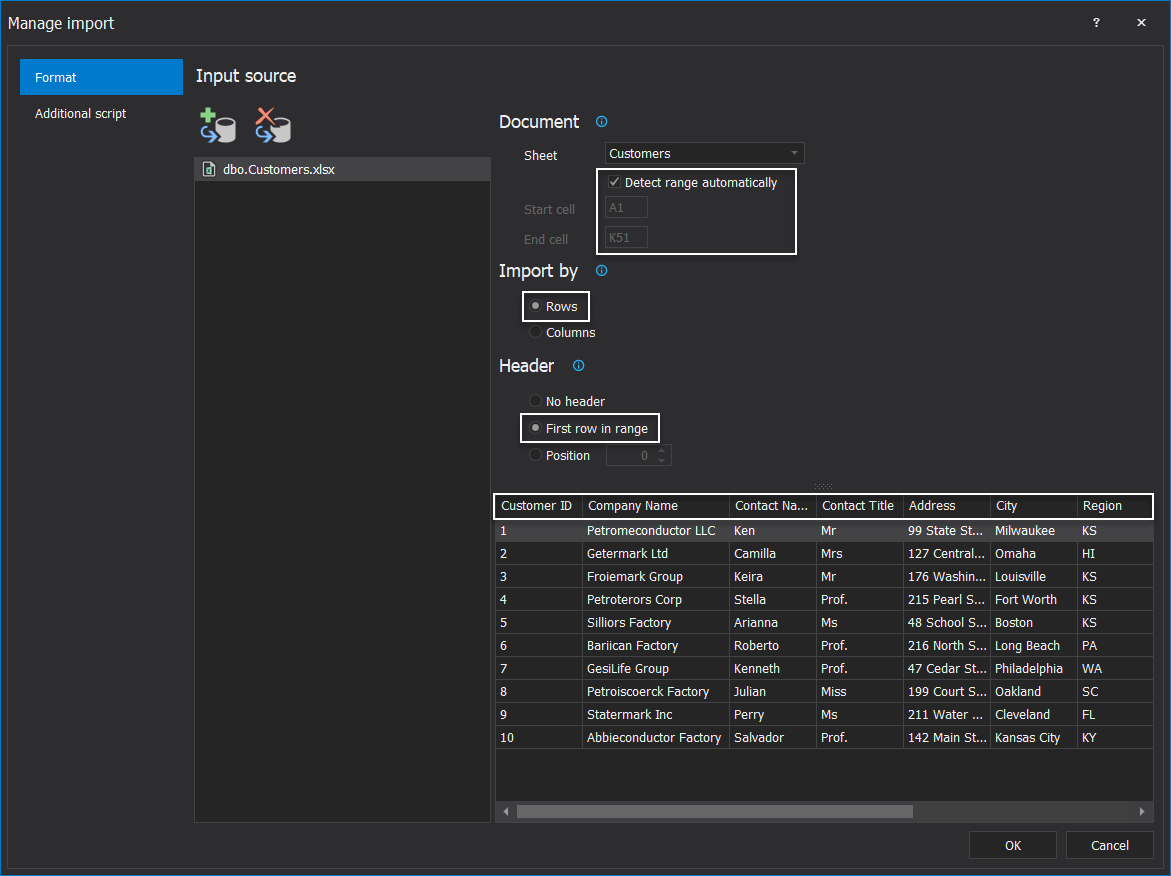
After that the view will go back to the previous window and by clicking OK button the Excel data will be shown into the Manage import window. For the options the Detect range automatically will be used which will automatically detect the whole range of data in the dbo.NewListCustomers.xlxs Excel file, in this example the data in the file is from the A1 to the K51. Then Import by rows mode will be used and for the Header, the First row in range selected to include the column names when the new table is created and data inserted:
When the source data is set, click the OK button in the bottom right of the Manage import window and the view will go back to the main grid of the application. The next step to set up and insert data into SQL table is to choose the SQL table with the structure which will be used in the new SQL table. In the new SQL table the columnsCustomer ID, Company Name, Contact Name and City will be used. In this example structure with such SQL table already exist in the SQL database named dbo.Customers and this SQL table is be used as template for the new one:
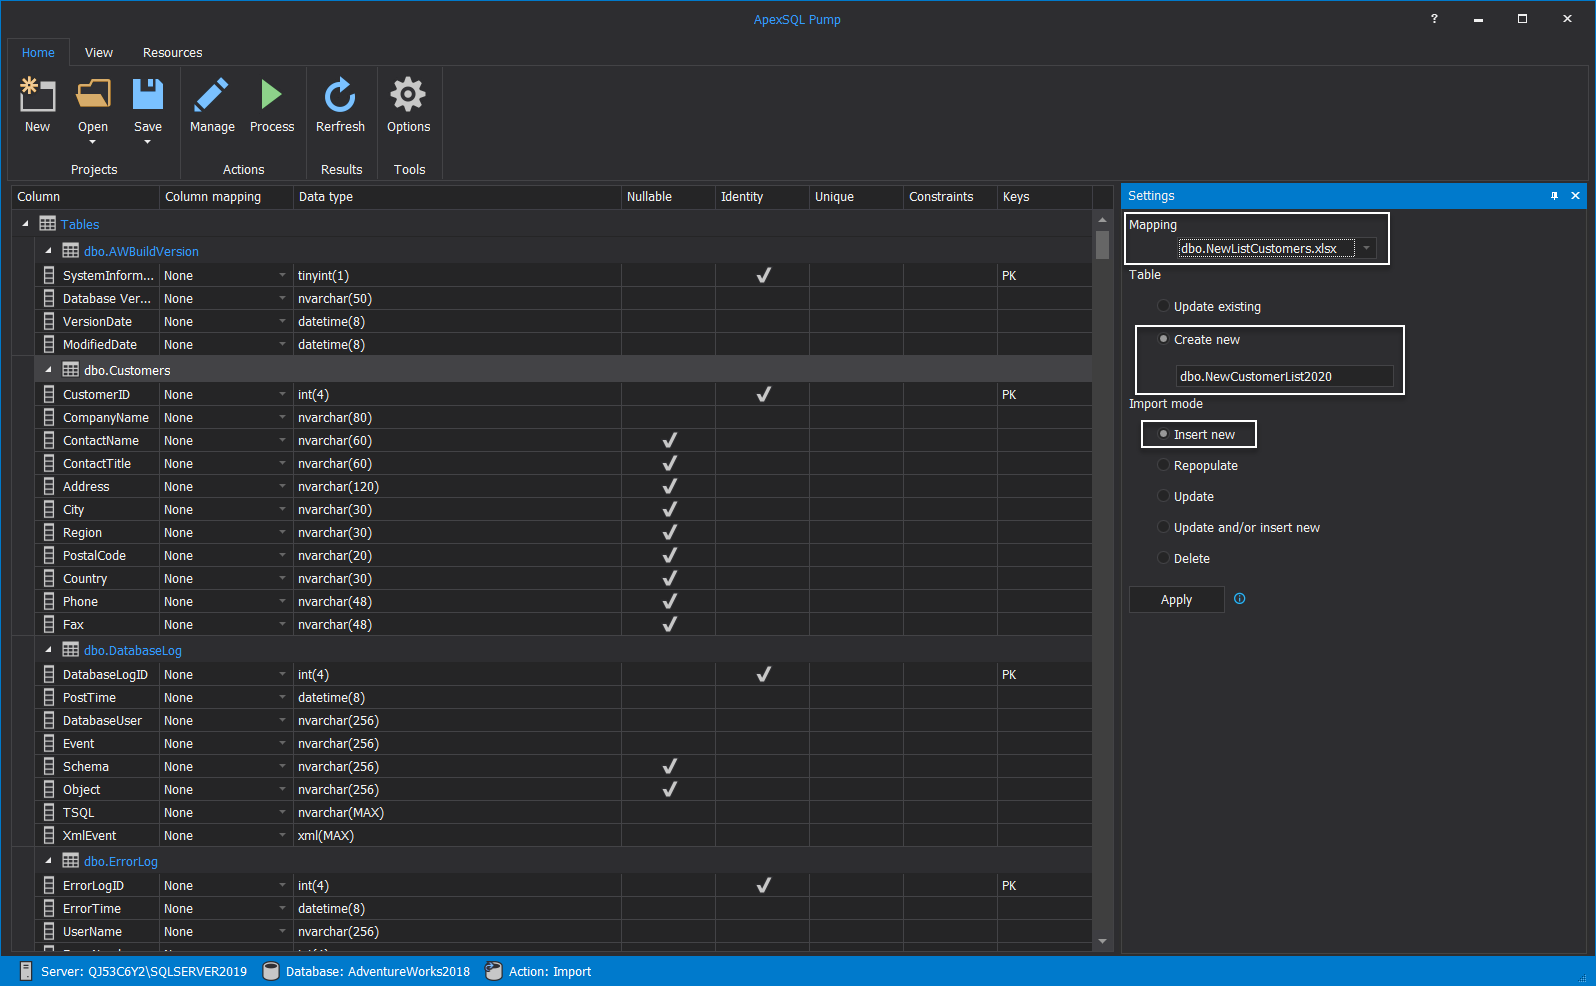
Click the Settings panel on the right side and from the Mapping drop down menu select the dbo.NewListCustomers.xlxs Excel file which will be used to import the new list of the data for the new SQL table. Under the Table select the Create new option and enter the name for the new table, in this case SQL table will be named dbo.NewCustomerList2020 and for Import mode leave the default option Insert new:
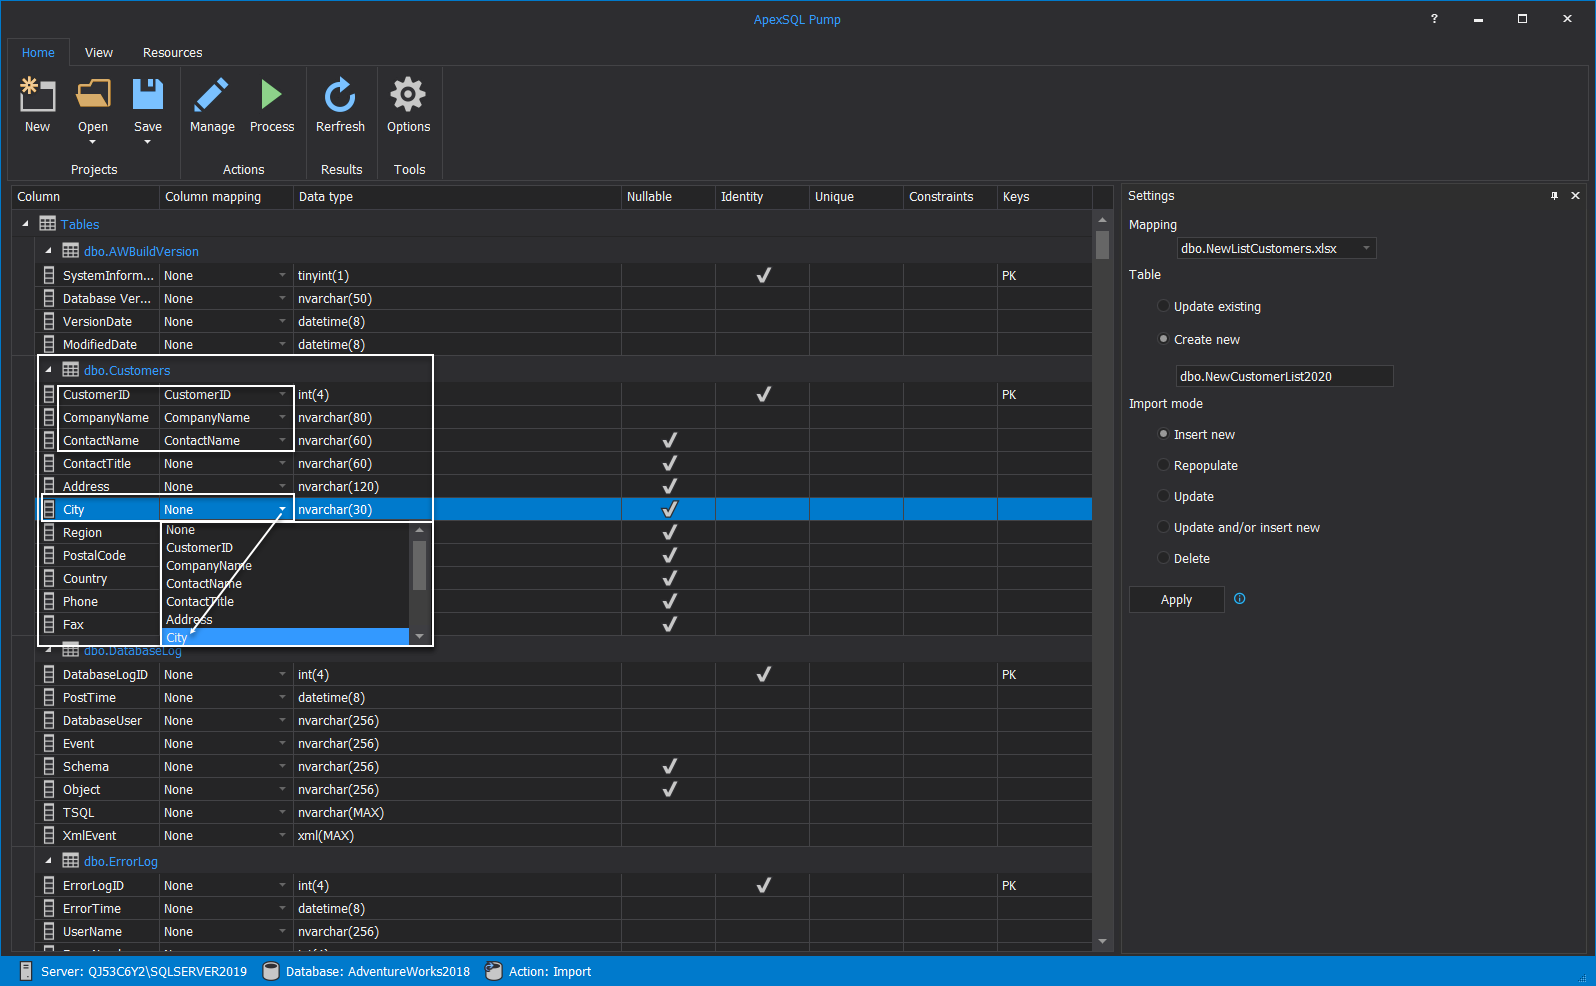
The last step before starting the import process is to map the columns in the main grid, as mentioned, in this case the columns Customer ID, Company Name, Contact Name and City will be used. For every column click on the drop down menu and select the matching column name:
When everything is set start the process by clicking the Process button from the Home tab:
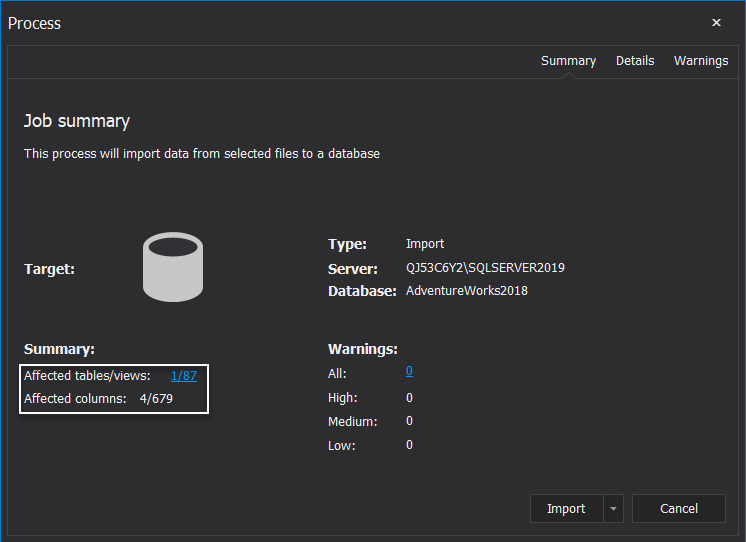
It will show the Process window with affected tables and columns, in this case one SQL table will be affected and 4 columns (Customer ID, Company Name, Contact Name and City):
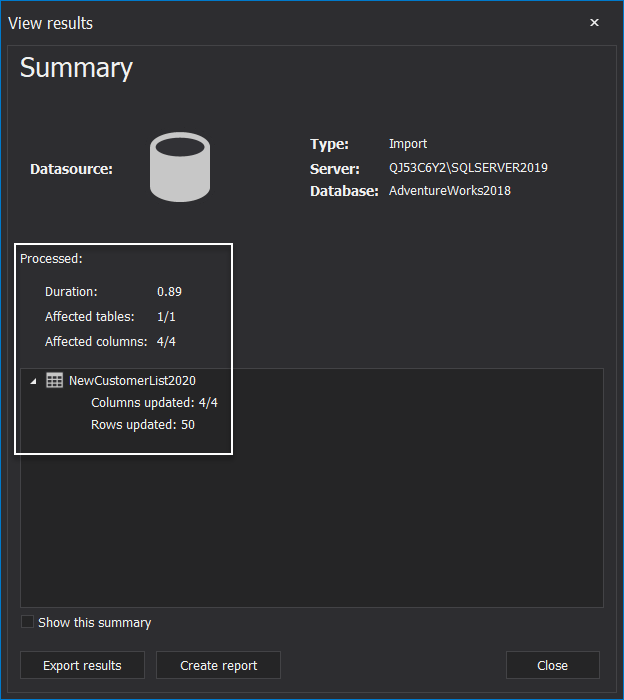
Click the Import button to execute the process and when it is finished it will show the results in the View results window. For this example successfully is created new NewCustomerList2020 SQL table with inserted data into 4 new columns:
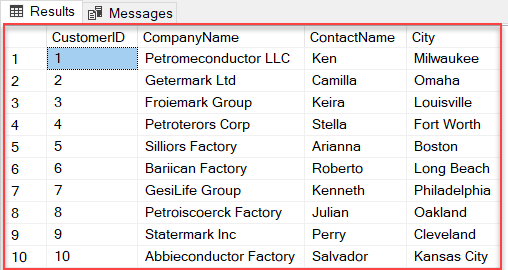
To see that data from the Excel file is properly inserted, the SELECT TOP query will be run in the SSMS and results will be shown which prove that exact defined 4 columns are mapped and the new SQL table is created: