


Applies to
ApexSQL Audit
Summary
This article provides information about the Auditing instance of ApexSQL Audit, how to install it in order to audit remote SQL Server instances, and how to add remote SQL Server instance for auditing in the main ApexSQL Audit application.
Description
Installation of the ApexSQL Audit components required for auditing remote SQL Servers is done automatically by default when the instance is added for auditing. However, it is possible that the installation fails due to tight network constrictions and in that case, the process should be performed manually.
Auditing instance
The Auditing instance is a Windows service that collects SQL Server trace data. It doesn’t use any UI on the audited SQL Server instance, as all auditing configuration is done on the central machine where the main application is installed. Captured audit data is simply packaged and sent to the central repository database.
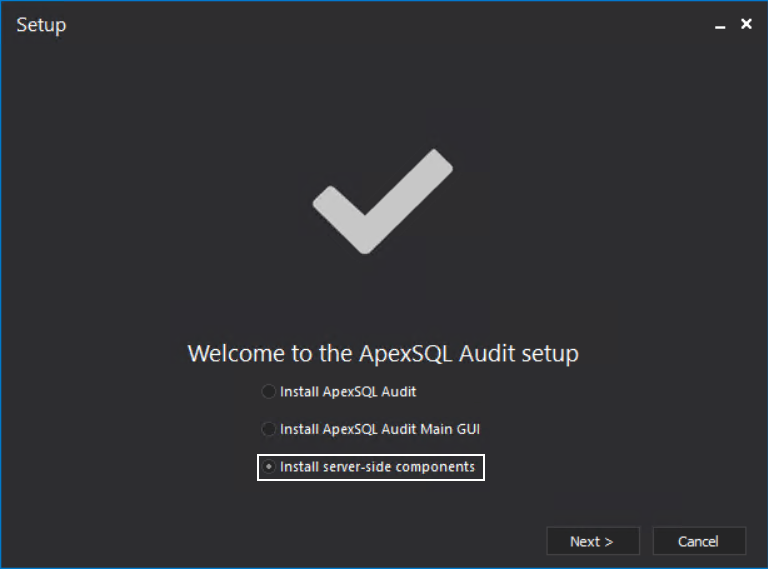
To audit a remote SQL Server instance, the server-side components must be installed locally on the server machine that hosts the SQL Server instance. To do that:
- Start ApexSQL Audit installation
- Follow the on-screen instructions up to the Install server-side components
Once installed, the Auditing instance service will be listed in the Windows Services applet.

Adding a remote SQL Server instance to ApexSQL Audit GUI
After the Auditing instance is installed on the remote server that hosts SQL Server instances you want to audit, they can be added to ApexSQL Audit GUI. To do that:
-
Start ApexSQL Audit.
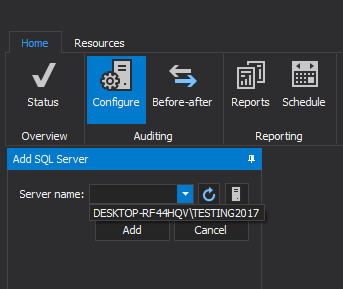
Click Add server to open the Add SQL Server options
-
From the drop-down menu select the remote instance or type the name of the instance itself. Select the desired SQL Server instance to be audited and click Add:
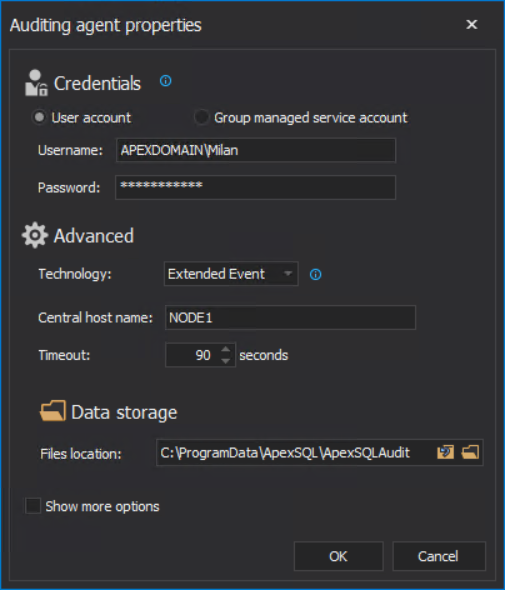
-
Once instance is added, ApexSQL Audit will check for the server-side components and afterwards you will be asked to provide Windows administrative credentials:
Useful link


