


Applies to
ApexSQL Recover
Summary
This article explains how to use the ‘From DROP TABLE’ operation option in ApexSQL Recover, in order to recover data lost due to a malicious or accidental DROP TABLE operation.
Description
In case of lost data due to a DROP TABLE operation scenario:
- If possible, take the database offline, or set it to the read-only state, and copy the data and transaction log files to a safe location. Because post incident activities can overwrite information necessary for lost data recovery this is highly recommended. You can bring it back online after copying the data and or log files. If you cannot do this, the information necessary for recovery may be overwritten and recovery success rate reduced.
- Attach the copies of the database and transaction log file as a new database.
-
Perform the recovery process against the newly attached database copy.
- Launch ApexSQL Recover.
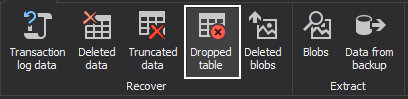
- Select the Data Recovery from a DROP TABLE operation.
- Provide database connection parameters (the SQL Server instance name, authentication type, and the name of the database the table was deleted from), and select from:
- Help me decide
- Add transaction log, and
-
No additional transaction logs are available
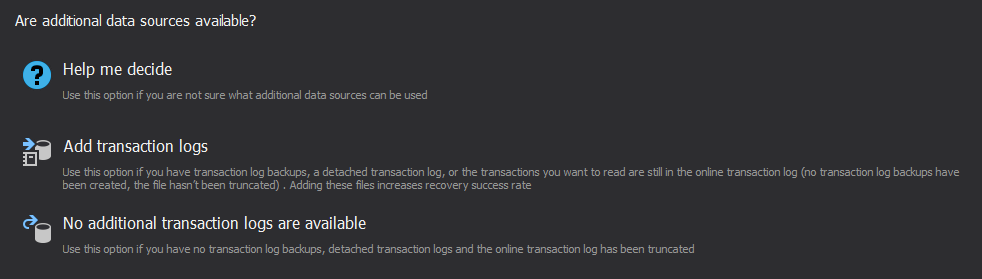
The first option ‘Help me decide’ opens a wizard which will ask a series of questions and suggest which option would be the best fit for your scenario.
The second option, ‘Add transaction logs’, is faster, than the ‘no transaction log backups are added’. In this case, the user is prompted to provide (besides the database online transaction log offered by default) additional resources which ApexSQL Recover can scrape in order to restore the dropped table. The additional data sources can be transaction log backups and/or detached transactional logs. The additional data sources are scraped for metadata. This way, there is no double-scraping of the online data files (metadata and actual data, respectively).
The third option, “No additional data sources available”, is simpler, since no additional resources can be added, or a time filter set, it relies purely on analyzing online data files. In this scenario, the transaction log isn’t used at all, and both the actual data and the metadata are recovered from the online data files.
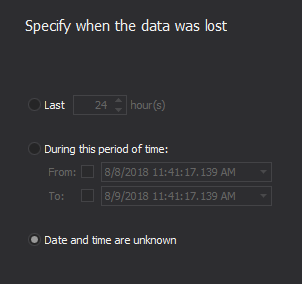
Depending on the option selected, the next step is the time filter that again significantly reduces the processing time. ApexSQL Recover will analyze only the transactions committed during the specified time-range, ignoring all others.
- Specify a recovery action: you can either save a recovery SQL script or recover the dropped table and its data to a new SQL Server database directly.
If a table has been dropped multiple times (tables with the same name have been dropped), ApexSQL Recover will recover all of them. For example, let’s say that you’ve dropped a table named “Person”. Then, you’ve created a new table, also named “Person”, which gets dropped as well. When you run the recovery process, the tool will identify and re-create both tables. However, in order to distinguish between them, the original table ID will be appended to the name of the newer table.
Last updated:
8/9/2018


