Applies to
Summary
In this article, it will be explained how to document chosen database objects using the MySQL database documentation tool.
Description
When it is necessary to share information between developers, and some developers do not have permission to access certain objects from the database, ApexSQL Doc for MySQL provides the possibility of documenting targeted database objects from an account that has access and then the documentation can be shared later on with developers which do not have permissions.
This way required time for generating and reading the documentation will be significantly shorter since the documentation will contain only the desired information.
In this article, it will be described how to document only desired database objects. Let’s say that we have a use case that requires address, addresstype, and contact tables from the adventureworks and customer, city, and film tables from the sakila databases to be documented.
The whole process will be explained in the steps below:
-
The first step is to establish a connection to the server. This can be done in two ways; the first way is to click on the Add database button from the Home tab in the Actions section and the second way is to click on the Add button from the middle of the main window. In both ways the same connection dialog window will appear:
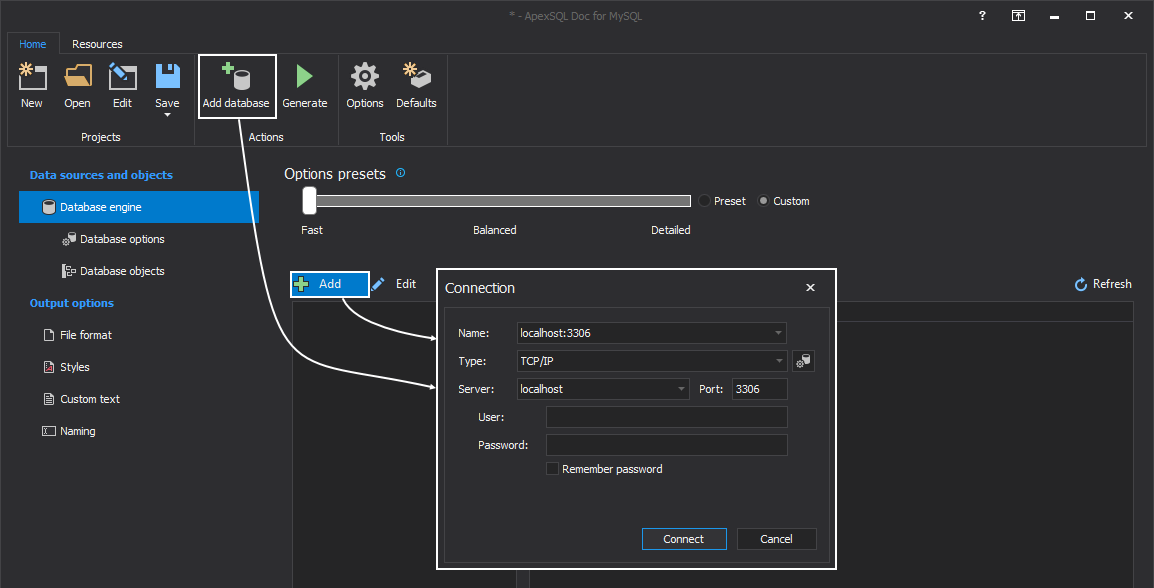
-
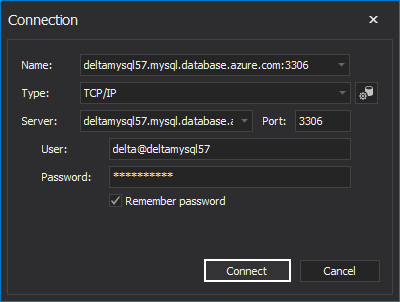
In the Connection window, the following text boxes need to be filled with the required information before the Connect button is clicked:
- Name of the connection
- Select Type of the connection
- Server name
- Port number
- User and Password
When the connection to the server is established, the name of the server will be shown in the middle of the main window. On the right side of the MySQL database documentation tool window, a list of all databases from the selected server is shown:
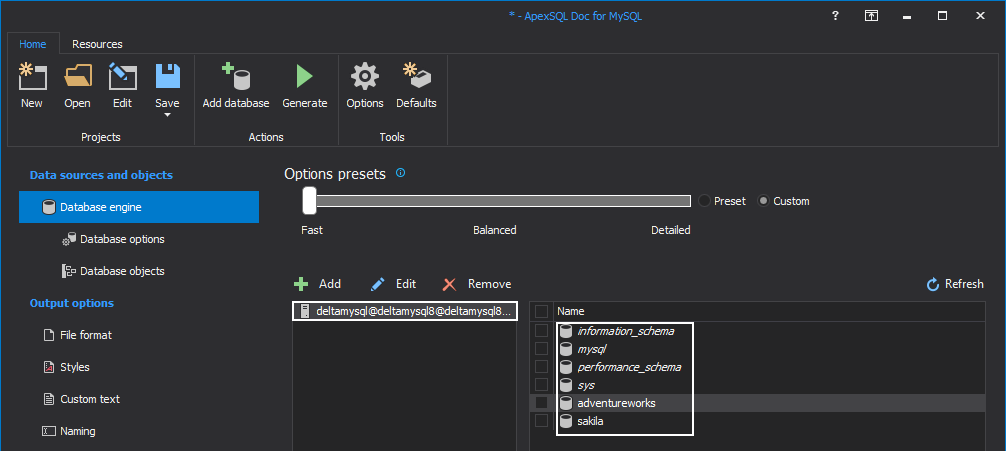
- Note: ApexSQL Doc for MySQL supports multiple connections with MySQL servers
-
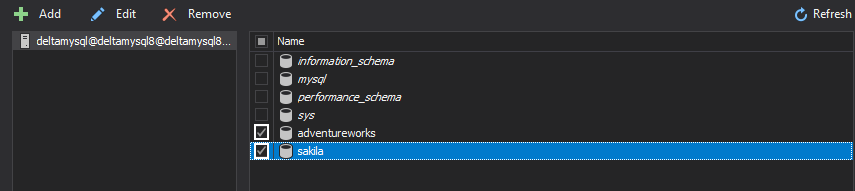
Now, let’s select the checkboxes for the desired databases from the list, in this example, it will be adventureworks and sakila as shown below:
-
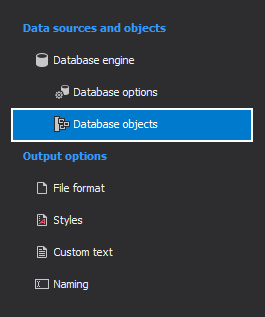
When databases are selected, click on the Database objects tab under the Data sources and objects panel:
-
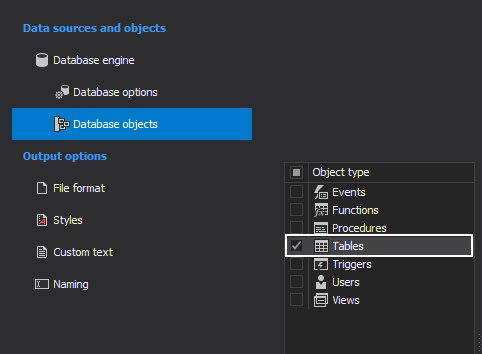
All database objects available for the documentation will be listed in the middle of the window. In this example, only Tables will be checked and included in the documentation:
-
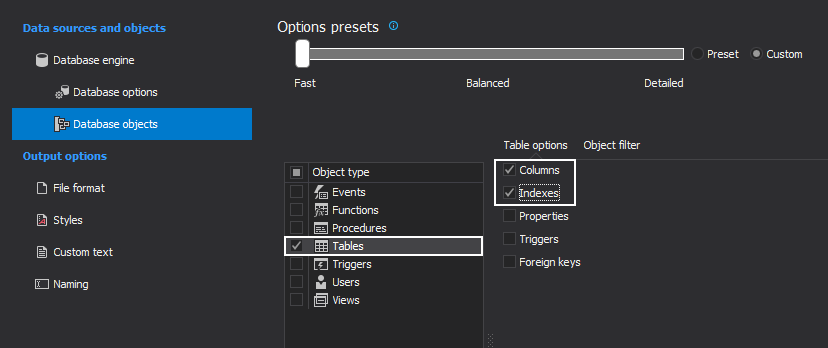
When the desired database objects are checked, from the Table options grid on the right, the developer can check/uncheck which table options should be included in the documentation. In this example, Columns and Indexes will be checked:
-
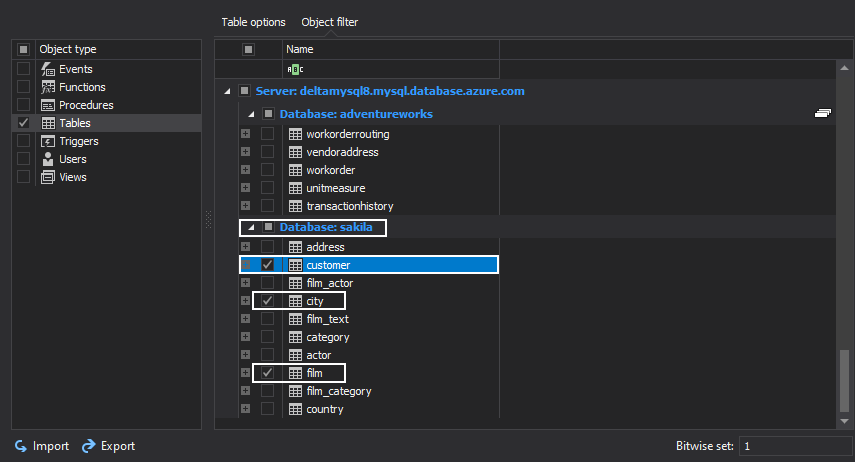
The next step is to click on the Object filter grid. All tables from the selected databases will be listed in the grid below. Here, the users can check/uncheck desired tables from different databases. In this example, the address, addrestype, and contact tables will be checked from the adventureworks database:

And from the sakila database, the customer, city, and film tables will be checked as shown below:
-
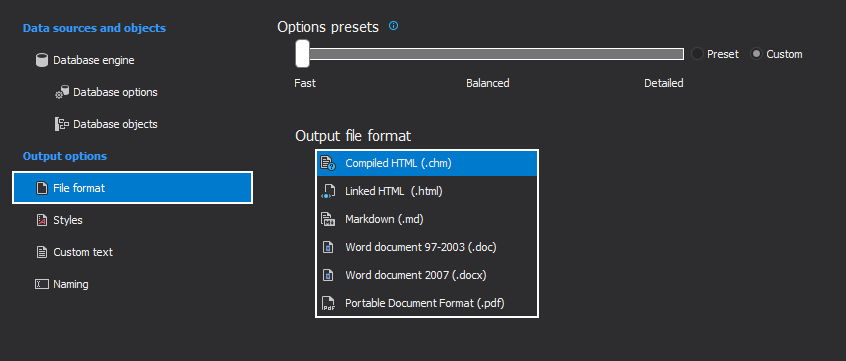
When the customizing process of the documentation is done, the next step is to select the output file format for the documentation. Default output file format is CHM, but HTML, Markdown, DOC, DOCX or PDF can be selected from the File format tab:
-
The final step in the whole process is to generate the documentation. This can be done by clicking on the Generate button from the Home tab under the Actions section:

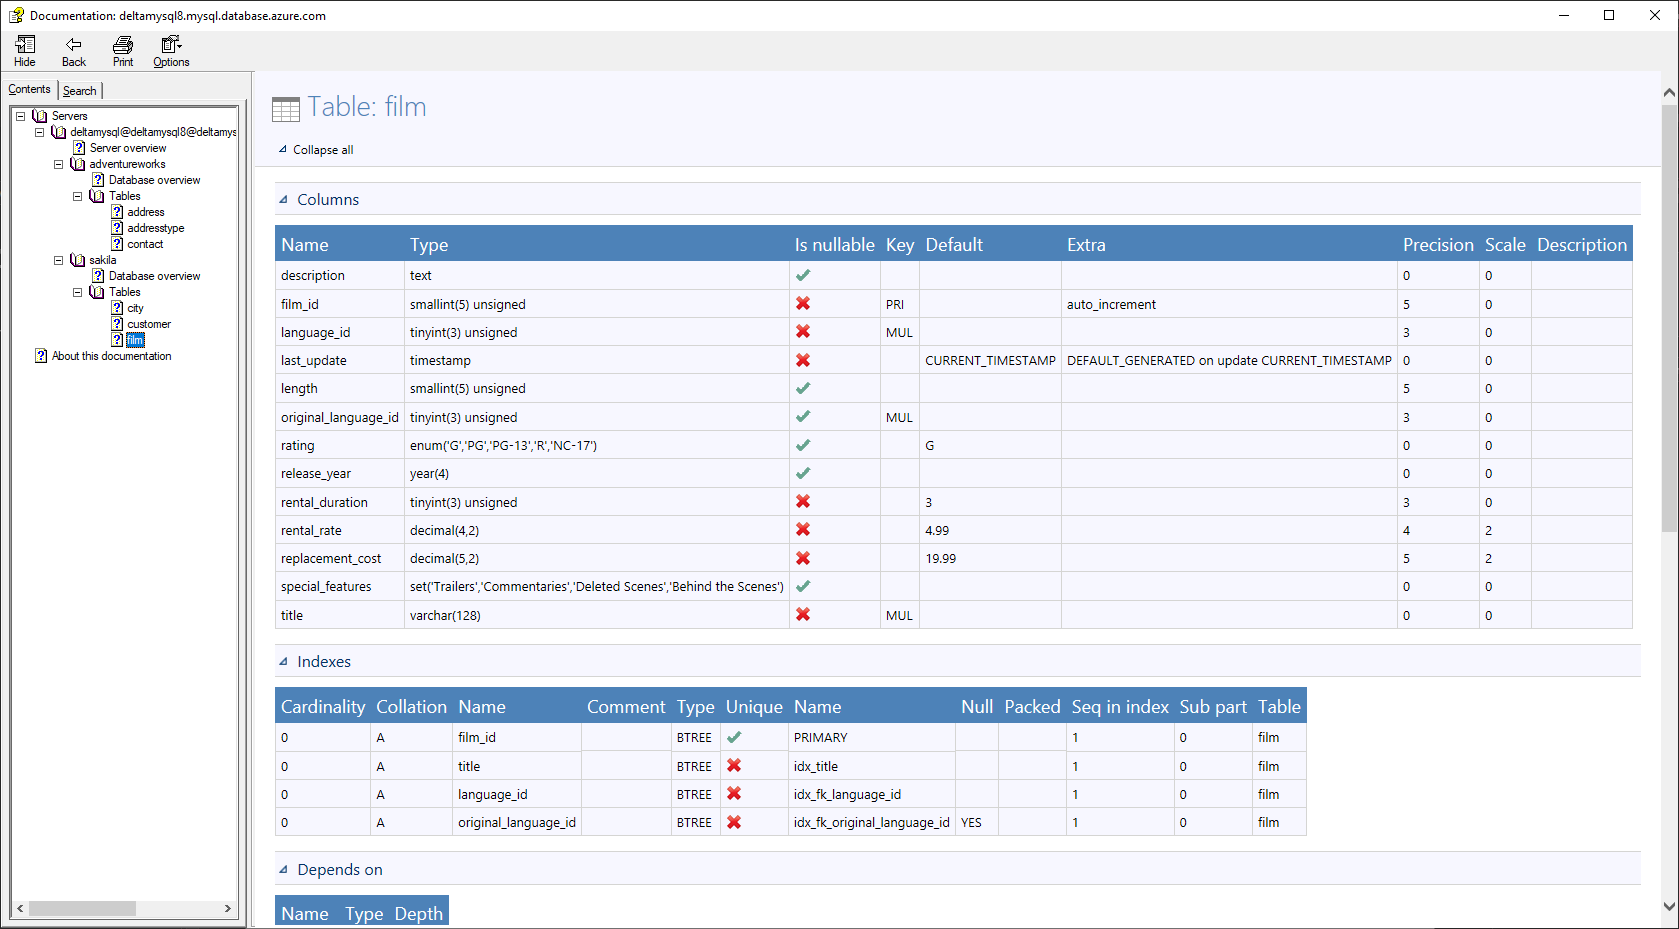
Here is an example of how generated documentation using MySQL database documentation tool will look in the .CHM output file format: