


Applies to
Summary
This article explains how to create or edit a table using the SQL data modelling tool.
Description
Working with tables (creating, editing) is one of the most important parts of the database development. Depend on the environment, creating a new or editing the existing table, can be done using the scripts or GUI.
ApexSQL Model provides an easy way to create a new or edit an existing table through GUI.
Creating a new table
Creating a new schema
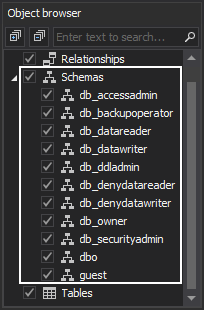
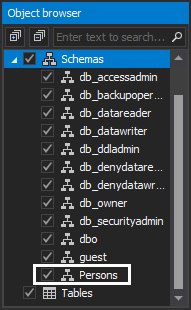
The first step in the creating table process is to create a schema under which the table will be created. When ApexSQL Model is started, all default database schemas will be present in the Object browser pane, under the Schemas tab:
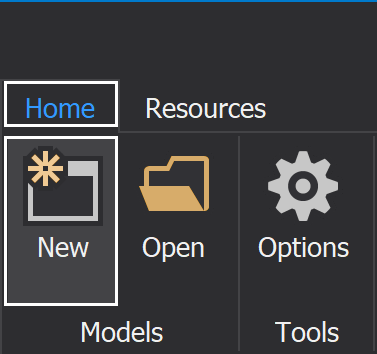
To create a new schema, click on the New button under the Home tab:
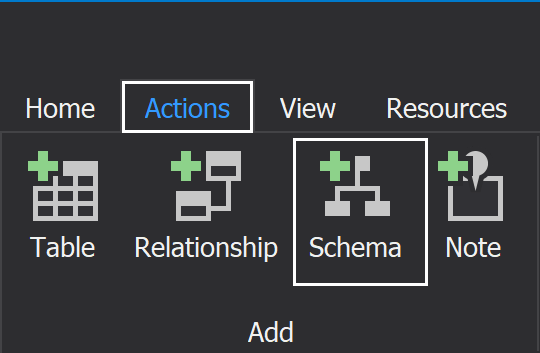
Then select the Actions tab and click the Schema button:
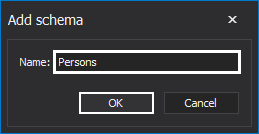
The Add schema window will be shown, and the Name field will be empty by default:

To create a new schema, in the Name field type the schema name and click the OK button:
The newly created schema will be listed in the Object browser pane:
The Add table window
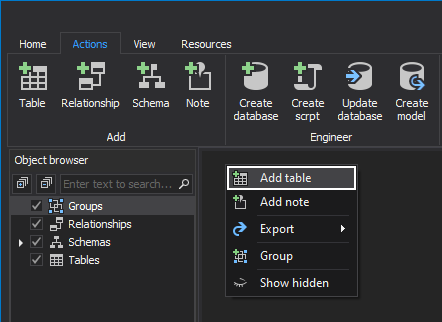
To create a new table, using the SQL data modelling tool, right-click on the main diagram, and from the context menu select the Add table option:
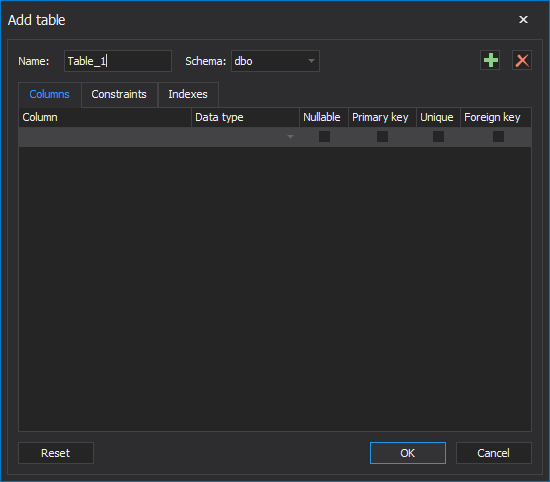
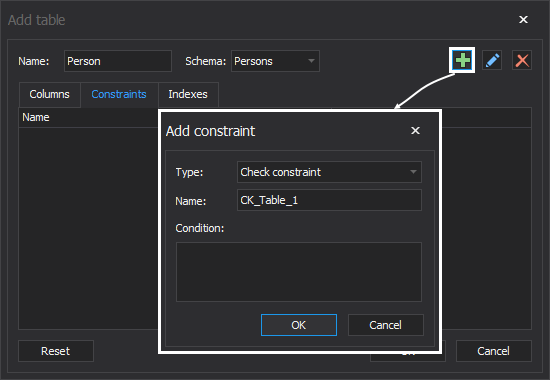
The Add table window will be shown :
|
Quick tip: The Reset button is used to reset all parameters in the Add table window. All previously created columns, constraints and indexes will be deleted. |
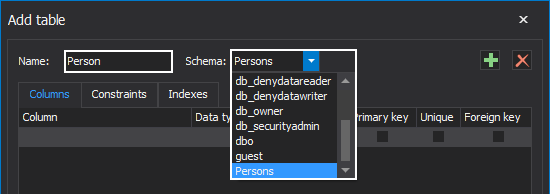
Choose the schema from the Schema drop-down list and in the Name field type the table name:
The Columns tab
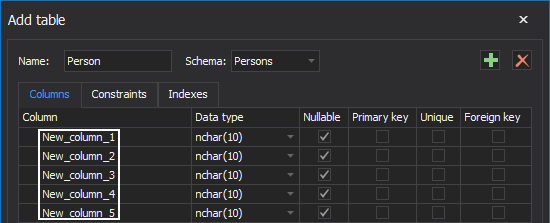
To add a new table column click the Add column button:
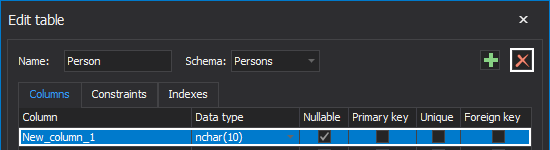
The SQL data modelling tool will create the generic names for the newly created columns New_column_<number>:
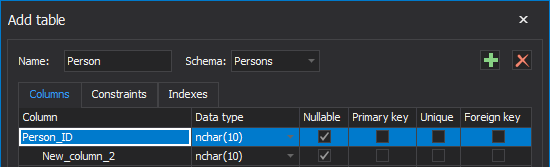
To change the column name, click on it, delete the generic name and then type a new one:
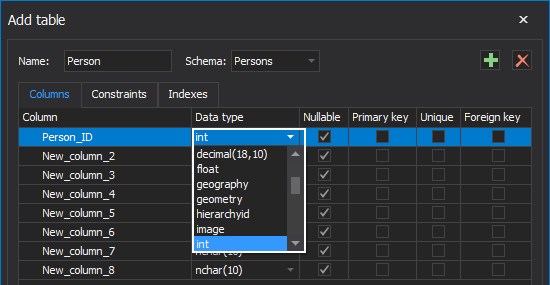
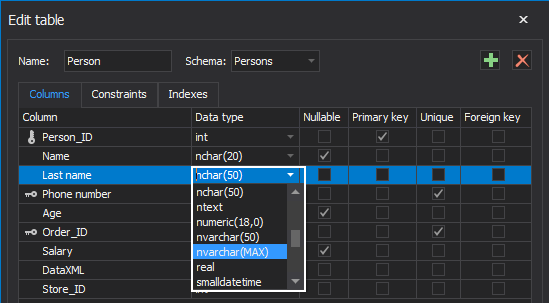
For every new column, the default data type will be nchar(10). To change the default data type click on the drop-down list in the Data type column and choose from the listed data types:
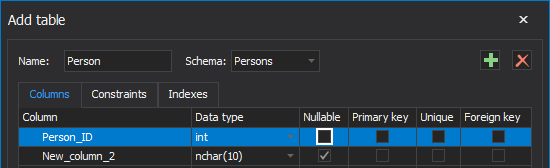
By default, every new column will be nullable, the checkbox in the Nullable column will be checked. If a column shouldn’t be nullable, just uncheck this option in the Nullable column:
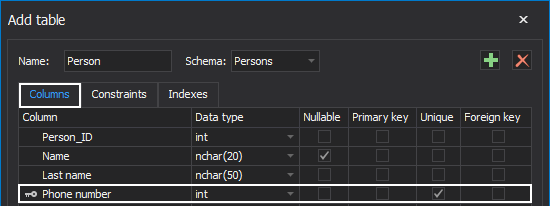
To create a primary key or unique constraint for the specified column, check these options in the Primary key and Unique columns:
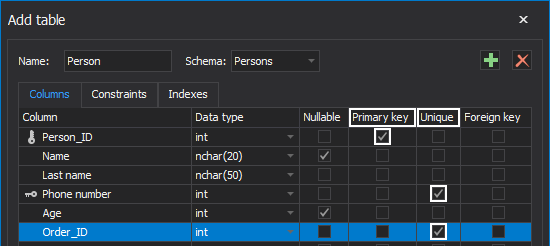
|
Quick tip: If the primary key option is checked in the Primary key column, the SQL data modelling tool will automatically uncheck the nullable option in the Nullable column |
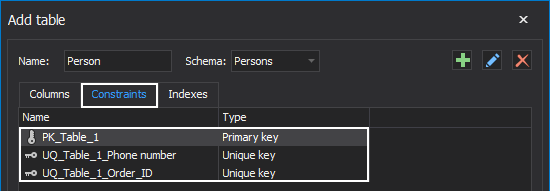
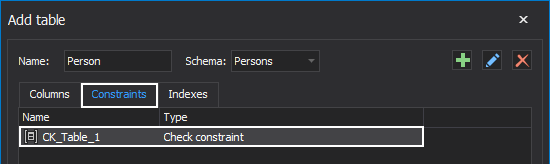
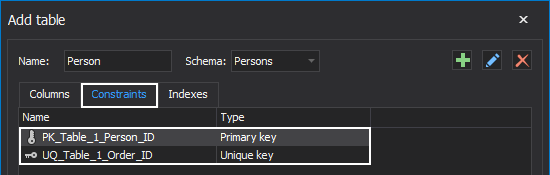
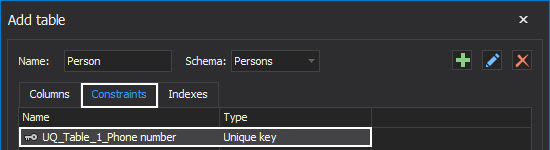
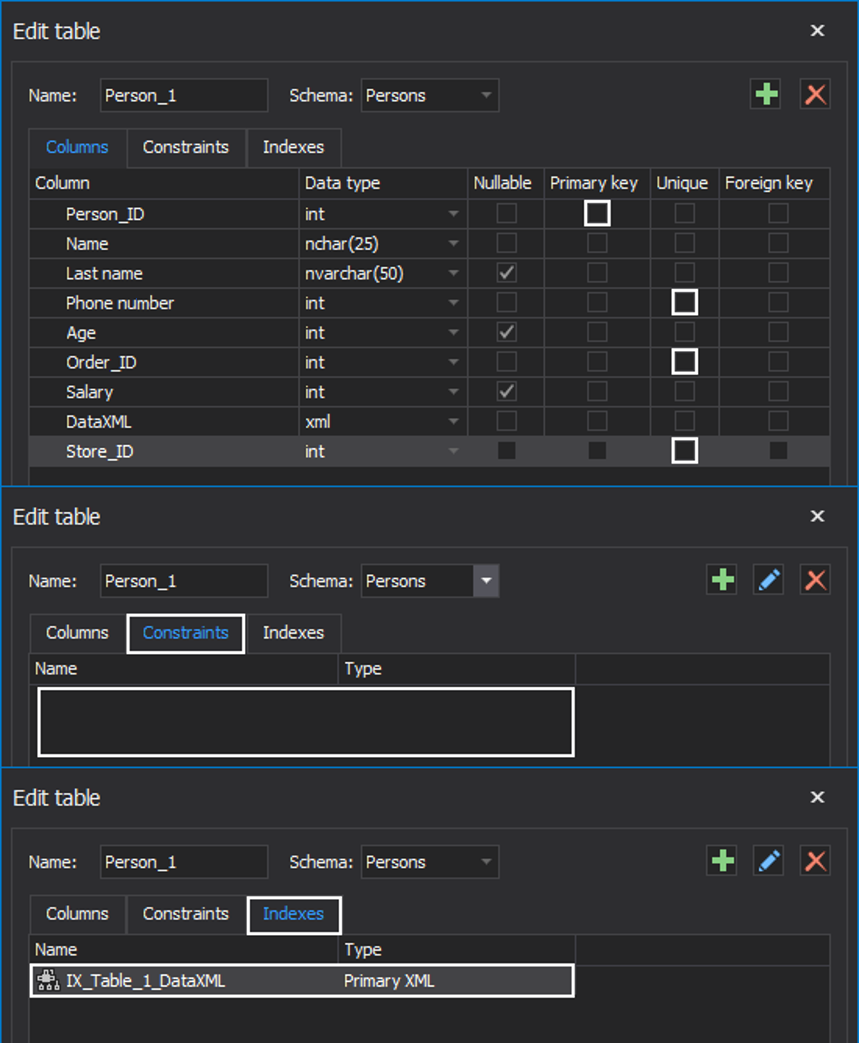
When the primary key option is checked under the Columns tab, appropriate constraints with the generic names will be created under the Constraints tab. In this case, there will be one primary key and two unique constraints:
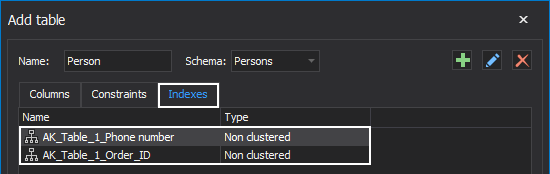
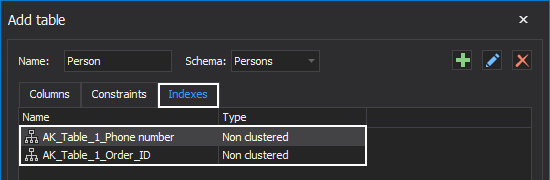
Besides that, in this case, the two new indexes, with the generic names and non-clustered by default, will be added, for the already created unique constraints, under the Indexes tab:
The Constraints tab
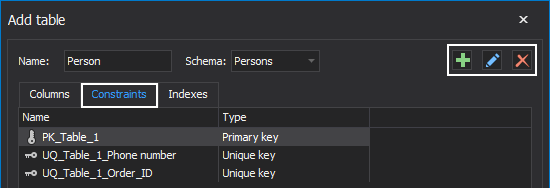
In the Constraints tab, a constraint can be created, edited or deleted using the Add, Edit or Delete constraint buttons:
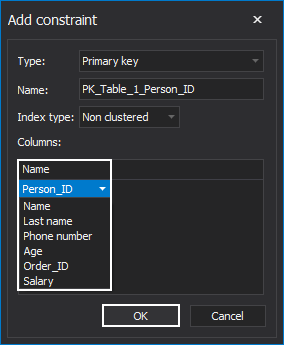
To create a new constraint, click the Add constraint button. This will open the Add constraint window:
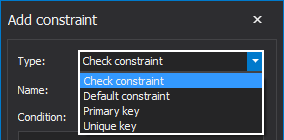
Choose one of the listed types from the Type drop-down list:
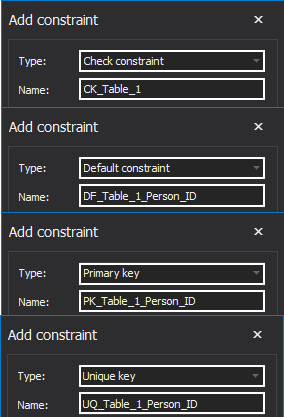
Based on the chosen constraint type, the generic name will be provided in the Name field:
|
Quick tip: To edit the constraint name click on it and type the new name. |
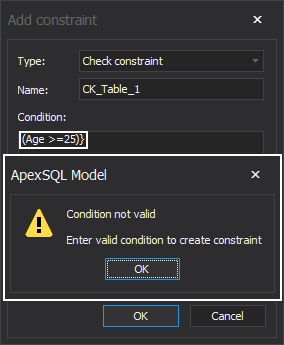
Depending on the chosen constraint type, in the Add constraint window, additional options will be shown. For the Check constraint type that will be the Condition filed, where the value must be typed in order to save the constraint:

If the entered condition is not valid, the following warning message will appear:
When everything is set, click the OK button, and the check constraint will be created:
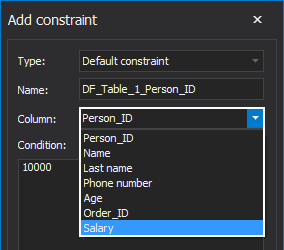
When the Default constraint type is chosen, in the Add constraint window the column must be chosen from the Column drop-down list and the condition must be specified in the Condition field before this constraint can be created:
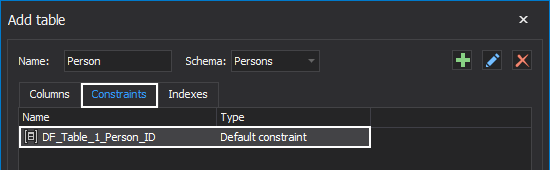
When the OK button is clicked, the new default constraint will be shown in the Constraints tab:
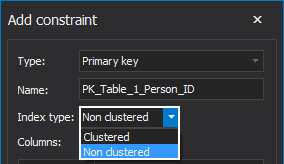
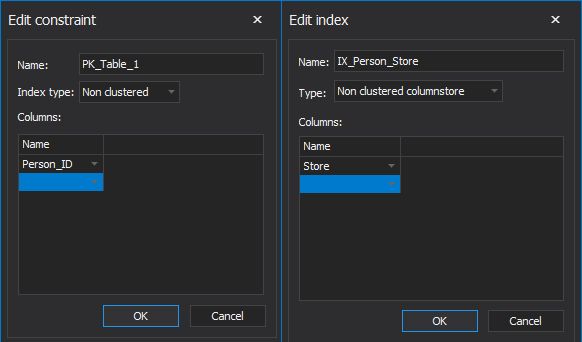
To create a new primary key or unique constraint, the index type, as well as the column, must be chosen from the drop-down lists under the Add constraint window:
The newly created primary key and unique constraints will be shown in the Constraints tab after the OK button is clicked in the Add constraint window:
The Indexes tab
The indexes will be automatically created if the Unique option under the Columns tab is checked. All created indexes will be listed under the Indexes tab:
Under this tab, an index can be created, edited or deleted using the Add, Edit and Delete index buttons:
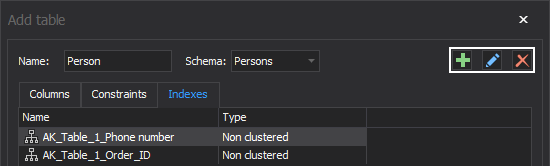
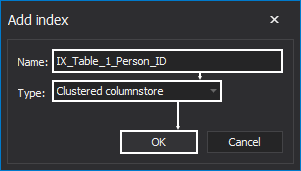
To create a new index using SQL data modelling tool, click the Add index button and the Add index window will be shown:
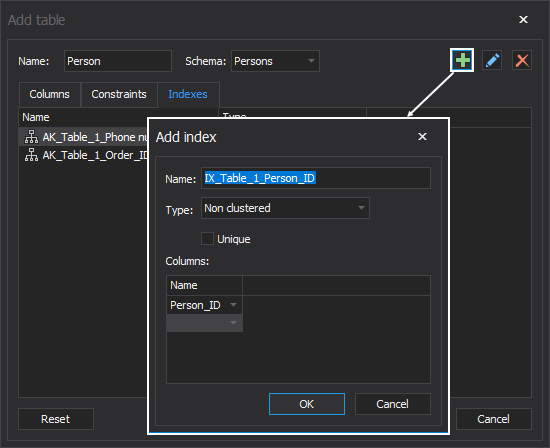
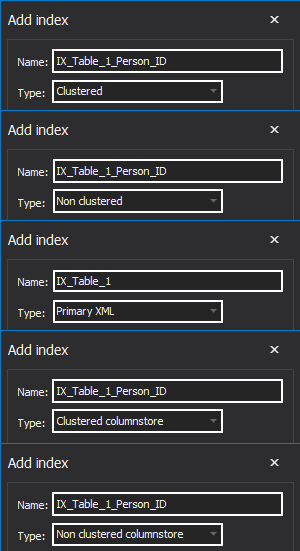
After the index type is chosen from the Type drop-down list, the index name will be automatically generated in the Name field:
|
Quick tip: To edit the index name click on it and type the new name. |
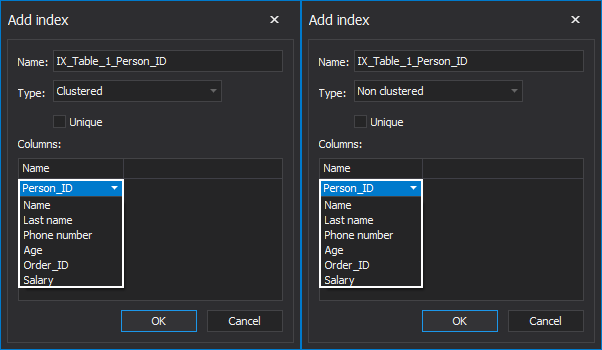
To create a new Clustered or Non–clustered index, the Column(s) must be specified:
|
Quick tip: When creating clustered or non-clustered index, the Unique option will be unchecked by default. To create a unique clustered or non-clustered index check this option. |
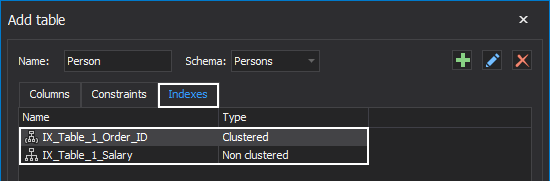
The newly-created clustered or non-clustered index will be shown in the Indexes tab:
|
Quick tip: If the Unique option is checked in the Add indexes window, for the chosen column, the SQL data modelling tool will automatically create a Unique constraint under the Constraints tab and the Unique constraint option under the Columns tab will be automatically checked: |
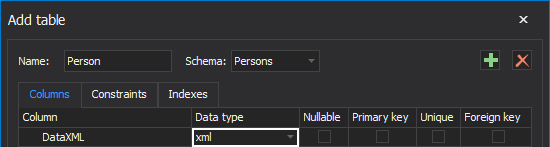
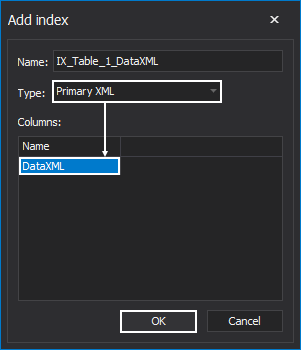
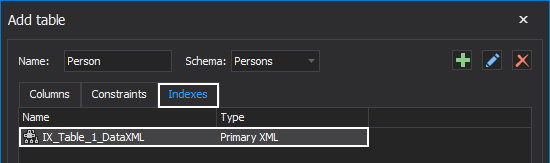
The Primary xml index can be created only for a column with the xml data type:
To create a Primary xml index, choose the column with xml data type from a drop-down list and click the OK button:
The newly-created primary xml index will be listed under the Indexes tab:
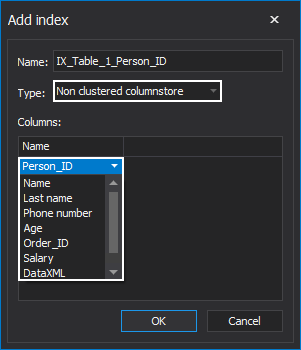
The only difference between creating clustered and non-clustered columnstore index is that for the non-clustered columnstore index the column must be specified before the OK button is clicked in the Add indexes window:
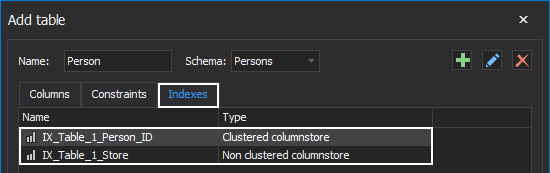
The newly-created columnstore indexes will be listed under the Indexes tab:
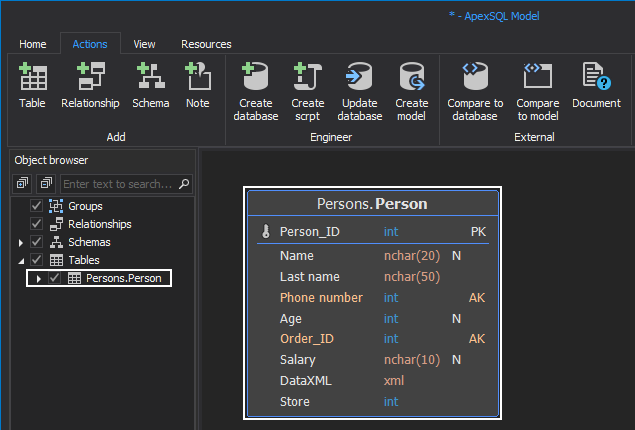
When everything is set, click the OK button in the Add table window. The newly-created table will be shown in the Main diagram window and in the Object browser pane under the Tables node:
Editing the already created table
With the SQL data modelling tool, the already created tables can be edited using the Edit table feature. There are three ways to open the Edit table window.
-
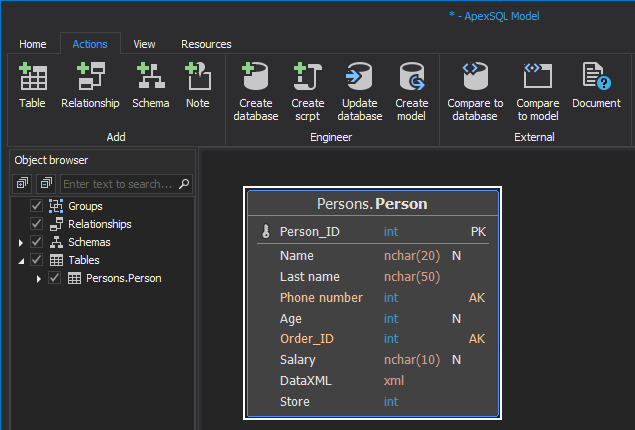
Double left-click on the table in the Main diagram window:
-
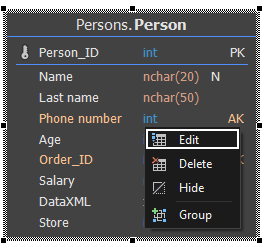
Or right-click on the table and choose the Edit option from the context menu:
-
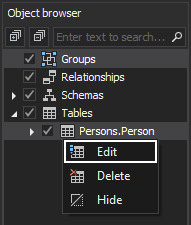
Or navigate to the table in the Object browser pane, right-click on it and select the Edit table option:
No matter which way is chosen, the Edit table window will be shown:
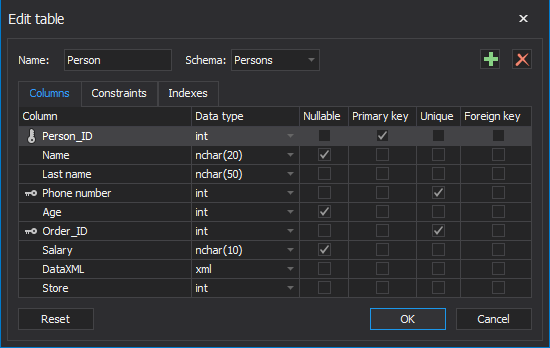
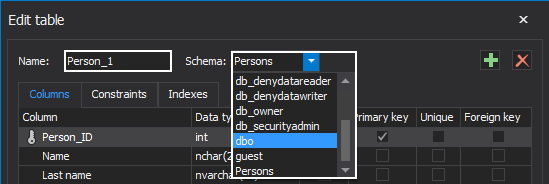
In the Edit table window, the table name can be changed and even the table schema:
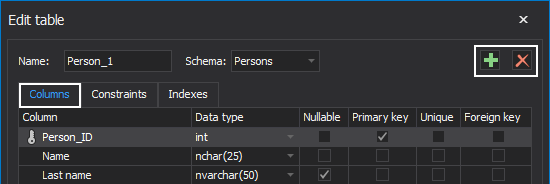
In the Columns tab, the new columns can be added using the Add column button. Already created columns can be deleted using the Delete column button:
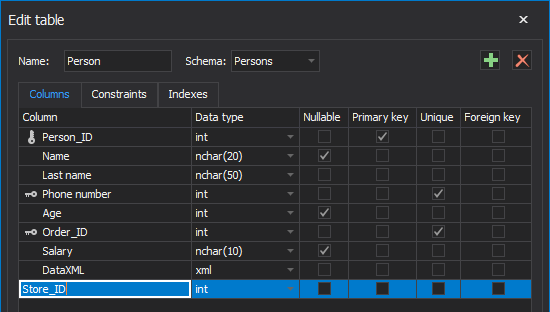
Using the SQL data modelling tool, in the Edit table window the column name can be changed by double click on the name of the column and then typing a new name:
The data type can also be changed, by clicking on the Data type dropdown-list and then selecting any other data type:
The Primary key or Unique constraint for the selected column can be changed under the Columns tab by checking/unchecking these options.
|
Quick tip: If the Primary key or Unique constraint options are unchecked under the Columns tab, constraints and indexes will be deleted from the Constraints and Indexes tab: |
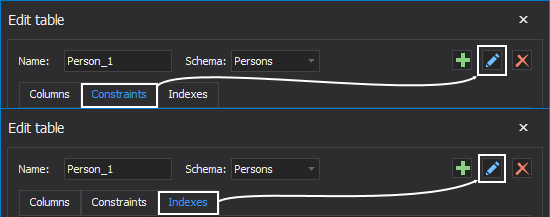
To edit constraints and indexes, go to the Constraints or Indexes tab and then click the Edit Constraint/Index button:
The Edit Index/Constraint window will appear where every option can be changed in the same way as in the Add table window which has already been explained:
|
Quick tip: To reverse all made changes to the previous/starting state, click the Reset button. |
Compared with SQL Server Management Studio (SSMS) the SQL data modelling tool provides a much faster way to create or edit any table.
FAQs
Q: Is there another way besides already explained process to open the Add table window?
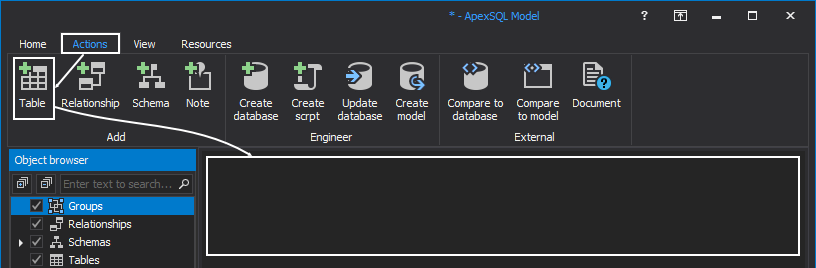
A: Yes, from the Actions tab, click on the Table button. Then in the main diagram window, left-click on empty space:
Q: Can a column be deleted in the Add table window?
A: Yes it can, select the newly created column and click the Delete column button:
Q: Why the foreign key cannot be added to the newly created column in the Add table window?
A: This cannot be done in the Add table window, because all table/column relations are managed in the main diagram window.


